Another Friday has arrived, and with it we have some new mounting hardware and buttons to look at: Pololu Mini Plastic Gearmotor bracket Pair - Wide $3.25 Affix our GM6 and GM7 motors to any project with these plastic motor brackets. Pololu Mini Plastic Gearmotor bracket Pair - Tall $3.25 Affix our GM6 and GM7 […]
Zelda themed DIY LED Valentine's Day car...
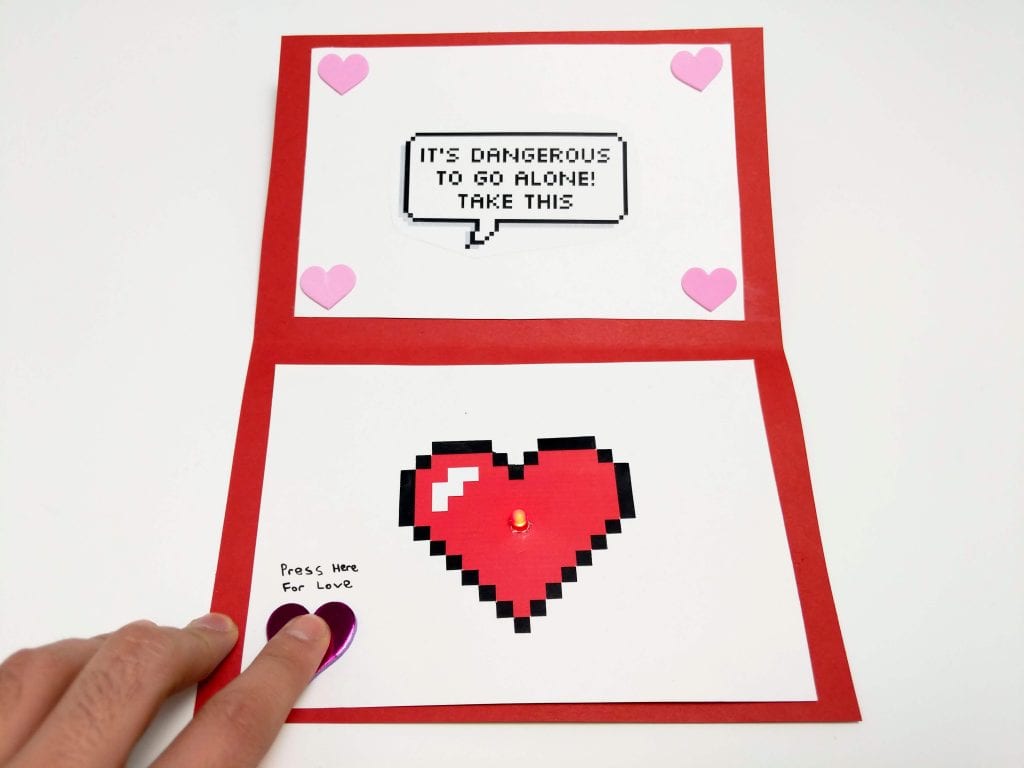
Create an awesome Valentine's Day card with this DIY project!
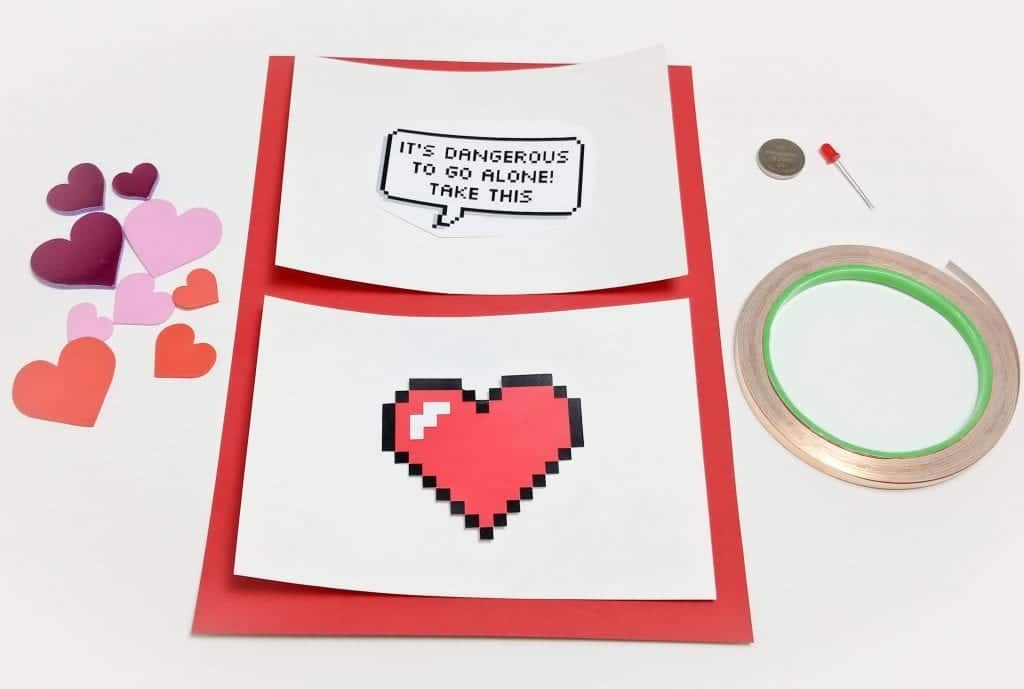
This card will surely bring a smile to the face of any die-hard Zelda gamer and showcases a fun way for beginners to make a unique DIY gift using simple items and cool electronics. You can really get creative by using strips of copper foil tape, a standard red LED, and a CR2032 coin cell like we are going to show you in today's blog.
- Materials
- A glue stick
- 1x CR2032 coin cell
- Red construction paper
- White poster paper
- 1x Standard LED in RED
- Copper foil tape
- Scissors
- A Ruler
- Sticker hearts
- Transparent tape

Building the Card
Step 1
Cut out the red construction paper measuring at 5" (L) x 10" (W) and fold it in half as the base of your card.
Cut two pieces of white posterboard to 5" (L) x 4.5" (W)
Feel free to choose your own dimensions for your card. We went with the standard card size for ease of delivery but the electronics can be scaled to fit almost any card size.
Step 2
Save the pixel heart from the link here and print it to the desired size. To produce the sizing in the image above, we opened the image in Microsoft Word and sized it to 3.5" by 3.5". You may want to print multiple per page so you have extra ones on hand if anything goes wrong.
Cut around the pixel heart and glue it to the center of one of the pieces of white poster paper.
Step 3
We found this cool pixel speech bubble generator online and used it to generate the text for our card. Use the link here and type (without the quotation marks):
“IT'S DANGEROUS
TO GO ALONE!
TAKE THIS”
Space out the text in 3 lines (by default it will be on one line) and print out a couple text bubbles in the same method as we used for the heart. Cut out one of the bubbles and glue it to the center of the other piece of white poster paper.
Once this is done the poster paper with the speech bubble can be glued on top of the red construction paper (Use the picture above as a reference), while the other poster paper with the pixel heart is left aside.
Adding the Electronics
Step 1
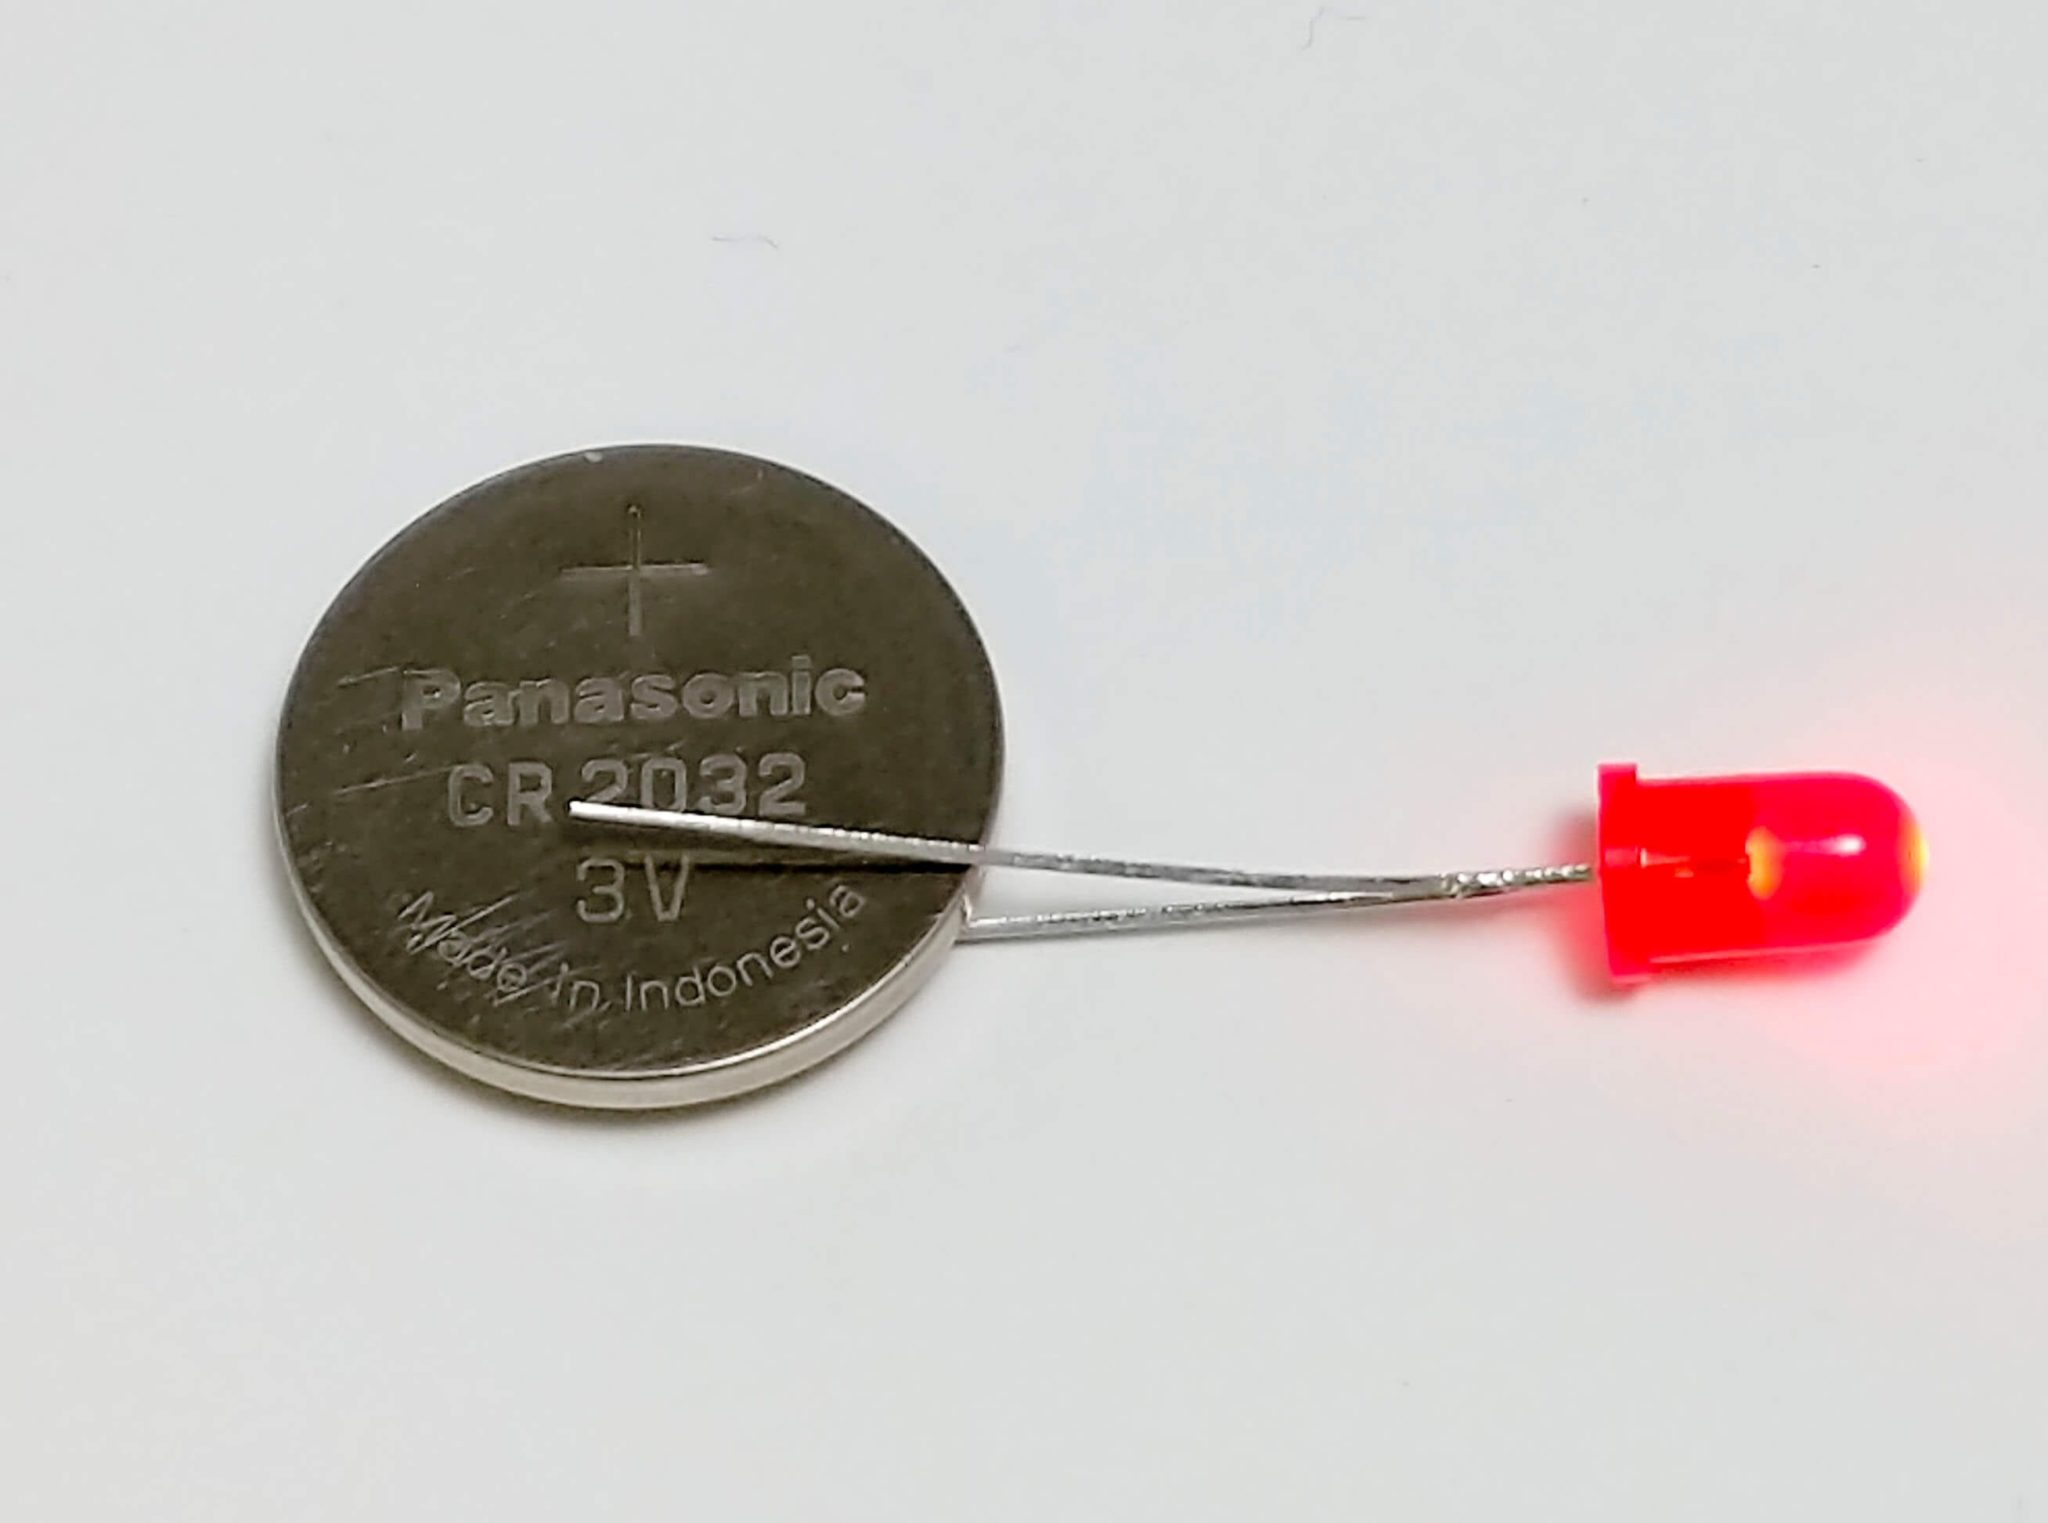
Test the LED bulb with your coin cell, one wire should be longer. Make note of the polarities and bend the wires flat.
Step 2
Take the LED and trace the diameter of it in the center of the heart glued to the poster paper. Carefully use a scalpel if you have one or a knife to carefully cut out the traced hole. Make sure to cut from the top down so that any scrap paper is on the backside of the poster paper.
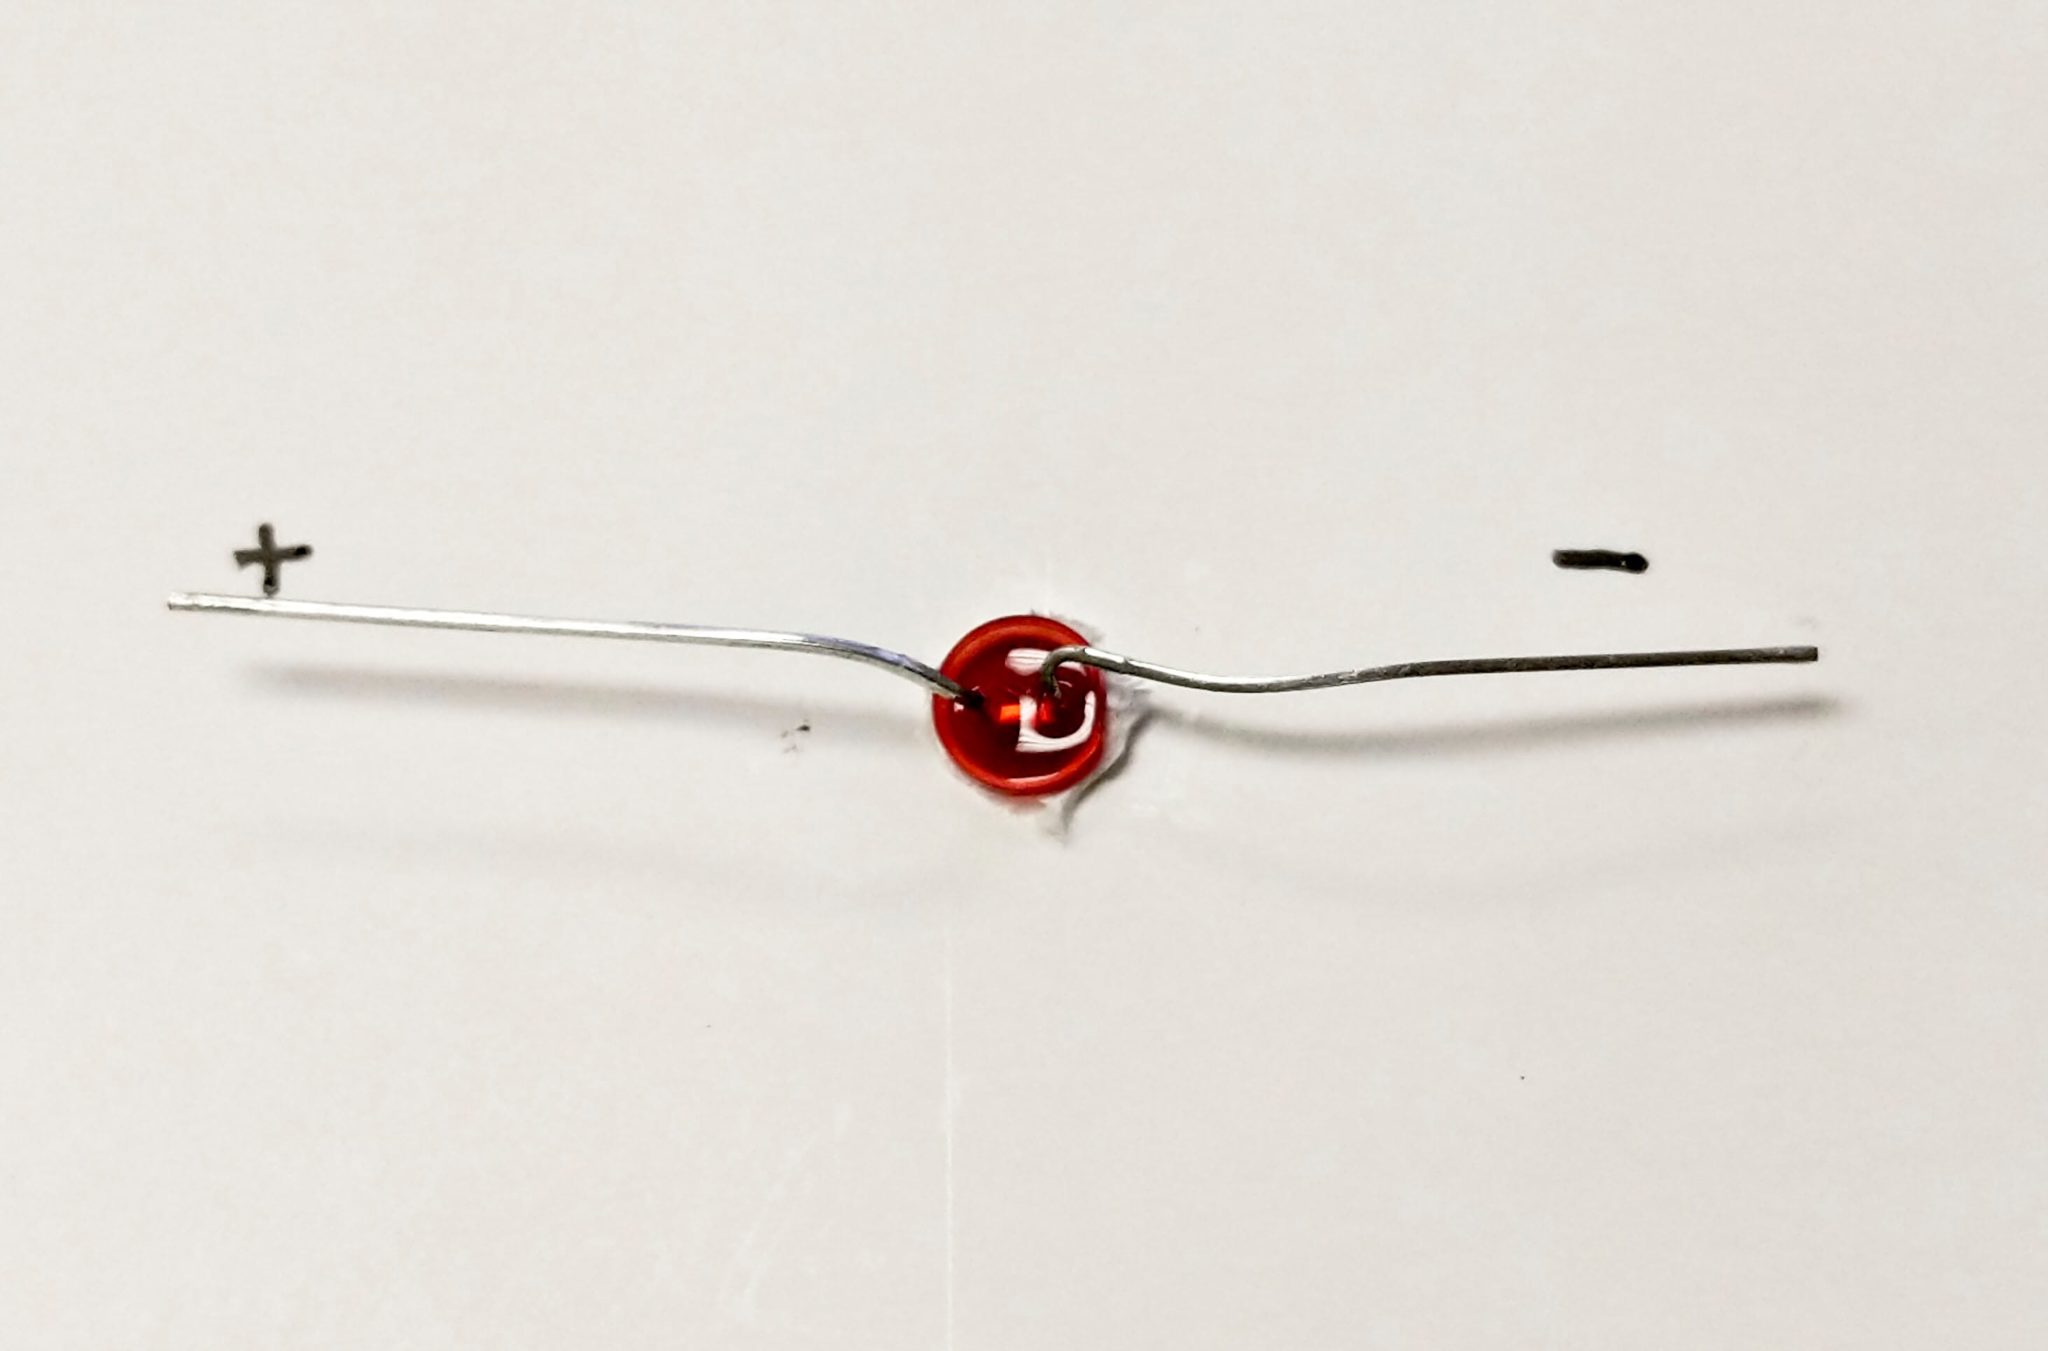
This is what it should look like once the LED has been inserted into the poster paper.
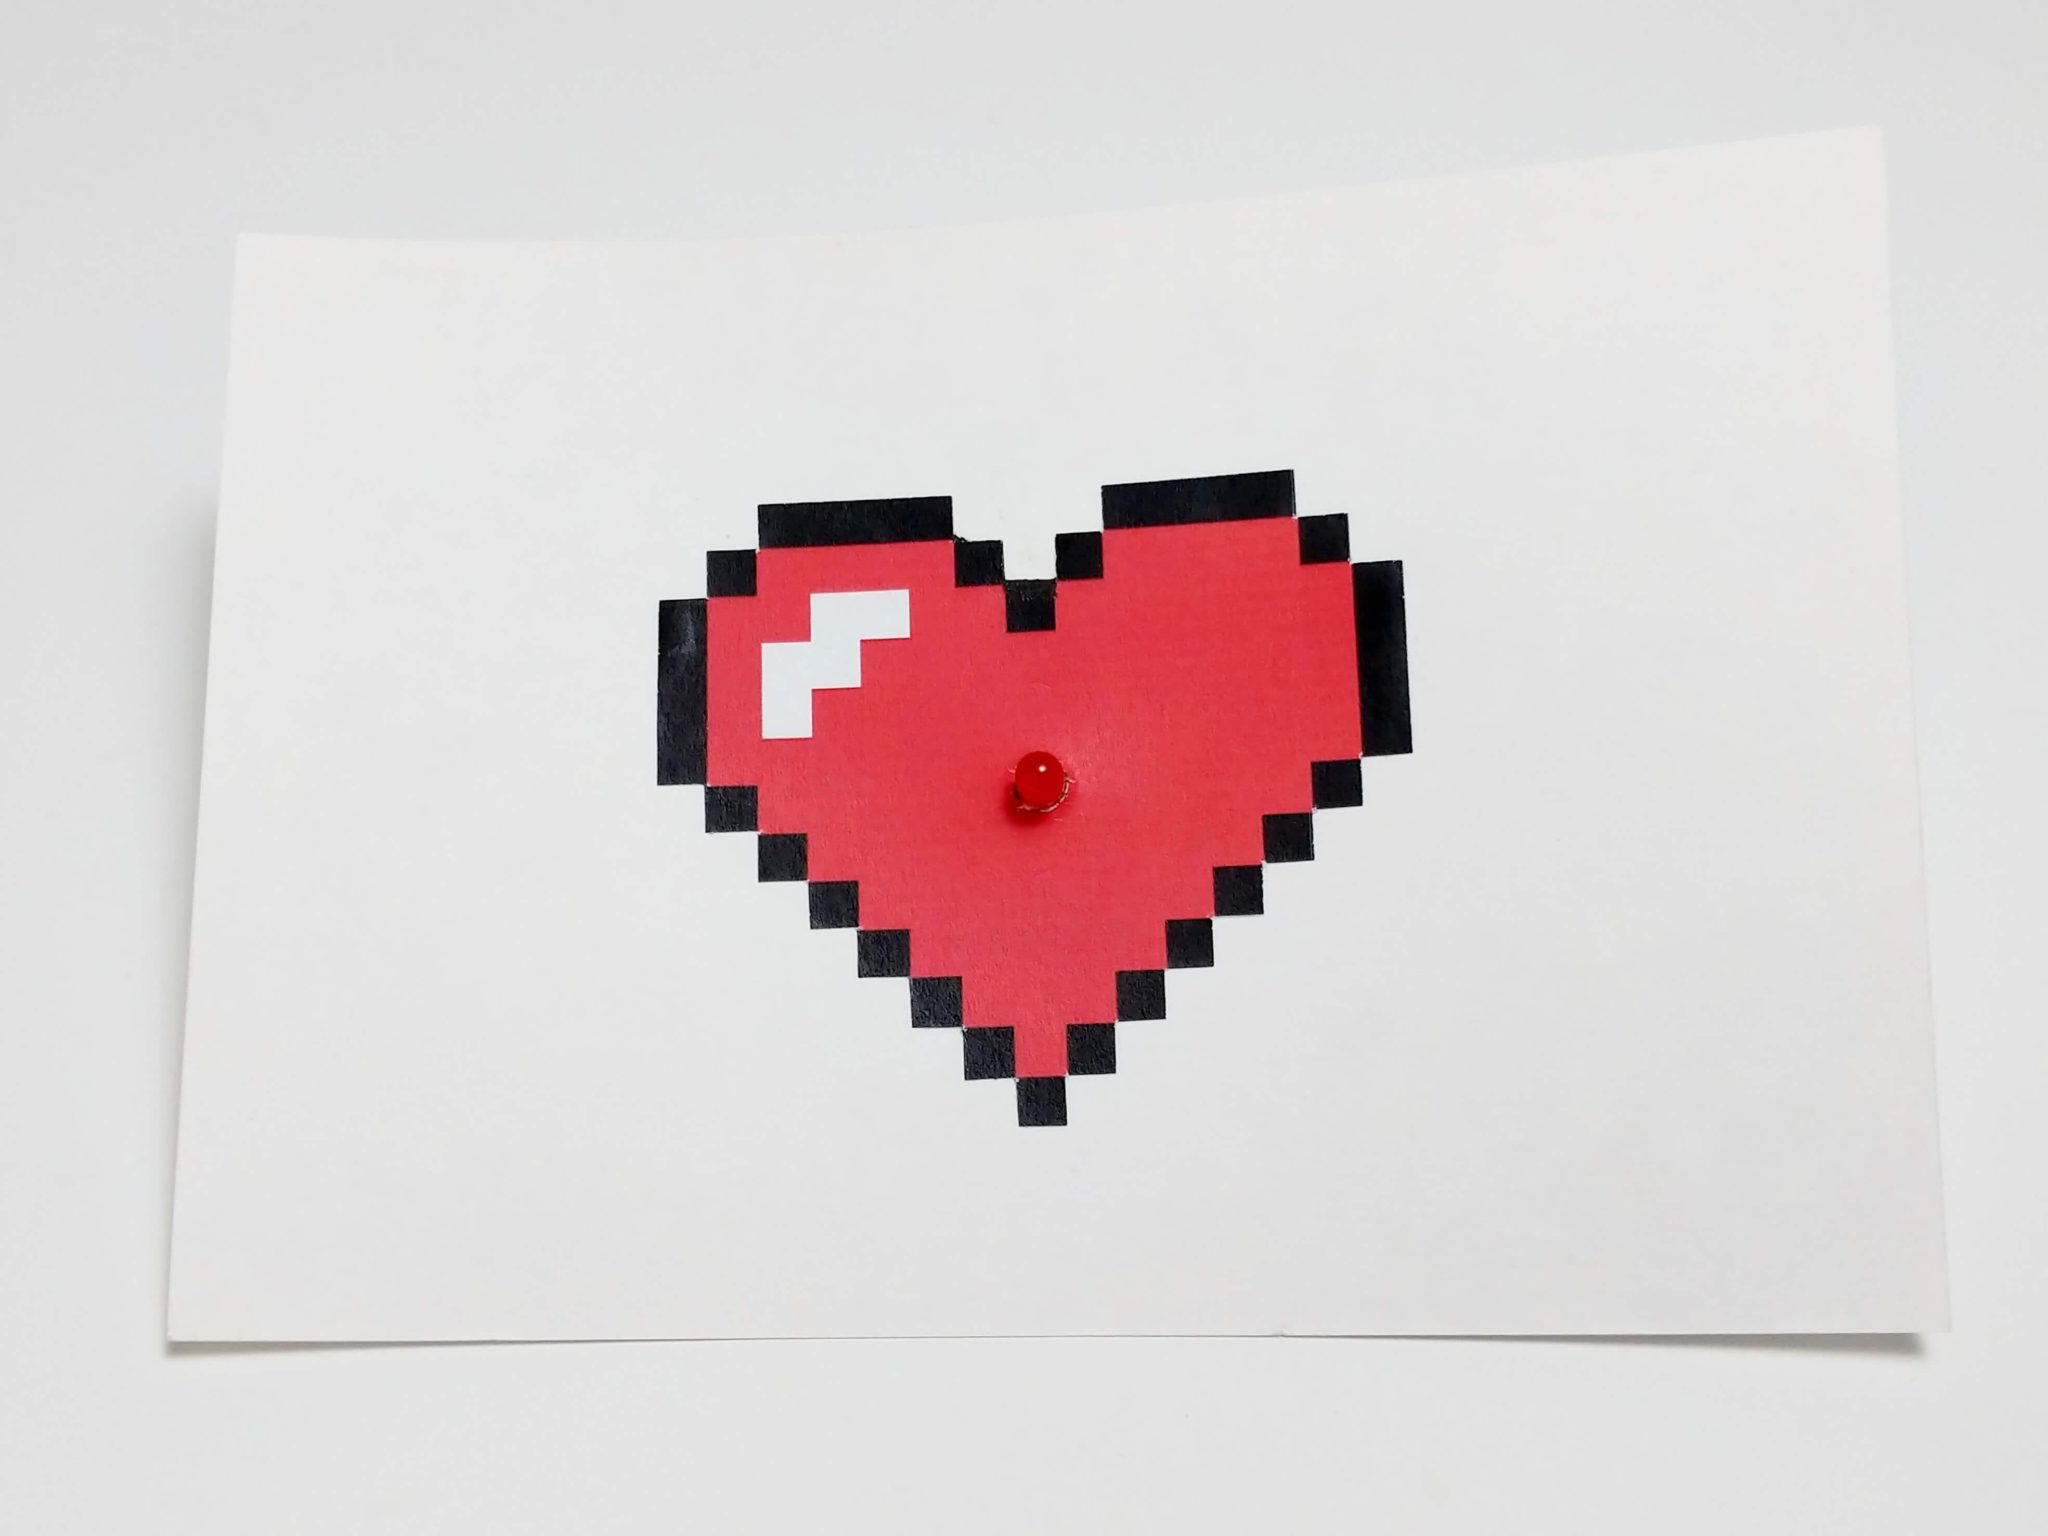
Step 3
We are now going to create the circuit that will live behind the heart and white poster paper!
Take the CR2032 coin cell and trace a spot on the bottom right corner of the card. Be careful about the placement of this circuitry as the white poster paper must cover all of it when you are finished. Find a location for the press button and create a basic outline for the copper foil tape. Don’t worry if it's messy as it will all be hidden eventually.
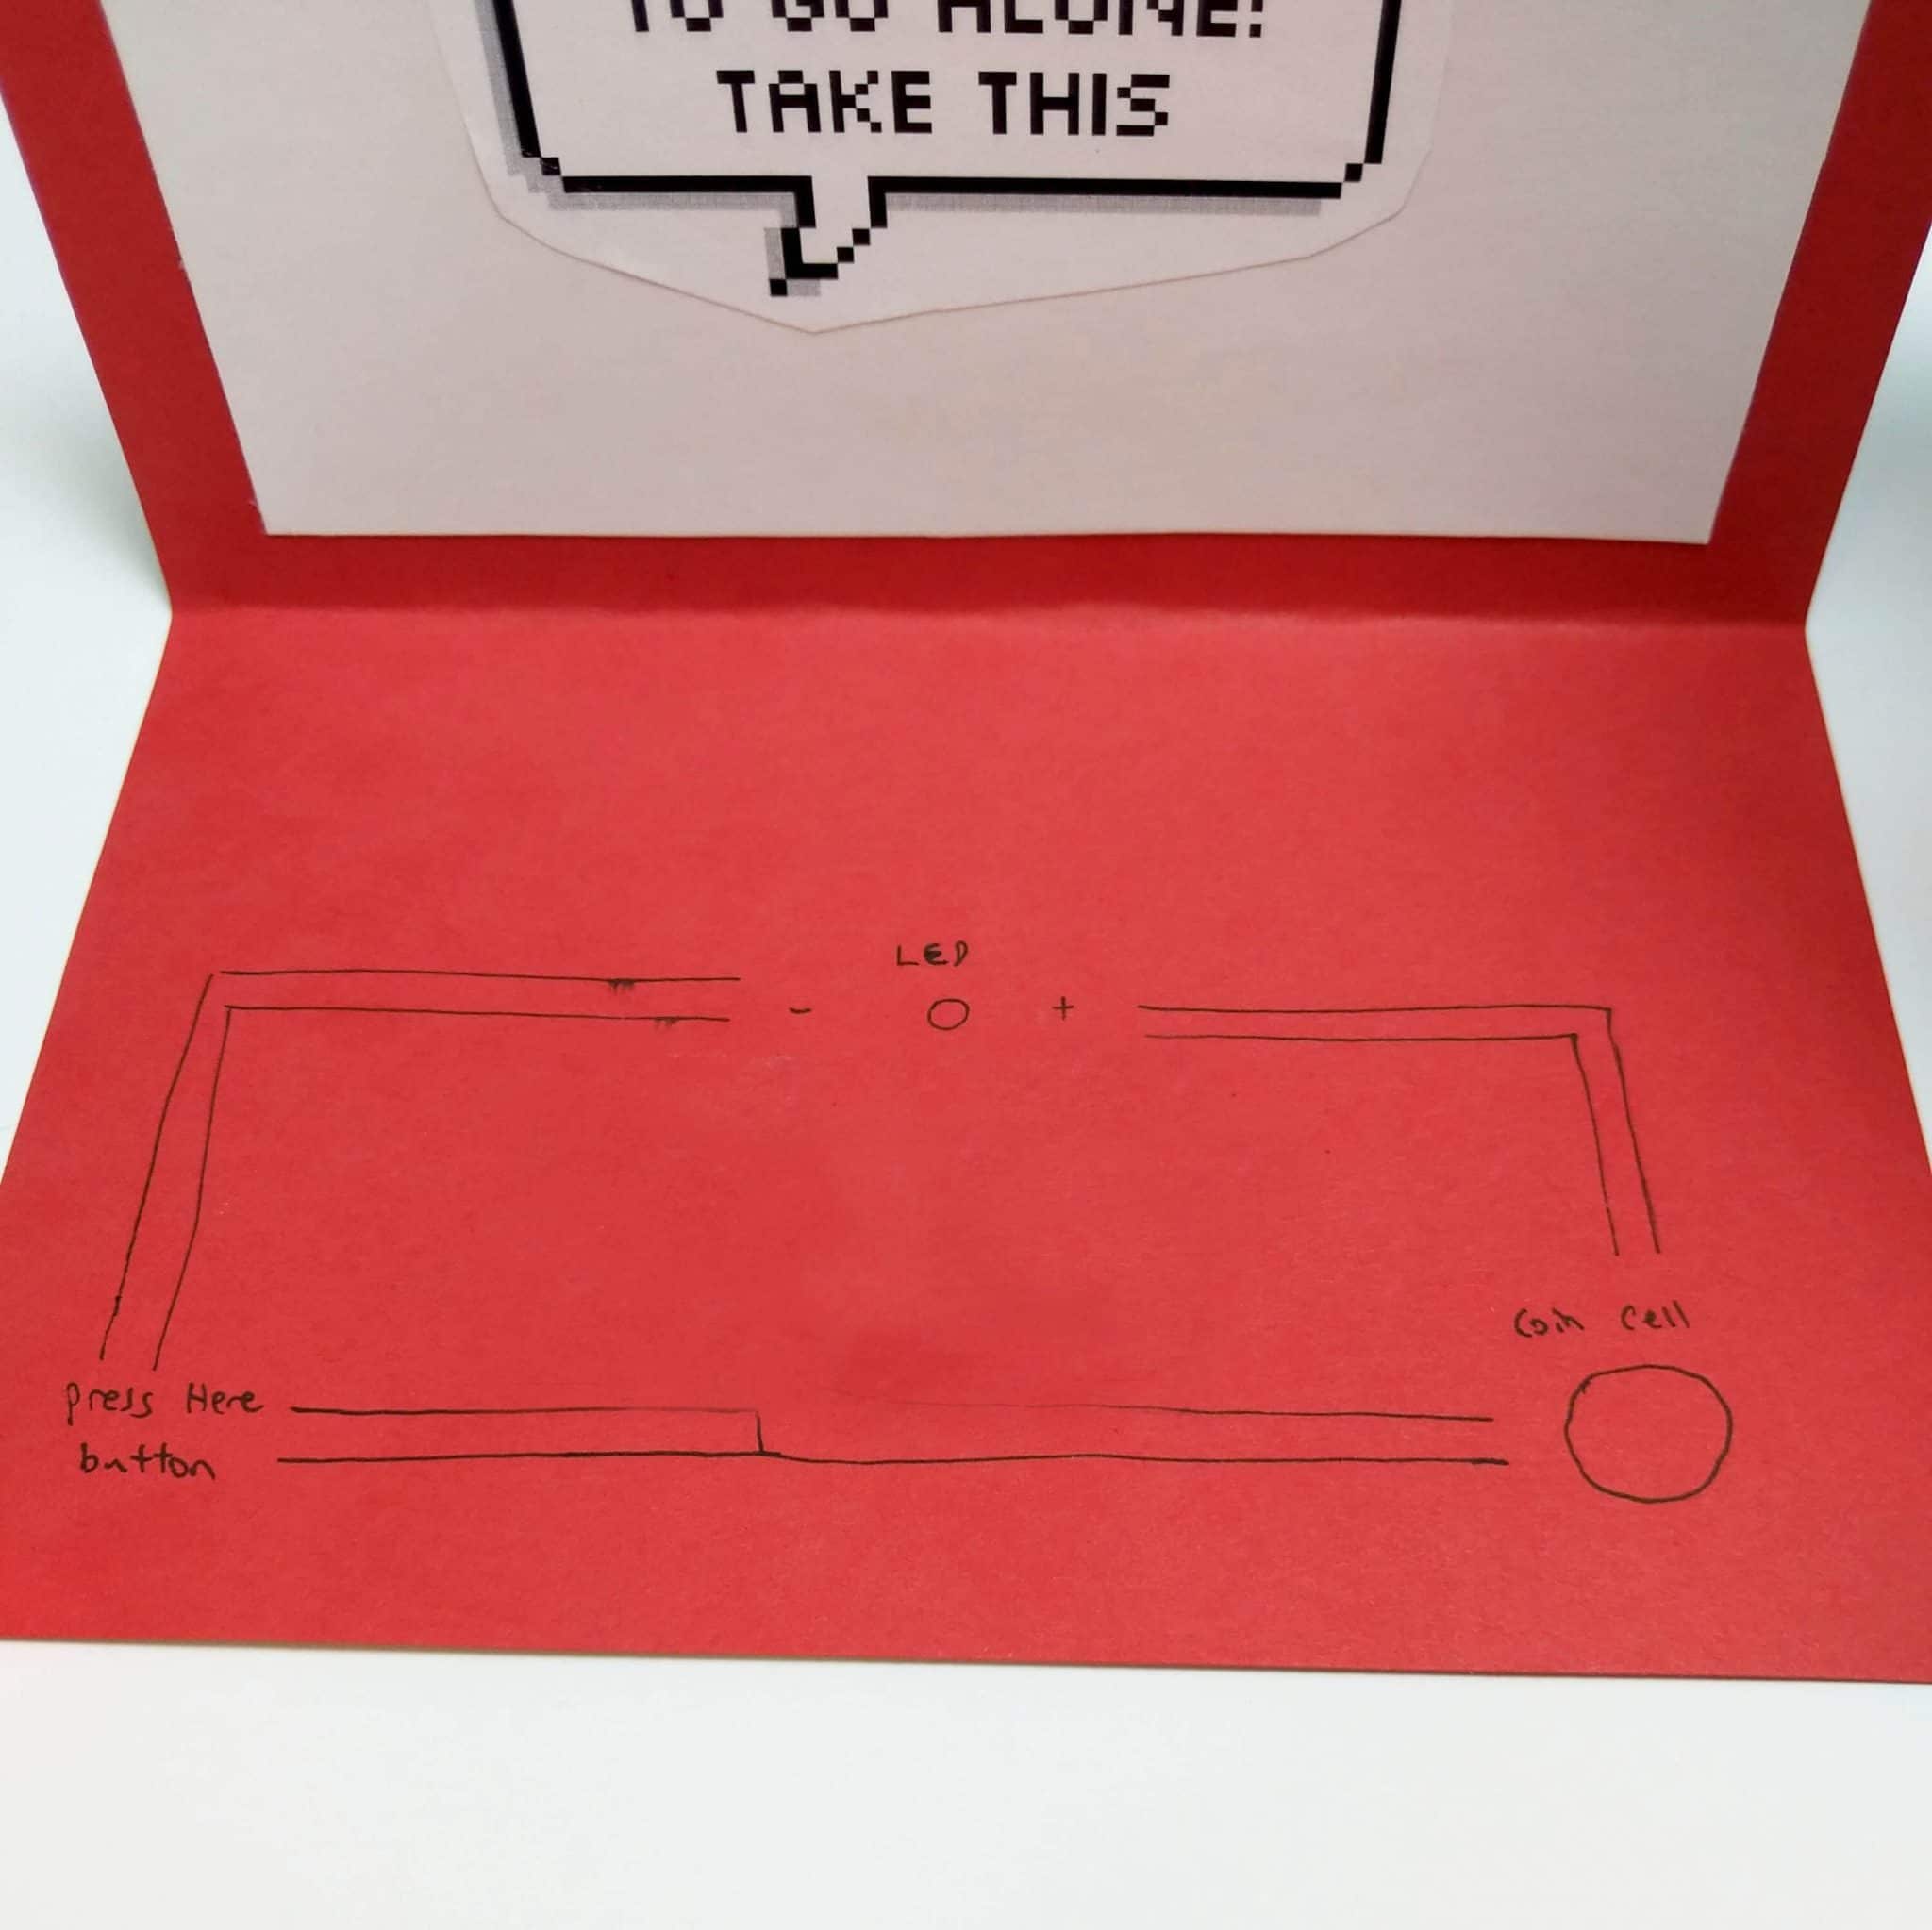
Step 4
Place the copper foil tape on the outline and leave a small gap between the pieces of foil for where your "press here" button will live (bottom left corner). Be careful not to extend the foil past the boundary of where the white poster paper will sit.
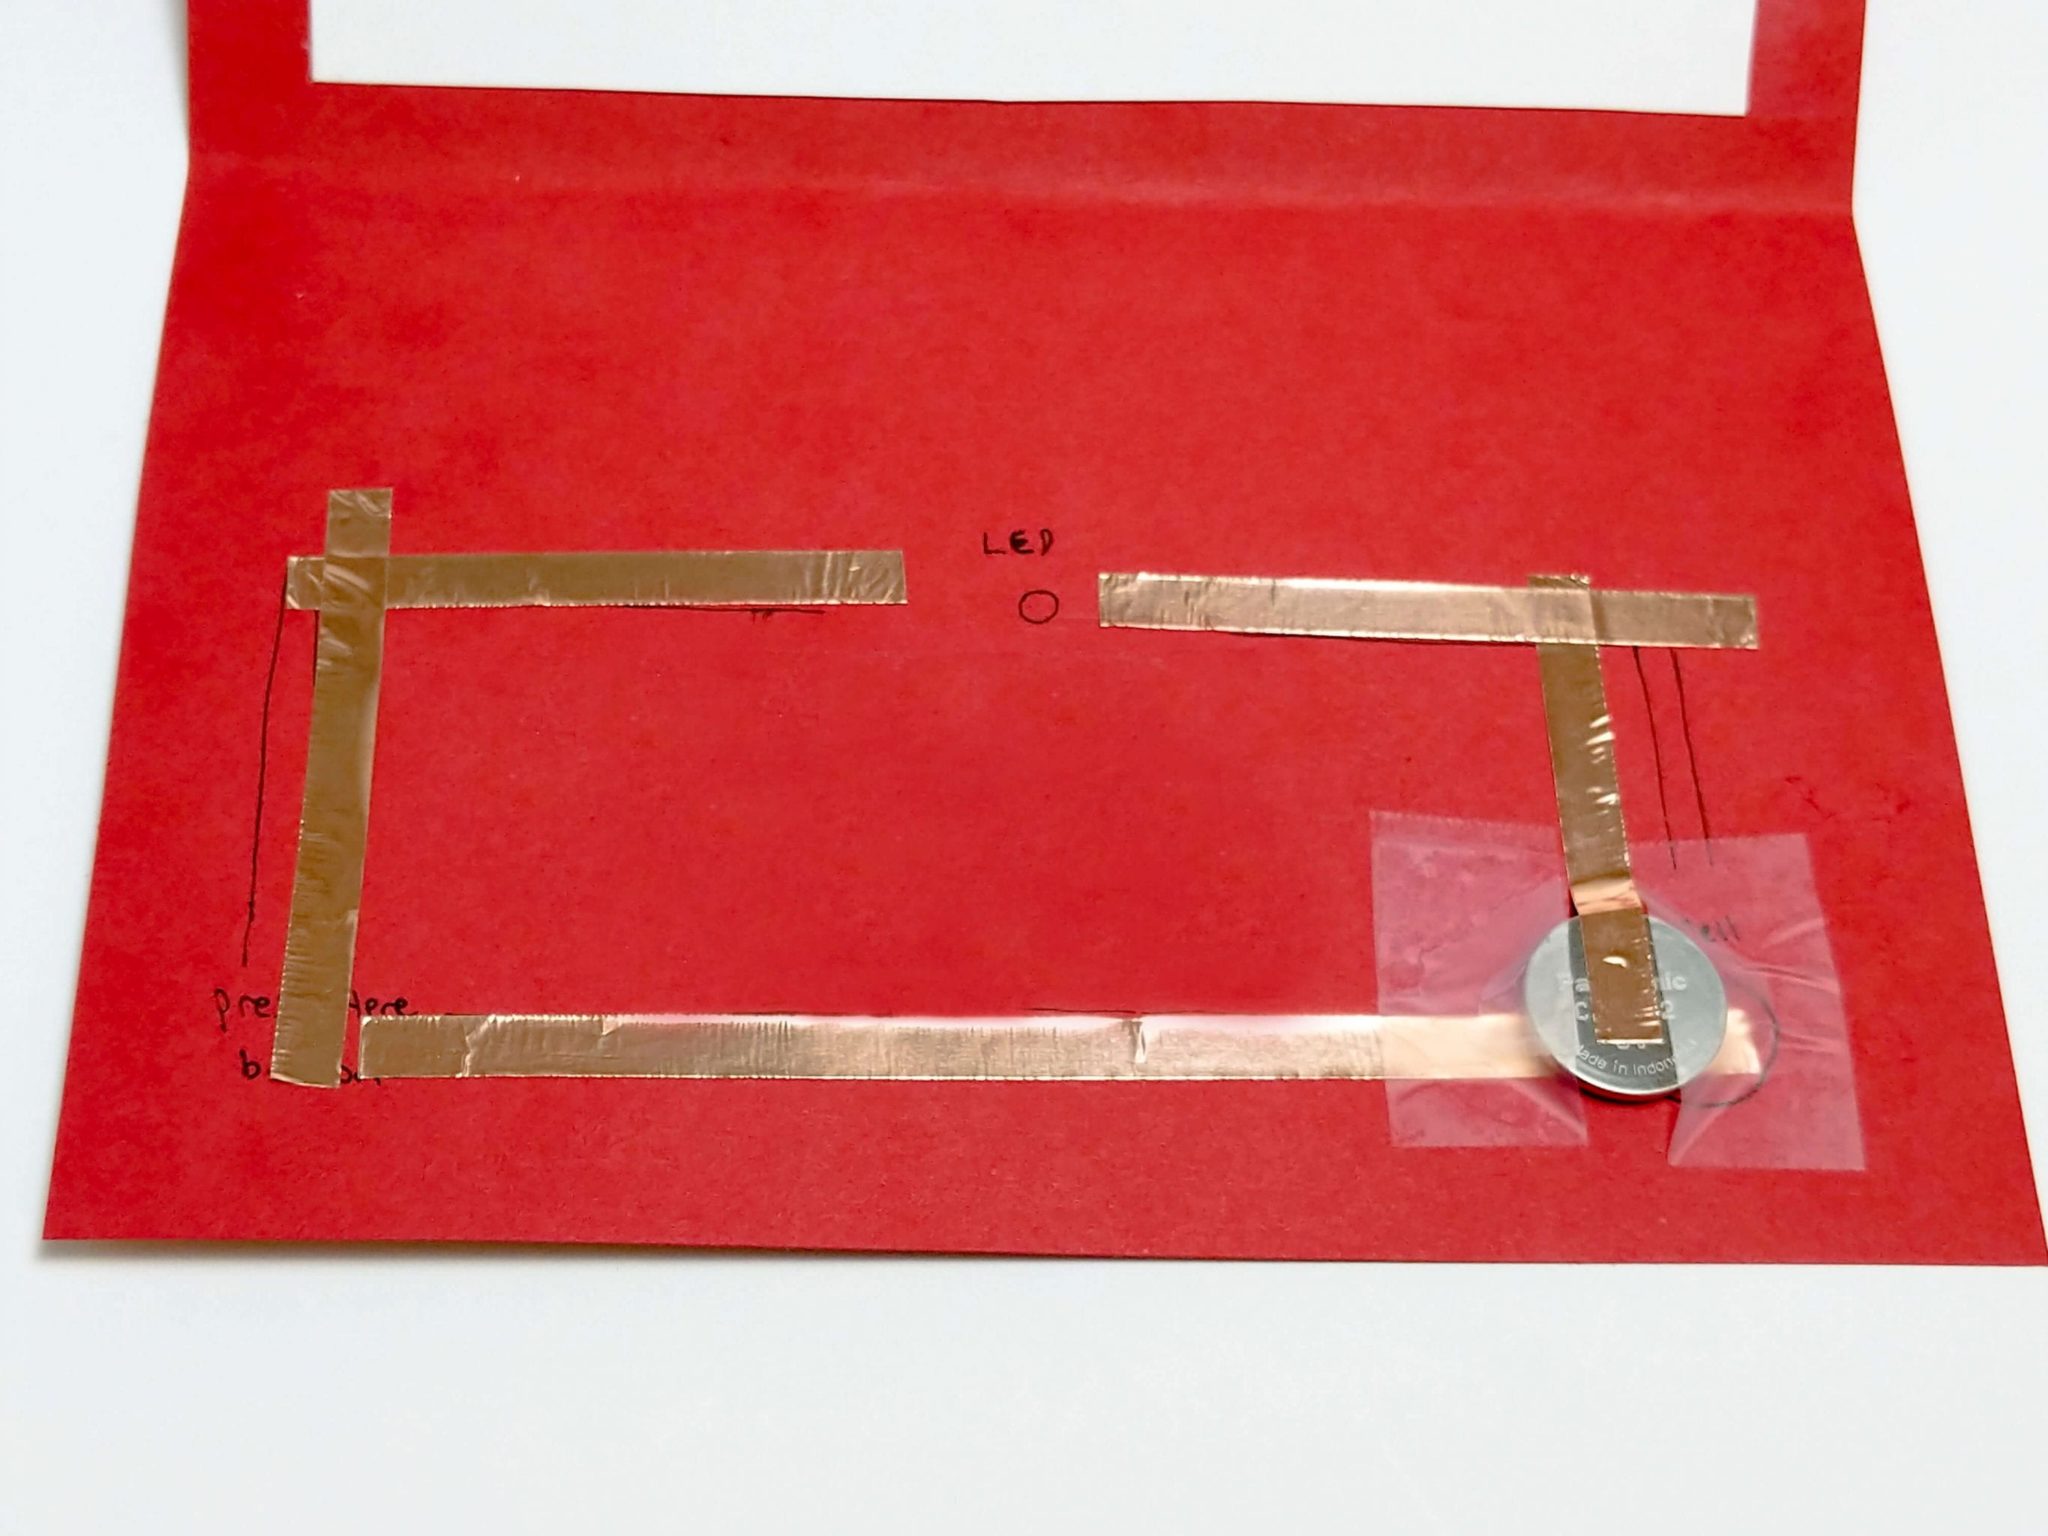
Step 5
Use scotch tape to make a ring, and tape the top of the white poster paper down, leaving the rest of the paper unaffixed. With the bottom half opened, tape the positive and negative wires of the LED to the copper foil circuit to complete the connection. Lastly, use a small piece of copper foil tape affixed to the underside of the left corner of the white poster paper.
Bend the left corner card up slightly so it doesn't complete the circuit and then press the card down to test the circuit and make sure the LED lights up.
If the LED does not illuminate when the circuit has been completed when pressing the "button", we recommend checking the polarity of your LED, the connection of the foil to your coin cell, and also the connection of your LED legs to the copper foil circuit. You can always use a multimeter to check the continuity of your circuit to make sure everything is connected.
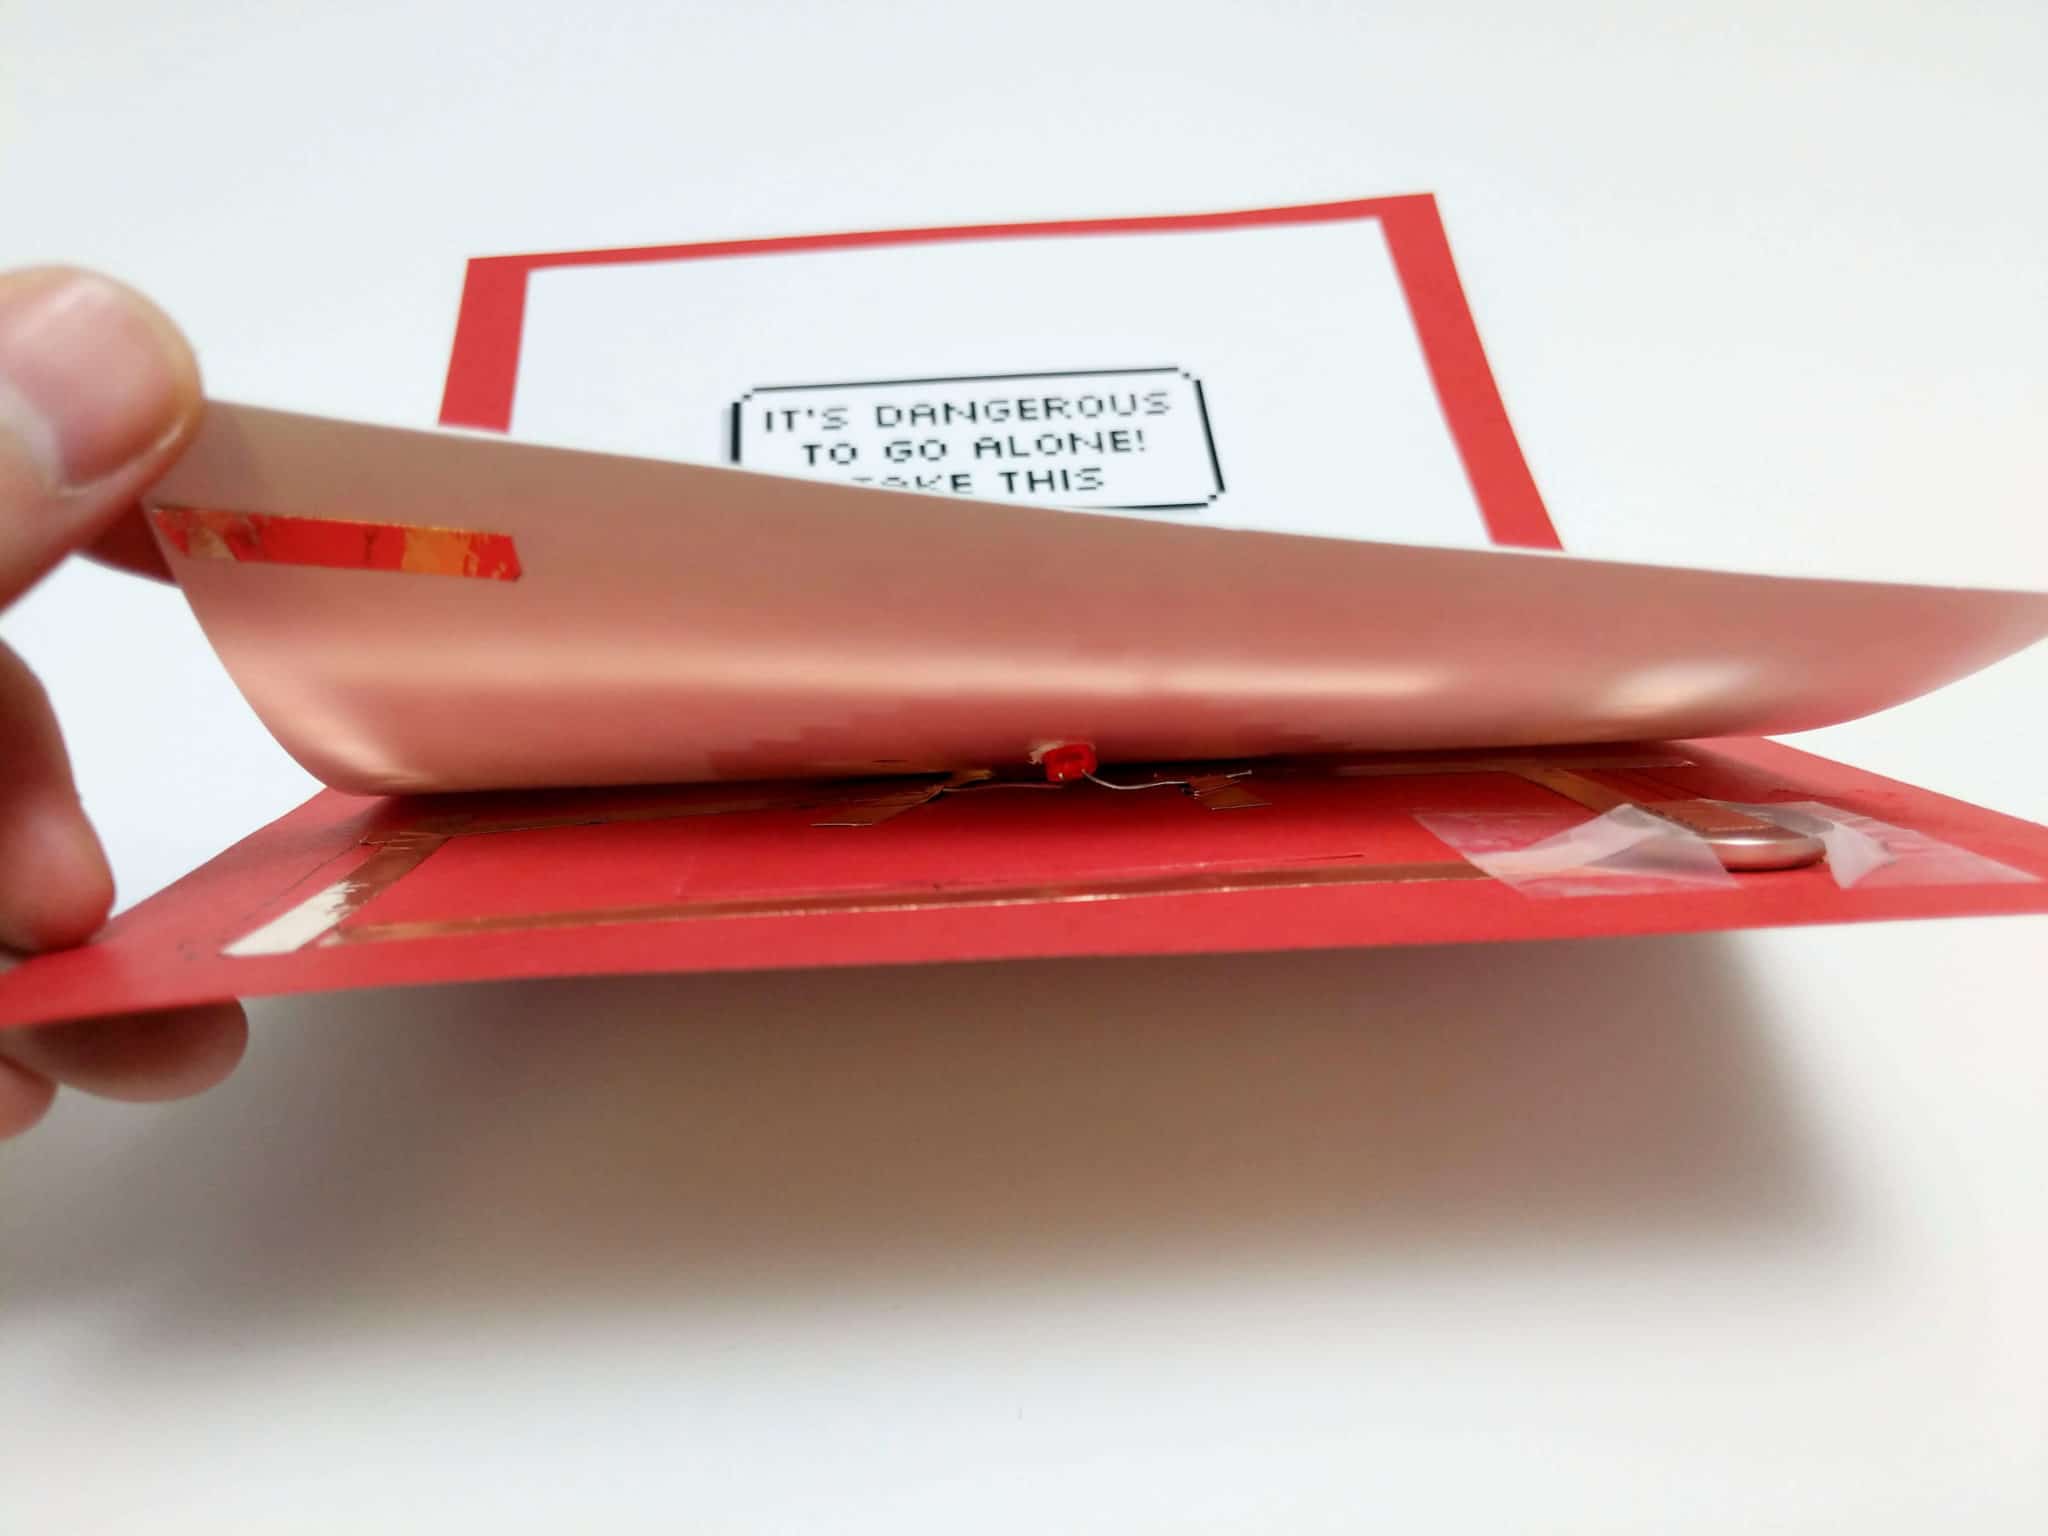
Step 6
Once you test that the circuit works, add some creative flair to the card and get decorating! If you decide to DIY this project, drop us an email at media@solarbotics.com so we can feature your results!

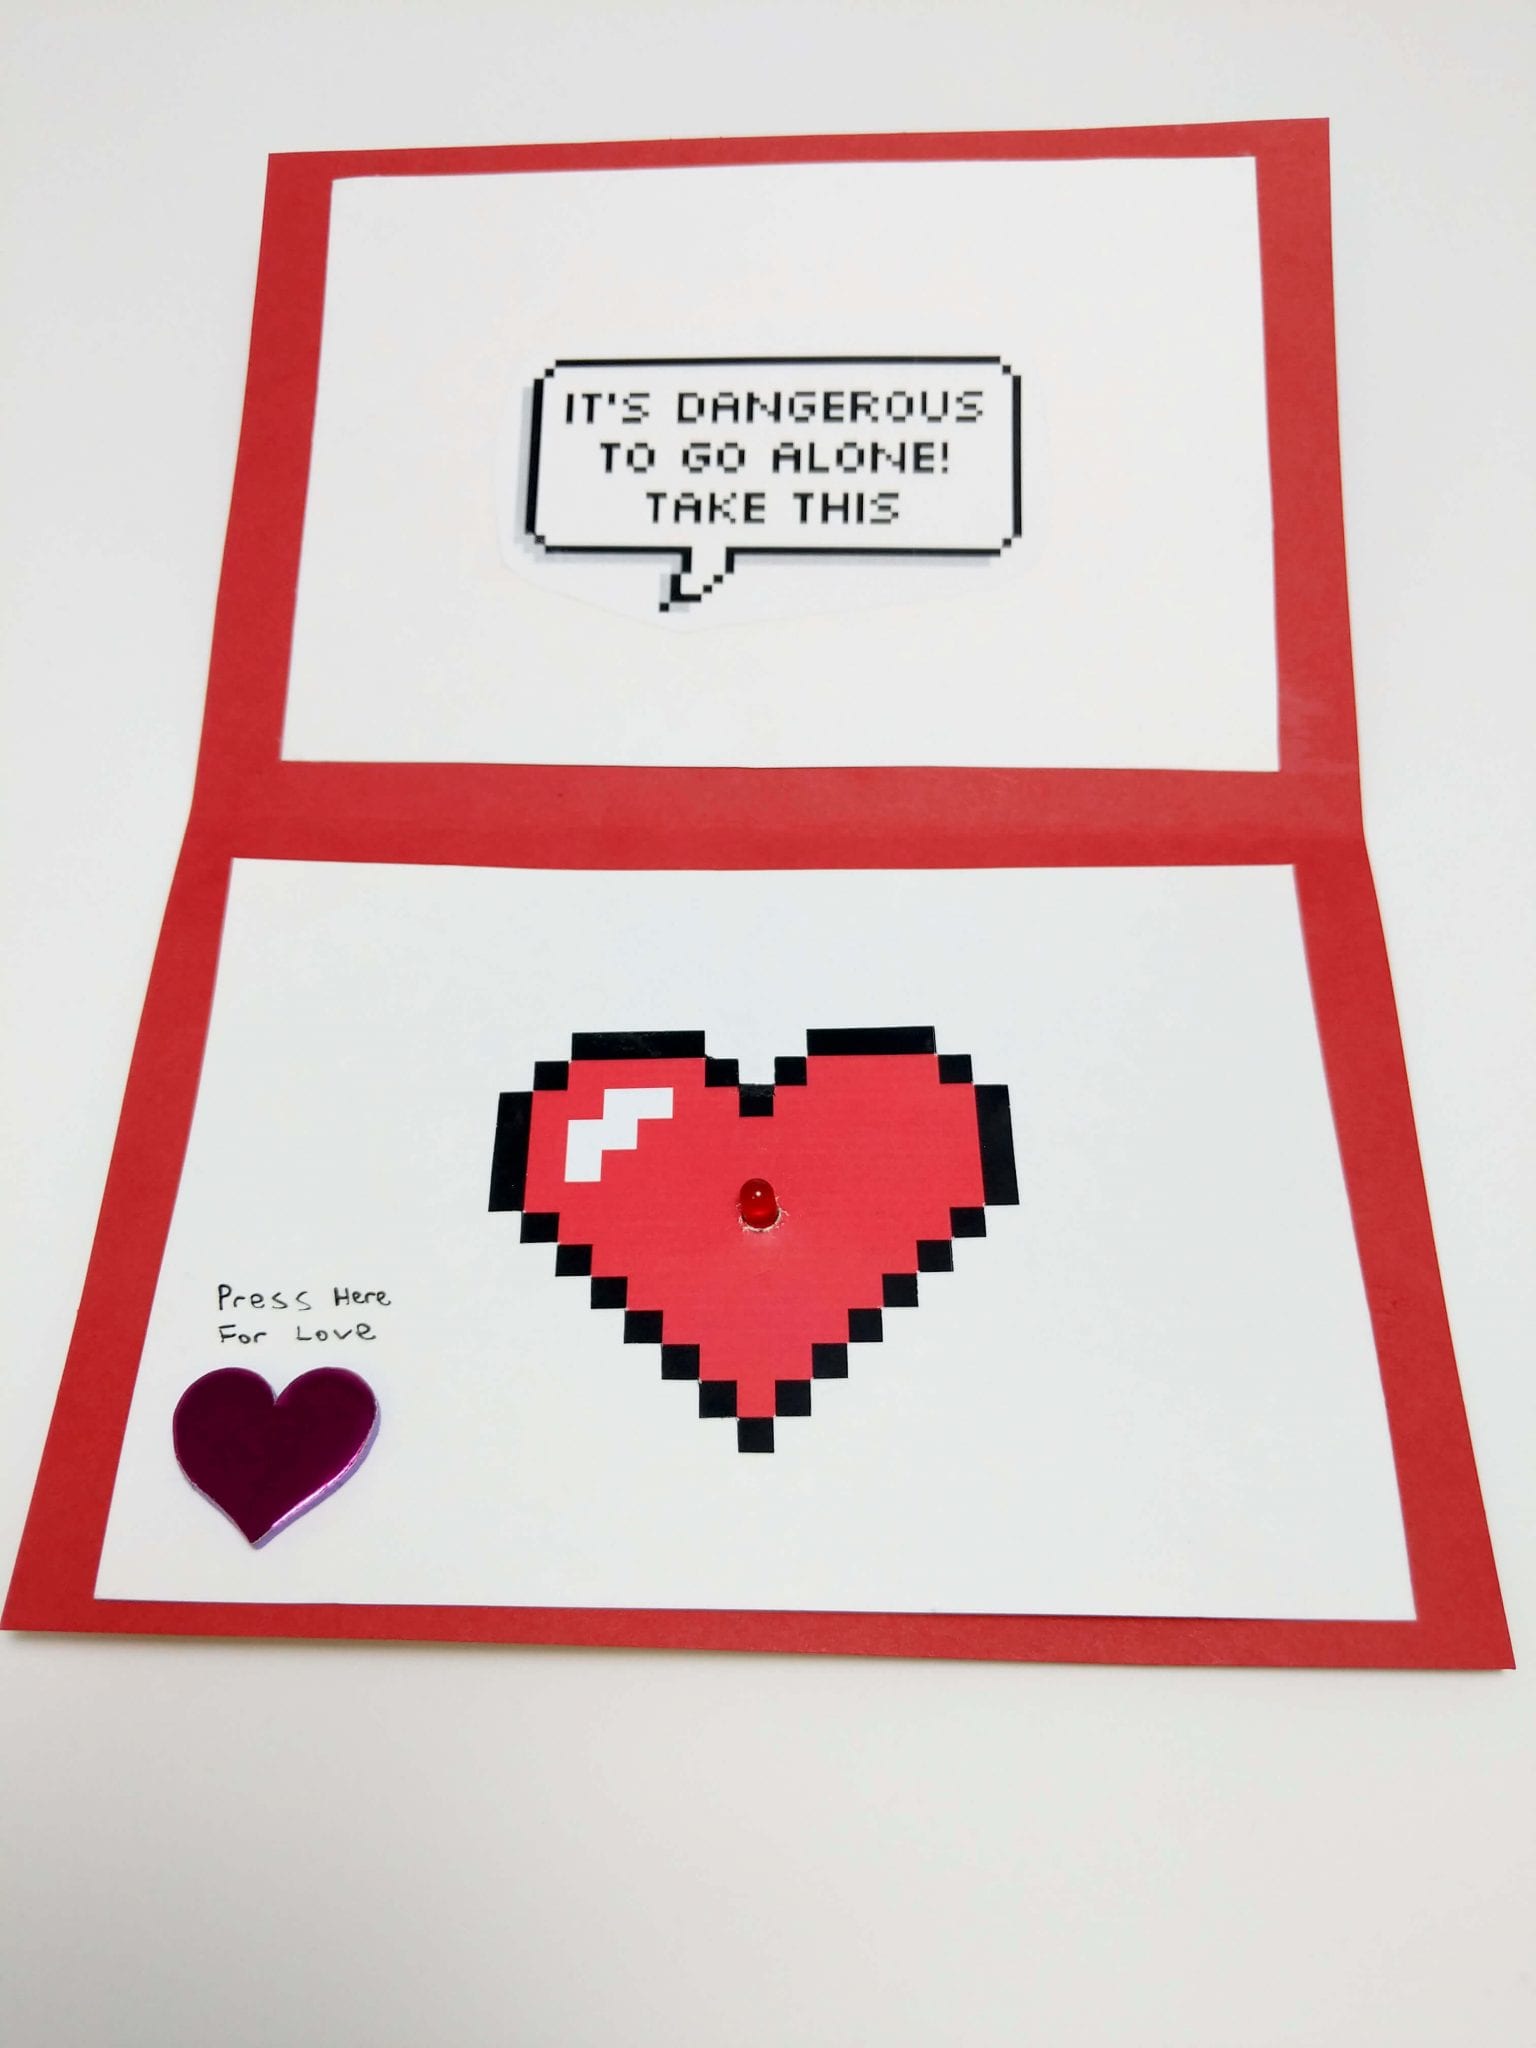
MORE POSTS
When winter settles in around these parts, daylight doesn't seem to last too long. So like moths we tend to get excited about the new bright and shiny toys we bring in. Today we have Super Bright LEDs - they're the nifty little units we put in the HexPummer Lantern to create that extra pulse […]
We've been getting many requests for additional inventory of our popular Push Pogo Pins. Well, we've ordered a batch, and we'll post an update when they're finally in. Sorry, no better ETA than that!
Now that the season of mass gift giving is (temporarily) over, publishing the details on this special gift ocarina box for a wedding anniversary will not ruin a surprise. So I figured I'd share this personal project that uses simple but smart electronics. First I soldered an interrupter switch to the SuperFlex LED Strand with Battery Pack in color purple. […]
Solarbotics, Ltd. is not responsible for misprints or errors on product prices or information. For more information, please see our Terms and Conditions.
Warning: This product contains chemicals known to the State of California to cause cancer and birth defects or other reproductive harm.
Please visit www.P65Warnings.ca.gov for more information. This item was manufactured prior to August 31, 2018.

