Finally got them through the Pick and Place machine, tested, and ready to go. Check out the blue and green versions! (We're still kicking around a VU-type Greeeeen/Yel/RED version too. What do you think?) By the way, we've got some pretty decent sample code on how to use your Ardweeny Backpack (and thusly, any Arduino-compatible) […]
Special Gift Ocarina Box
Solarbotics Ltd
January 10, 2018
Now that the season of mass gift giving is (temporarily) over, publishing the details on this special gift ocarina box for a wedding anniversary will not ruin a surprise. So I figured I'd share this personal project that uses simple but smart electronics.
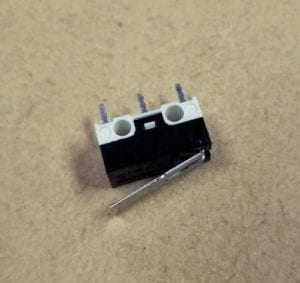
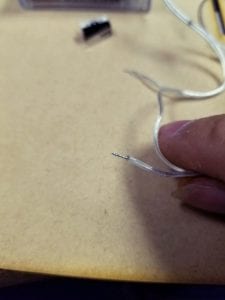
First I soldered an interrupter switch to the SuperFlex LED Strand with Battery Pack in color purple.
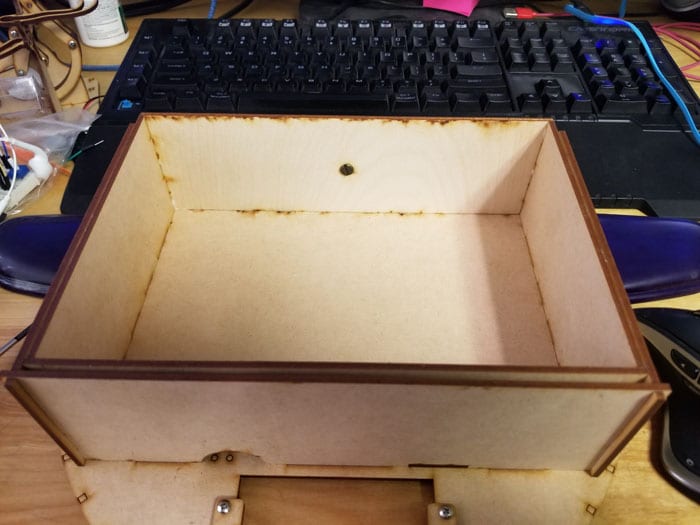
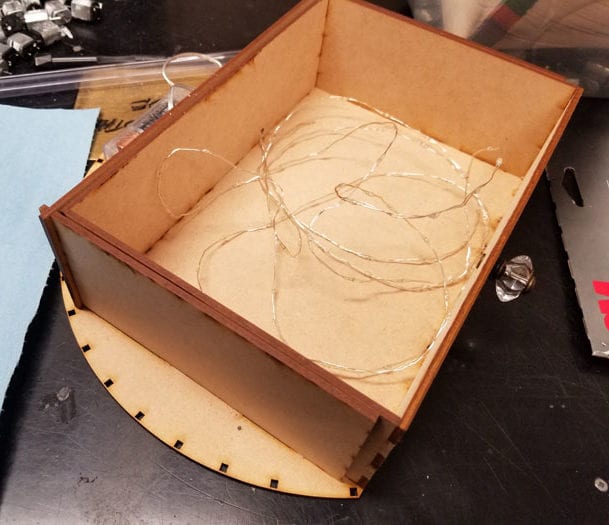
I wanted the drawer that houses the ocarina to be rectangular in shape but also wanted the overall box to be circular. I compromised between the two requirements by making the box a semicircle that looked like a capital "D".
This shape also allowed me to hide the battery pack behind the drawer which was quite convenient!
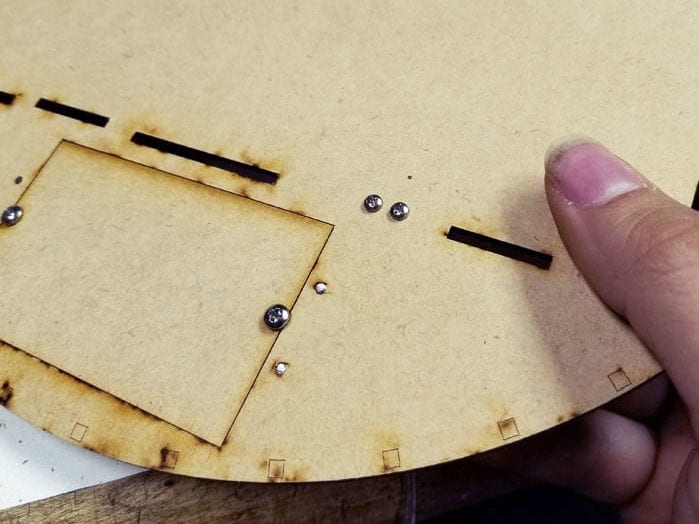
I attached two laser cut tabs with #4-40 screws to the inside of the box.
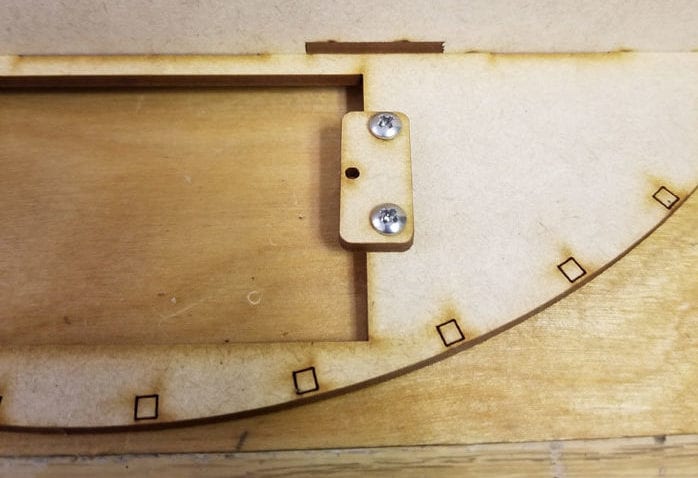
They are serving as a stopper to the small lid that will host our battery pack.
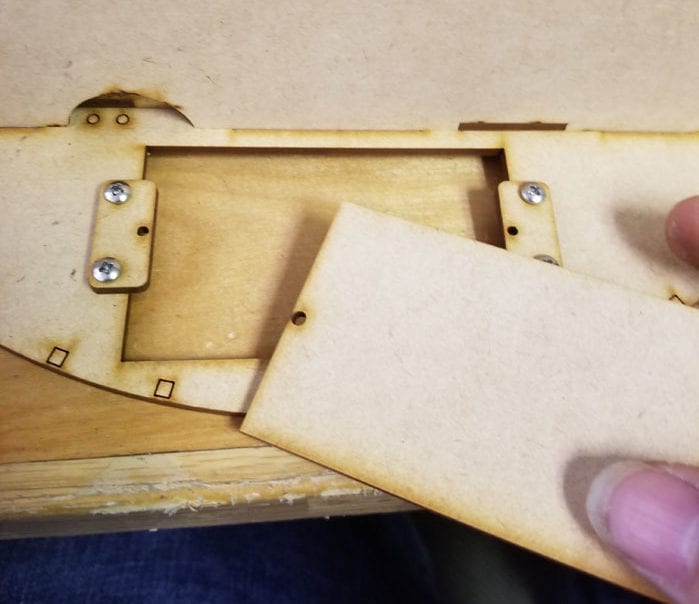
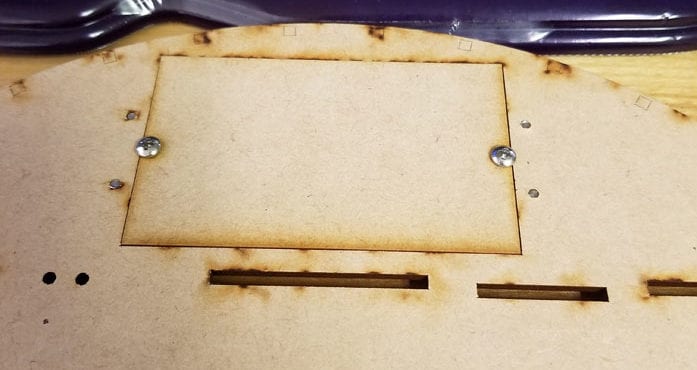
Inside view of a battery pack platform.
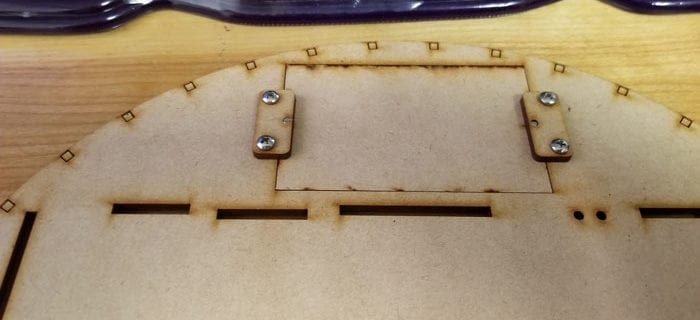
Another set of #4-40 screws holds the cutout lid on the outside. The battery pack is glued onto it and can be easily accessed for changing batteries or troubleshooting.
Looks neat and concealed.
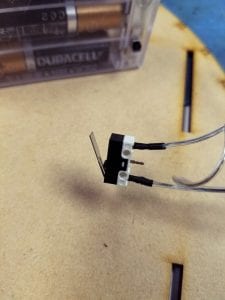
I attached the interrupter switch right with some #2 thread forming screws at the point where the drawer will sit when fully closed.
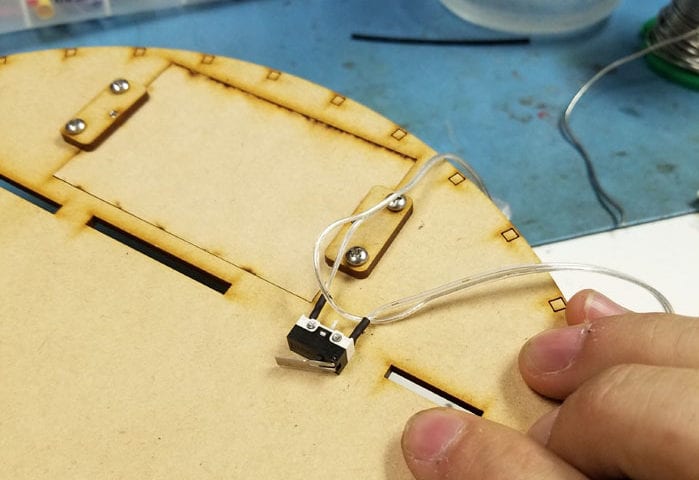
This way the LED string will only light up when the drawer opens, releasing the switch, and lighting up the contents of the gift box.
Here is the switch installed in a small cutout in the drawer's containing walls.
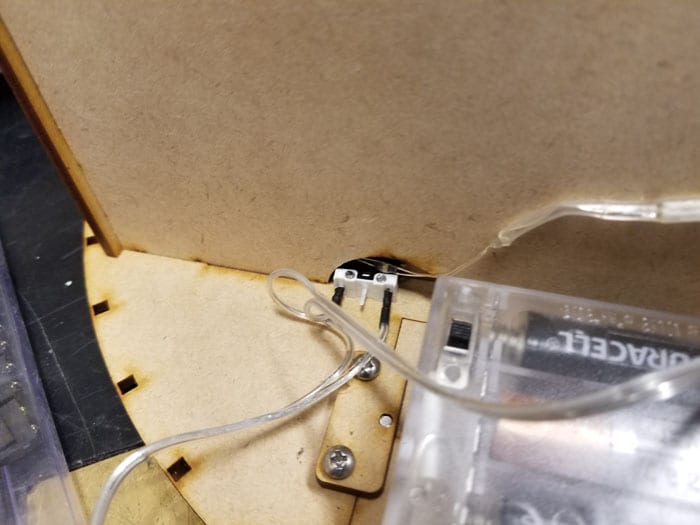
The LED string is threaded through a small hole in the back wall of the drawer. A small amount of extra length is stuffed between the containing wall and the back of the drawer so that when the drawer is opened, it does not pull on the LED string.
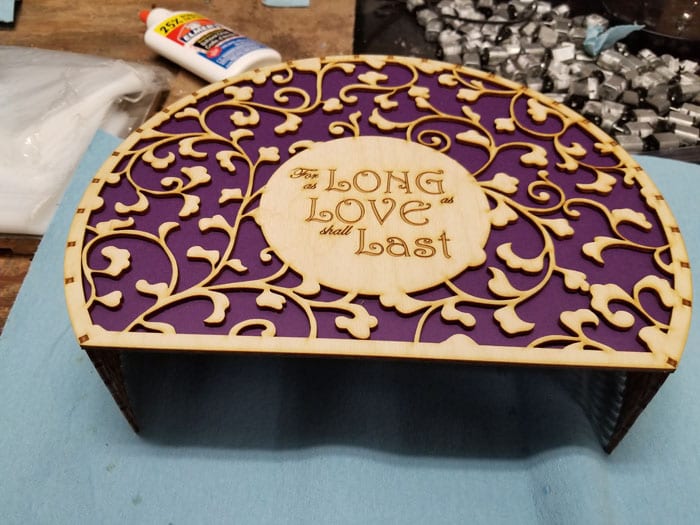
Now to the decorative part. For the lattice cutout I Google-searched and downloaded a nice vine pattern that I auto-traced in CorelDraw to make it a vector. I tweaked it by bringing the design elements closer together to increase stability, since the pattern is quite delicate. For the final design of the top lid I added a solid circle with text on it (a small quote from our wedding vows). I then laser cut out the vine design and lightly vector-engraved the text in the circle.
To complete the lid top I attached heavy purple card stock from a craft store underneath using a bit of white glue.
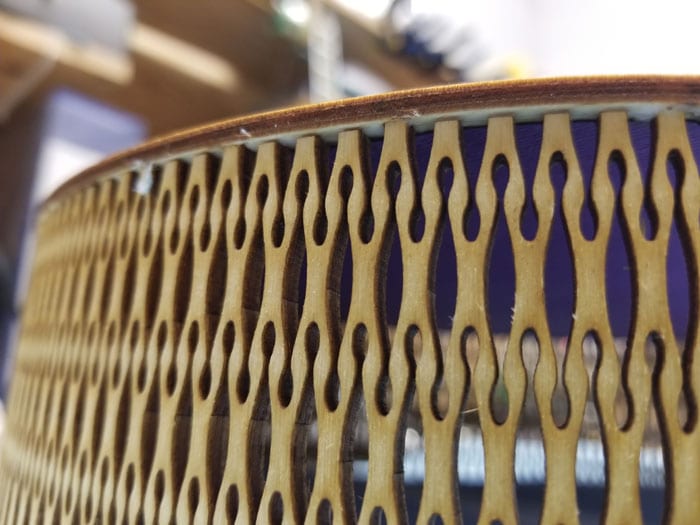
The kerf pattern that covers the semi-circular portion of the box was also found online. Every sixth point is slot-and-tab'ed into the top and bottom lids to ensure smooth curvature while maintaining stability.
The whole assembly is done using predominantly white glue - here are the lid layers stacked and pressed together for drying.
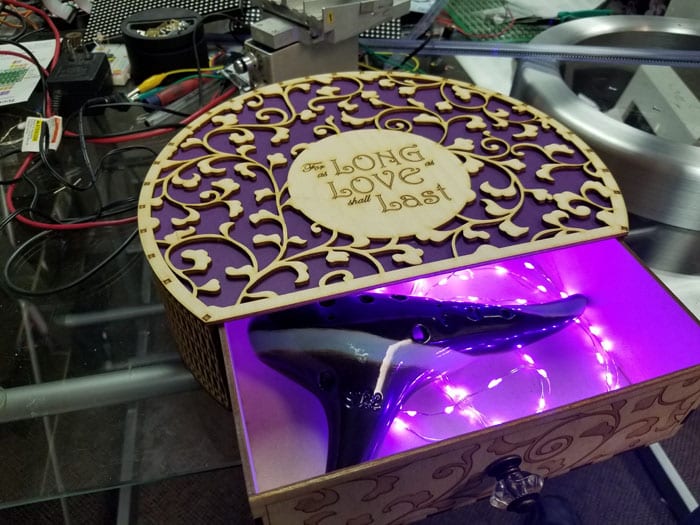
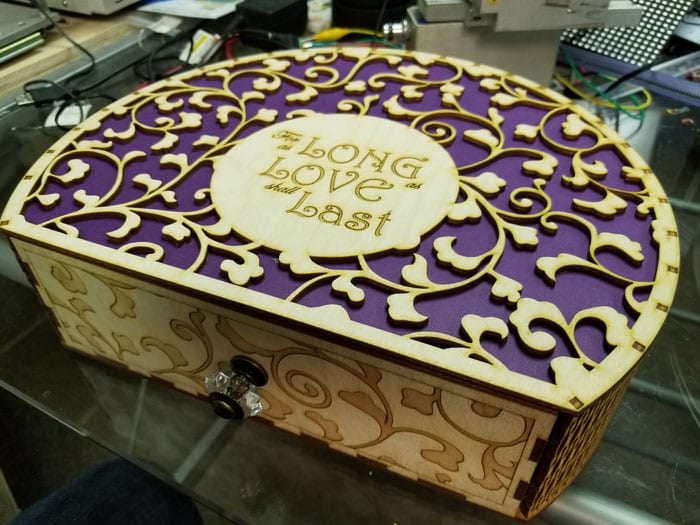
The front of the drawer repeats the same pattern as the top, but this time engraved instead of cut through. The crystal knob was found at a local craft store.
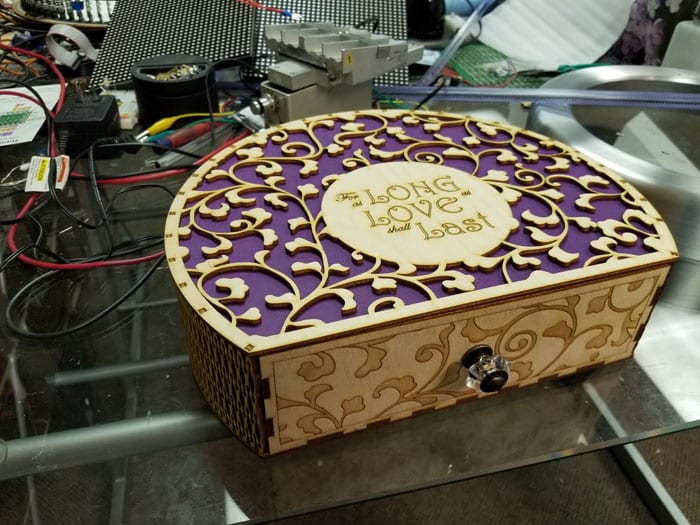
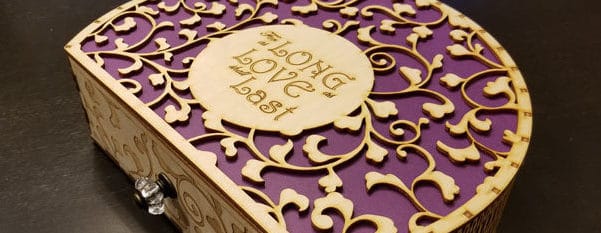
And here is the finished product, the intricate vine pattern adds complexity and dimensionality, the light golden wood grain stands out great against the opulent purple backdrop, and the LEDs inside illuminate and highlight the gift.
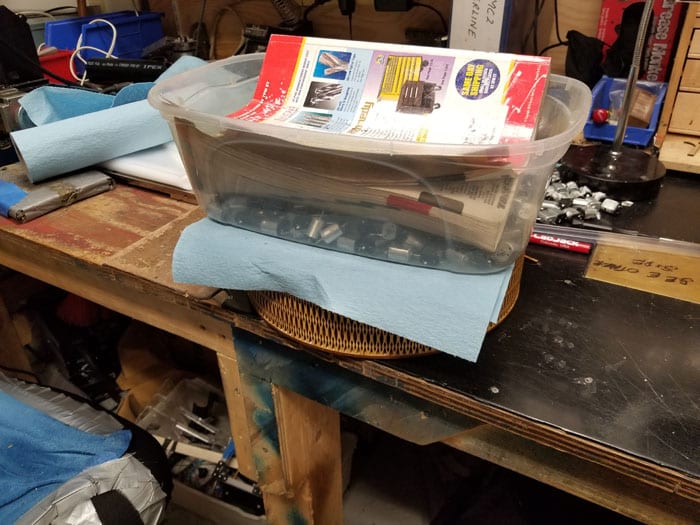
P.S. The final version added paper straw stuffing that helped to diffuse the light and provide extra cushioning for the fragile ceramic ocarina.
MORE POSTS
Russian ARDX Documentation
Примечание переводчика: первый раз перевел - не поняли, второй раз перевел - не поняли, третий раз перевел - аж сам понял! (что электроника это круто), а они все нет... If you can't read the above sentence, don't worry - you can rest assured that your browser has not all of the sudden switched to Russian-o-vision. […]
New Products: Frequency Generator, DIRRS...
Hello again everyone, this is Yana, the token Russian here at Solarbotics that brought you a newspost a little while ago. Here's a hypothetical question: what if you were asked to do a product post, again? As if one graceful and unexpected appearance two weeks ago was not enough for the audience to cherish those […]
New Kit: Type-1 Solarengine Re-issue
It's been a while since we've had this kit online, but due to some diligence we've found materials to update and re-issue it! Using the licensed "MillerEngine" (which we find to be a substantial improvement over the old Solarengine), we've changed the kit with a new black circuit board and updated documentation. Check it out […]
Solarbotics has been operating for more than 25 years, bringing electronics know-how and supplies to both the electronics professional and hobbyist. We'll be happy to help you too!
Solarbotics, Ltd. is not responsible for misprints or errors on product prices or information. For more information, please see our Terms and Conditions.
Warning: This product contains chemicals known to the State of California to cause cancer and birth defects or other reproductive harm.
Please visit www.P65Warnings.ca.gov for more information. This item was manufactured prior to August 31, 2018.