Thinking of coming to the Western Canadian Robot Games this year? Although the games don't have any BEAM events this year, we're still planning on being there to meet up with our customers (and enter a few 'bots in competition!). As usual, we're planning at also having our free annual post-event BBQ, so if you'll […]

Project: Switching Beds for a Better Cut
We laser lots of wood and acrylic... like seriously, it's hundreds if not thousands of sheets per year. This volume of throughput tends to cause the lasers to build up a lot of gunk and debris that needs to be cleaned on a regular basis. Besides being safer, it reduces the "flash" marks which are little black marks on the bottom of the material where the laser has burned through the material and reflected off the support table back to the underside of what was being cut.
Selecting the best surface used to support your lasered material comes down to a few options to which you need to ask:
- Is my project super heavy, or do I not care about table damage, scorching and just want a flat worksurface surface? (Use a flat metal tabletop)
- Are my parts small or risk being lost after being cut? (Use honeycomb)
- Do I want to minimize flash marks on my part? (Use slat)
- Am I doing the same thing over and over again and want best performance? (Use custom pin-table)
We've used all four methods at Solarbotics (five, if you include the rotary attachment for engraving ...pop bottles), with the honeycomb being the often used solution, but after our last laser cleanup, we've revisited the slat system.
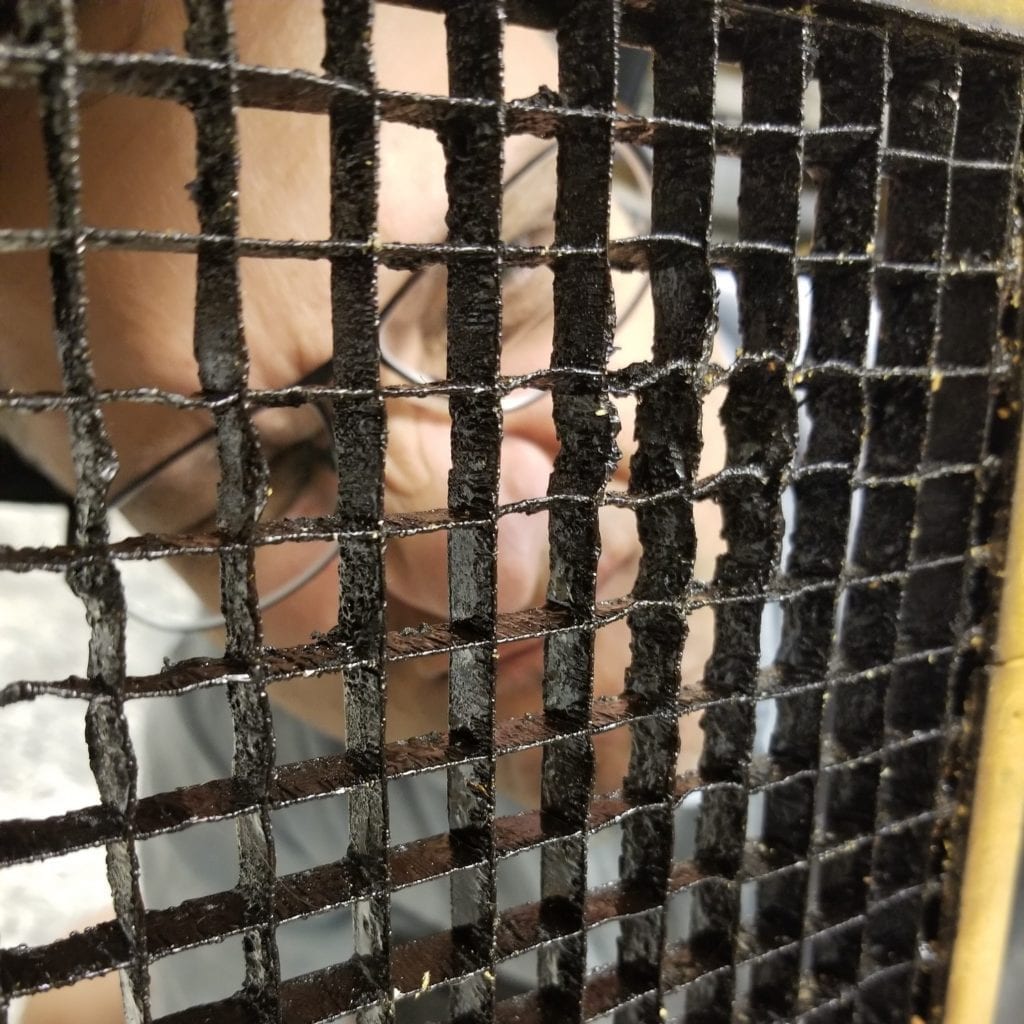
Our latest designs are larger and better tabbed so they stay together. The slat system is ideal for these jobs, with its better managing of debris build-up, and vastly reduced flashing. Less support material below the cut means there's less to get in the way. For comparison, this is what a traditional honeycomb table looks like after a few months of cutting MDF (ug!). Look at that old and crufty thing... and the honeycomb too.

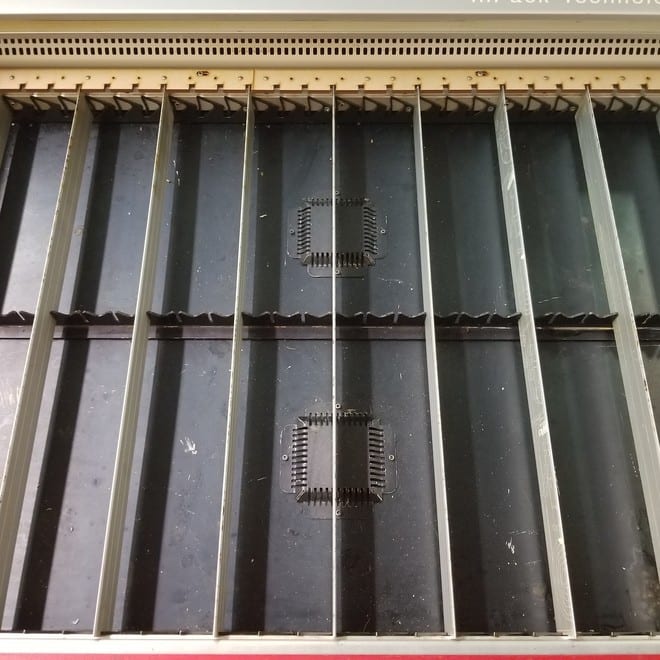
Now take a look at our new cleaned and re-slatted table! It's almost too clean...

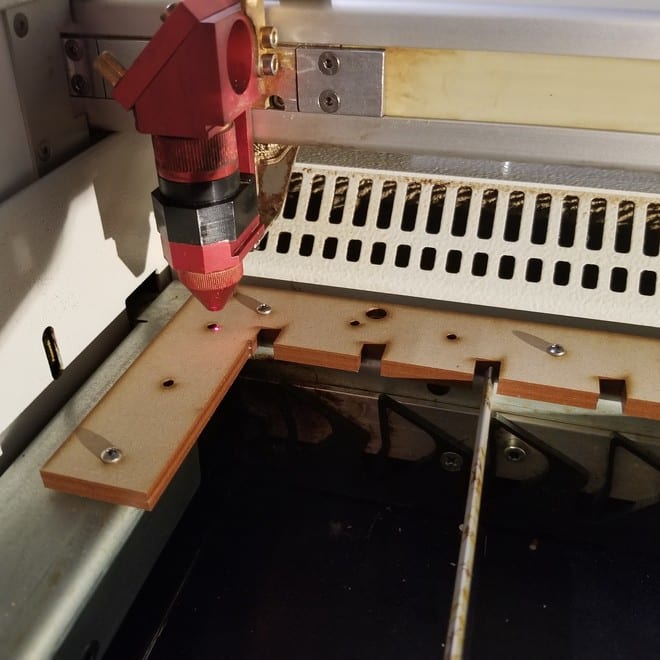
As nice as it is, this bed of slats has no indexable edge for us to register our material against. Finding a common origin point on the bed crucial in production, so we used the laser to create our own registration edge!
Using the laser to laser parts for the laser... for better lasering...
Here are the results:

With this in place, we're ready for even higher quality laser cutting.
MORE POSTS
Looking forward to a bit of recharge time after the holiday rush! While being in that mindset, here's our holiday schedule for both Solarbotics and the Active-Tech Calgary Storefront: December 24th - 9:30-1:30pm December 25th - Closed (HO HO HO!) December 26th - Closed (Whooboy... leftovers and toys!) December 27th - Closed (Moar leftovers... and […]
Mini-360 DC-DC Buck converter $3.70 Super compact and capable, this DC-DC buck converter can knock down a voltage from 23V to as low as 1V with up to 95% efficiency. Wonderflex Heat-activated Composite Plastic Sheet $79.00 This is a heat-activated, formable polyester plastic sheet that is very popular in making prop armour and other rigid […]
It's really nice to receive pics of projects people have built out of our book "Junkbots". Here's one of the latest: the Pendulum by Christopher Pepe. Nice magnetic suspension mechanism! Read More...
Solarbotics, Ltd. is not responsible for misprints or errors on product prices or information. For more information, please see our Terms and Conditions.
Warning: This product contains chemicals known to the State of California to cause cancer and birth defects or other reproductive harm.
Please visit www.P65Warnings.ca.gov for more information. This item was manufactured prior to August 31, 2018.

