Greetings! Just a quick note that Solarbotics is closed this Monday October 9th for Canadian Thanksgiving. Sorry if this is an inconvenience for you, but this turkey has made an appointment with us that we just can't miss! We'll be back to business as usual on Tuesday. See you then!
Project Monday: Gilroy's ErgoGP
Solar botics
July 8, 2013
Since we've been slacking for awhile on our Project Monday, I thought I'd share a project I've been working on the past couple of weeks.
Being the office code monkey, I spend a lot of time in front of a keyboard. This has led to a fair amount of discomfort and sparked a quest for a new keyboard. I've been aware of the Kinesis keyboards for quite some time, particularly their Contoured/Advantage line:

They're fantastic keyboards from what I'm told, however the price tag has always been a barrier to entry for me. Looking for a compromise between comfort & price, I stumbled across an open source project called the ErgoDox:
This layout sports a number of improvements over a standard keyboard, and the staggered column layout is far more comfortable. Being an open source project, I downloaded & laser cut the files for the layout, intending to try it for myself. This new layout felt worlds better than the current board I use, and also allows you to separate the keyboard halves completely and place them where comfortable.
I began to read more and more about the board on GeekHack, a forum dedicated to mechanical & custom keyboards. When I read through the discussion about it, I found there were was fair amount of feedback regarding the layout, comments that echoed my own whenever I would lay my hand on the board I had test cut. I began to make notes, scheme & design, until my first prototype emerged from the laser:
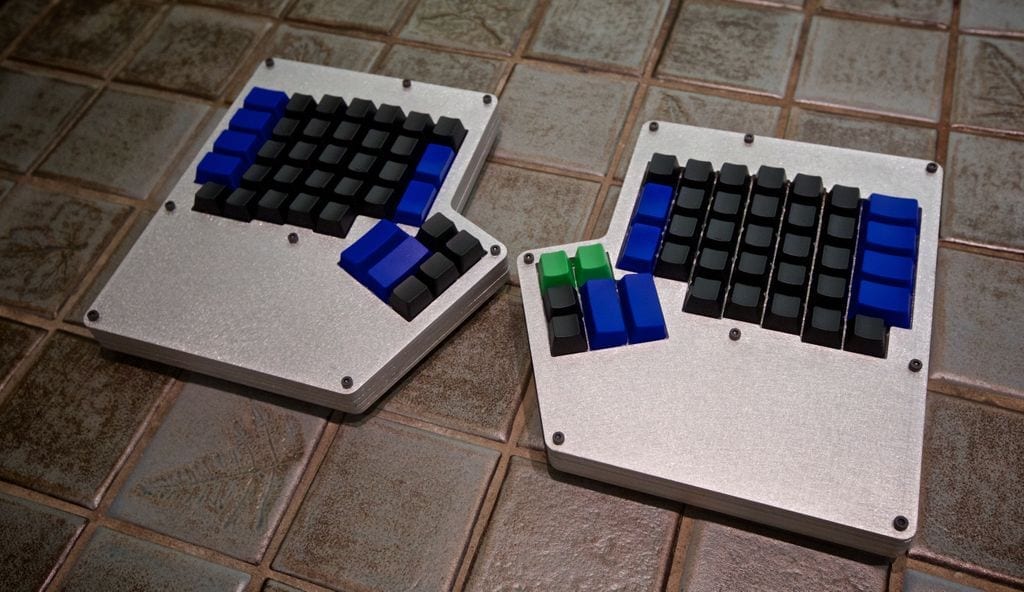
My design is on the left, The ErgoDox test cut on the right.
To quickly summarize the changes I made:
- I shifted the two most left columns down, bringing them into better alignment with my pinkie
- Raised and tented the layout, again moving my wrists into a more natural resting position
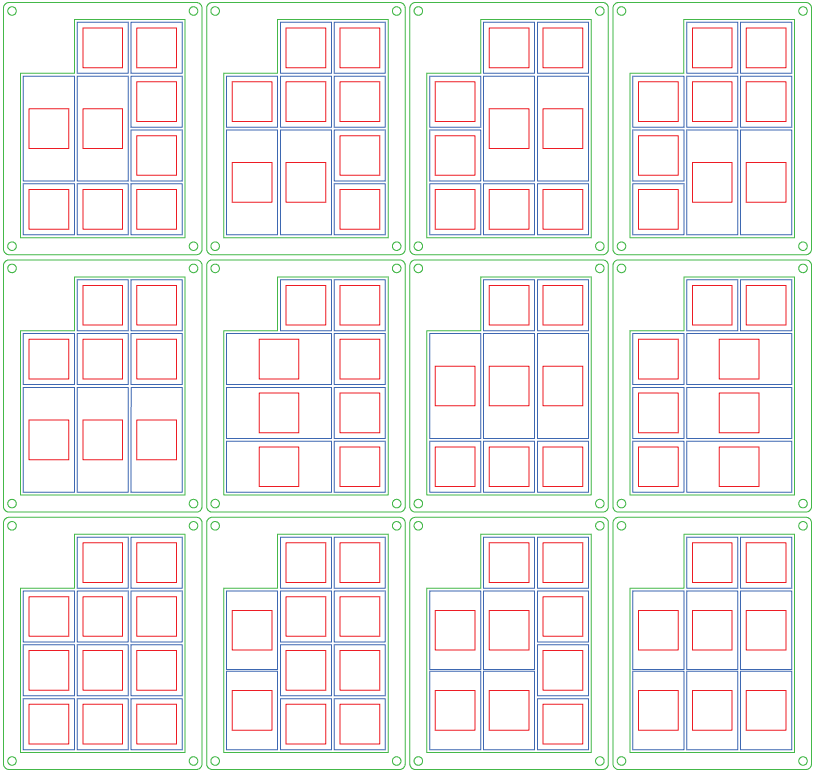
The major change that I had made to the layout was the thumb area, moving it lower, adding a second row of keys and bringing it in a bit closer to the body of the device. This has both positives and negatives. It requires a second PCB, however, this also allows for different layouts to be easily swapped in and out at the user's preference:
Based on some feedback from the community, chiefly that my wrists would grow tired quickly without support, a second revision came together quickly:
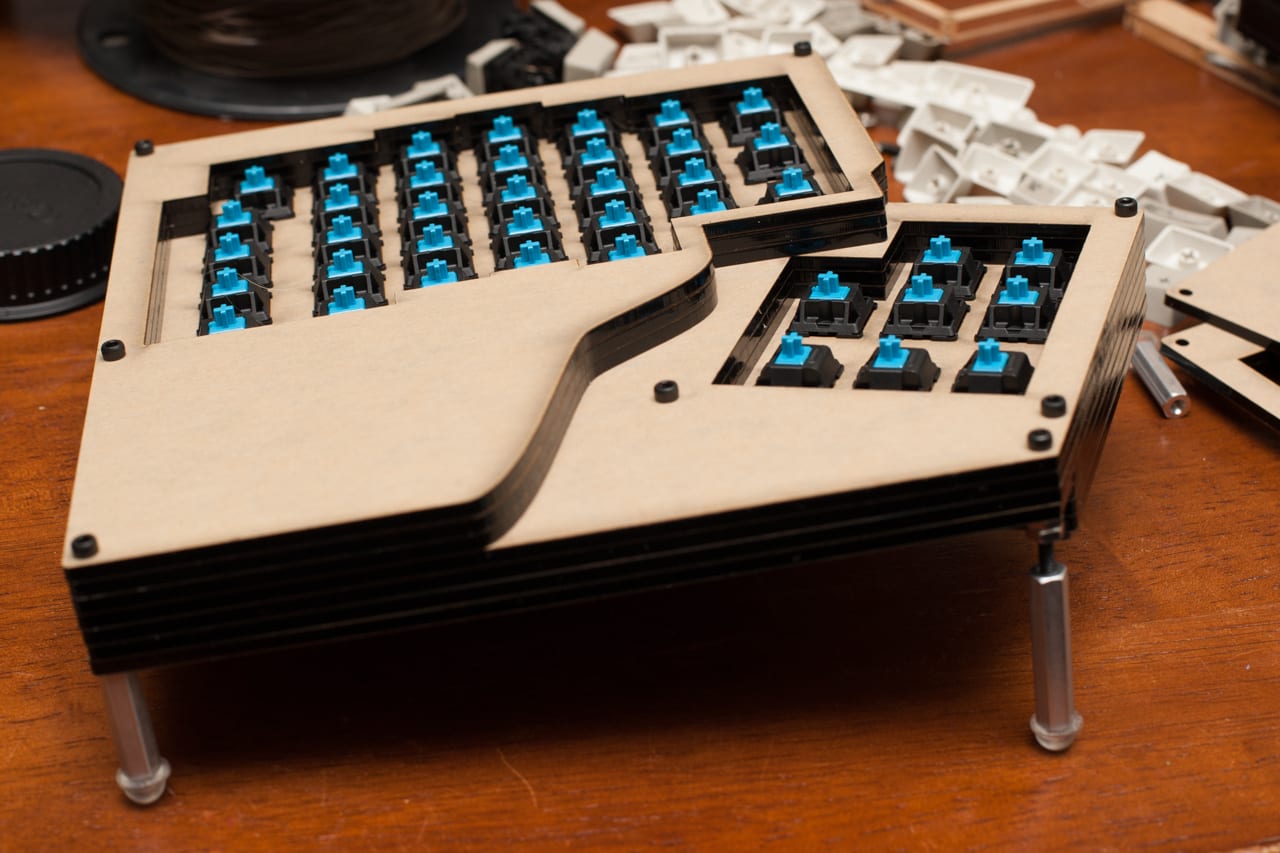
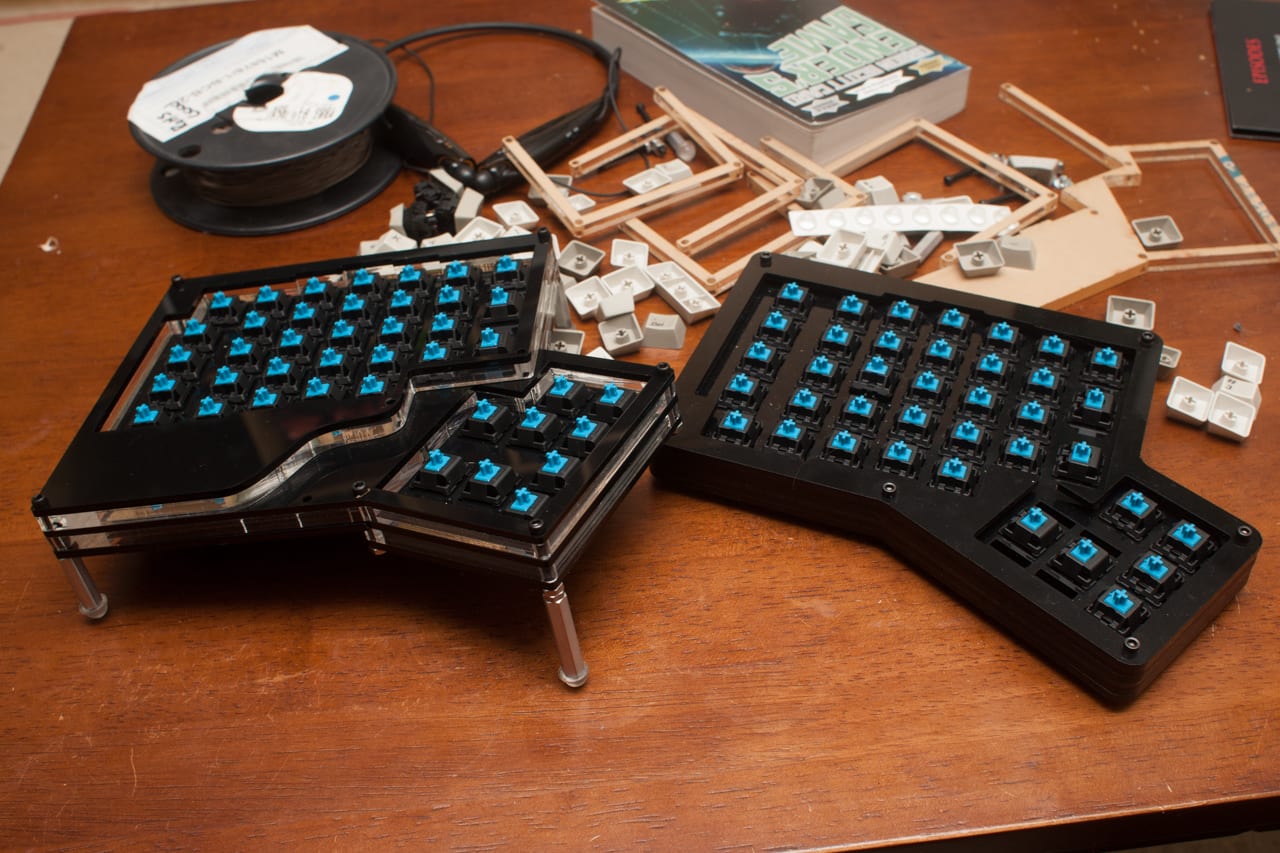
At this point I had more than a few people comment on that fact that it looks like a grand piano, and thus the project got its name, the ErgoGP (grand piano). Of course, I couldn't use a keyboard without keys, and with orders in with Signature Plastics and a fellow from the GeekHack boards, I realized I would need a layout to test on and began to prototype via the tried and true method, deadbug soldering:
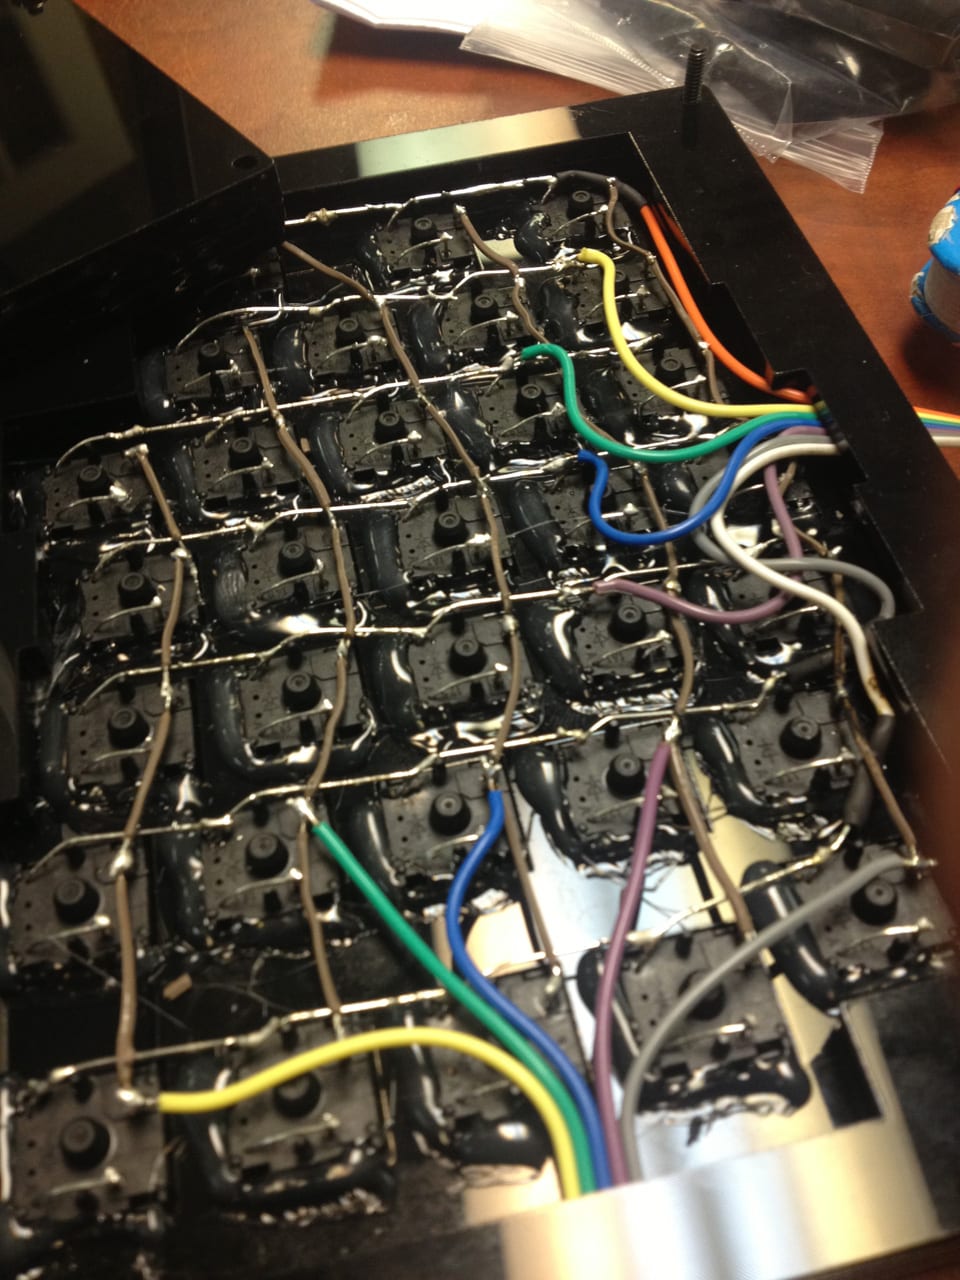
This however became a bit tedious, and I quickly switched over to designing prototype PCBs instead, which should be (hopefully) on their way soon from Seeed Studio's FusionPCB service. I'll cut my rambling here for now, and come back next week to discuss the electronics & features I have in mind. If however, you're impatient as I am, you can always check out the ongoing project log over at GeekHack, or email me at it[at]solarbotics.com. Til next time!
MORE POSTS
Wednesday Cool Links: Now With More Hex
50 73 73 74 2e 2e 2e 20 41 72 65 20 79 6f 75 20 72 65 61 64 69 6e 67 20 74 68 69 73 3f 20 57 68 65 77 2c 20 49 27 6d 20 67 6c 61 64 2e 20 54 68 69 73 20 67 69 76 65 […]
Our Tech doesn't stink.
We have proof. Jeremie uses up these deodorant sticks, and does stuff with them:
GD-2 Thermal Paste
Some of our favorite vendors reduced their offerings in thermal paste, so we searched out replacement inventory. We came across GD-2 being reviewed as a cost-effective alternative to more premium thermal pastes. So we've brought in some stock in 1, 7 and 15gram volumes. At 7.5W/MK, it's almost twice as effective as our budget thermal […]
Solarbotics has been operating for more than 25 years, bringing electronics know-how and supplies to both the electronics professional and hobbyist. We'll be happy to help you too!
Solarbotics, Ltd. is not responsible for misprints or errors on product prices or information. For more information, please see our Terms and Conditions.
Warning: This product contains chemicals known to the State of California to cause cancer and birth defects or other reproductive harm.
Please visit www.P65Warnings.ca.gov for more information. This item was manufactured prior to August 31, 2018.