So, I writes this book, see? And it sells pretty good, so in November, I orders more books, see? And they says "HEY! We gots none left - calm down, we're printing more". So, I sits and waits, and FINALLY they comes in! Here's the great part: It looks like this is the new printing, […]
New: The Ardweeny BackPack!
Dave Hrynkiw
October 20, 2010
 We've been playing with the Pick and Place machine, and thought about new projects. This one, besides just being plain handy, offered us a simple project to start adding surface-mount parts to!
The Ardweeny is proving to be a popular way to make a breadboard-friendly Arduino-clone, but after the prototyping is done, you still have to figure out how to get your Ardweeny into the real world.
Here's the new Ardweeny BackPack, in both plain and SMD LED version. Plug your Ardweeny into this carrier, featuring:
- Socket mount for easy Ardweeny moving/swapping
- Combination 4-pin header for Servo / Blink-M / I2C interfacing
- Low-dropout 5V regulator
- Temperature sensor (TMP36) mounting pad
- 2-position power jack (end or side-mount)
- #2 screw mounting holes
- SMT LED versions features 8 bottomside LEDs connected to digital pins 0-7 for easy POV (persistance of vision) or bargraph indication
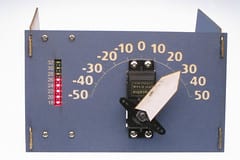
One of our first tests was using an Ardweeny for a dual-scale thermometer, ranging -50 to +50ºC on an analog (servo) scale, and 18 to 32ºC on the bargraph, on a laser cut base. It's a work-in-progress, but the cutting files & Arduino source code are available on the resource page.
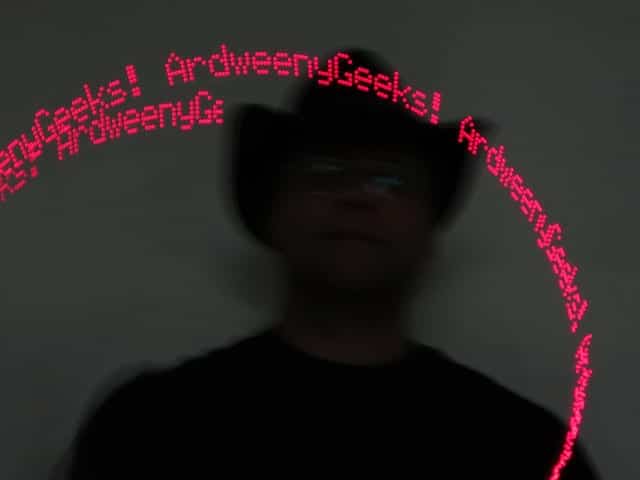
Oh, here's a picture of the POV in action!
MORE POSTS
Yaaaarrr! Solarbotics successfully board...
Ummm, yup! Here's an April Fool's joke for you - that April Fool's wasn't a joke! Solarbotics has indeed taken over the operations of HVWTech.com! The owner of HVWTech has new priorities in his life (about 1 year old, drooling, and crawling around on the floor), and decided to hand off operations to us. We're […]
The Solarbotics DIY Island & Repair...
What's the biggest event for Solarbotics in the spring? Calgary Comic Expo on April 27-30! This year we are going to be there as part of the DIY Island (booth 110) at BMO Centre, Calgary Stampede Park. DIY Island is a booth space shared between Solarbotics, Repair Oasis, Protospace and MakerFaire Calgary. Solarbotics will be […]
Canada Day Holiday
Solarbotics will be closed for the July 1st Canada Day celebrations. We gotta let our people have fun some of the time...
Solarbotics has been operating for more than 25 years, bringing electronics know-how and supplies to both the electronics professional and hobbyist. We'll be happy to help you too!
Solarbotics, Ltd. is not responsible for misprints or errors on product prices or information. For more information, please see our Terms and Conditions.
Warning: This product contains chemicals known to the State of California to cause cancer and birth defects or other reproductive harm.
Please visit www.P65Warnings.ca.gov for more information. This item was manufactured prior to August 31, 2018.