Stupid calendar! I almost wanted to congratulate everyone on surviving Friday the 13th... But the dumb calendar did not cooperate. So I have no choice but to complain. Maybe even submit a report to the calendar. Those stubborn days and their numbers, they will answer for such a misbehavior. Arduino Due $58.95 The long awaited […]

Metal Spinning Field Trip
We've been researching a manufacturer for a shiny new product we are working on (shhh, don't tell anyone and stay tuned for the reveal!). What we have been looking for is a metal spinner. Metal spinning, also known as spin forming, spinning, or metal turning most commonly, is a metalworking process by which a disc of metal is rotated at high speed and formed into an axially symmetric part. Spinning can be performed by hand or by CNC lathe.
 After doing lots and lots (and some more!) of internet browsing we came across Sieg’s Manufacturing (pronounced /seɪdʒ/). It is a family-operated shop that has been in business for more than 40 years and is located in Langley, British Columbia. It is one of only a few companies on the west coast who spin metal, serving most of Western Canada and the north western quadrant of USA. Being the closest manufacturer to us other than a random Hutterite colony in the middle of nowhere, it was worth a flight to Vancouver to check them out. So our emissary hopped on a plane for a day trip and brought back some stories.
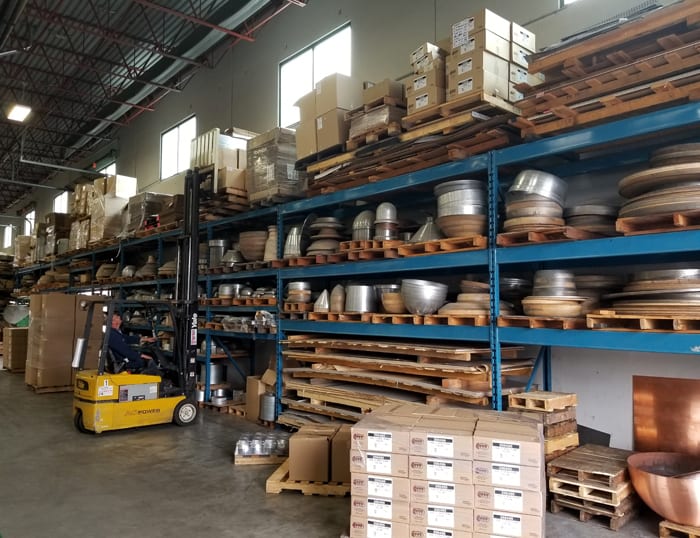
Sieg's Manufacturing is a pretty slick operation that pumps through a TON of different metal spun products. In the picture below we can see a portion of tools these wizards use to form and contour the metal disc into the desired shape. Tools can be machined out of wood or steel and are used to act as the "die" that the metal is spun around to form the final product. While a wood tool is cheaper to machine, a steel tool is the standard for large volume production runs where you need to produce more than 600-700 units. The more you use the tool, the more its sharp edges and ridged shape begin to dull.
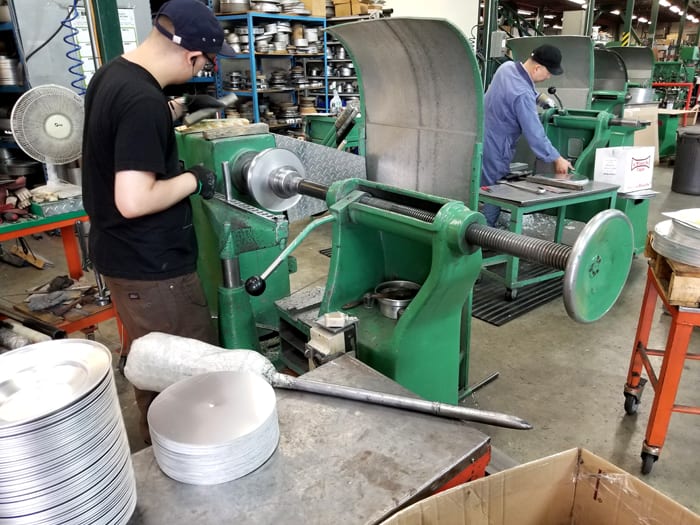
 The process of metal spinning is actually quite interesting. Sheet metal of the preferred gauge is cut down to manageable squares and again into circular blanks to be used on the lathe. The blank is then brought over to the hydraulic punch to create the necessary holes required by the design, such as mounting holes, viewports, or drainage holes. Depending on the quantity to be produced, the punched blank is mounted to a CNC or hand operated lathe and the user/machine bends the metal around the tool until the blank has reached the desired shape.
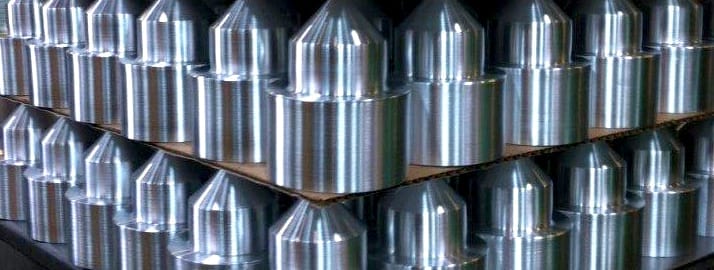
 The finished product can be removed from the machine with a default surface finish or can be cleaned up with a sexy brushed surface finish which gives it a nice textured look. The above image shows a stack of finished parts used for smoke stack covers on the left, and the unmolded blanks sitting directly to the right of them.
All in all, our little field trip was a success, giving us more insight into how parts of our super secret product will be manufactured for your eventual enjoyment!
MORE POSTS
Grove - Smart Plant Care Kit for Arduino CAD 85.28 / USD 59.90 A functional kit that helps monitor the environment and care for plant growth! 200W Buck Module CAD 22.00 / USD 16.90 When mini buck converters just won't do. Grove - Ear-clip Heart Rate Sensor CAD 16.80 / USD 12.90 Grove Heart Rate […]
8th Edition is online! Get it here, or under the "Resources" tab - it's on the top bar.
Hello, everyone! ... And without further ado, ladies and gentlemen, we present: THE BRUTUSBOT. /cue the fanfare of one thousand trumpets, a legion of marching drummers, seven tubas, and some guy named Donald busting out a wicked solo on a mandolin "Hark! What is this overwhelming contraption of might and thunderous presence?!", you must be […]
Solarbotics, Ltd. is not responsible for misprints or errors on product prices or information. For more information, please see our Terms and Conditions.
Warning: This product contains chemicals known to the State of California to cause cancer and birth defects or other reproductive harm.
Please visit www.P65Warnings.ca.gov for more information. This item was manufactured prior to August 31, 2018.


