Cool! We've found some SC3782 (37x82 mm) solar cells! Since Panasonic ain't making these anymore, and there aren't many of these left, you'll only find them here at Solarbotics until they're all sold out. Get'em while they're hot!
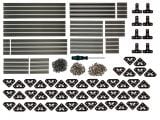
Open Beam Extrusions and Videos
We've been having lots of fun with Openbeam, building all kinds of handy contraptions out of it. Today's issue of Hey Look It's New Stuff covers a big chunk of our stock.
 |
OpenBeam Extrusion - 1000mm Length $175.00 If you find it annoying to cut the 1m open beam extrusions down to size - you can now rejoice! Open beam precut lengths are here! Offered in a conveniently packaged kit, these precut pieces are ideal for designing all kinds of interesting structures. It is available in both black and silver. |
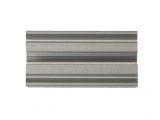 |
OpenBeam Precut Extrusion, Clear Anodized, 30mm $1.00 |
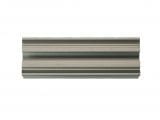 |
OpenBeam Precut Extrusion, Clear Anodized, 45mm $1.00 |
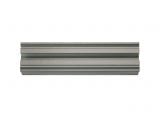 |
OpenBeam Extrusion, Clear Anodized, 60mm $1.25 |
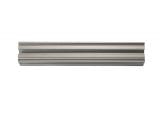 |
OpenBeam Extrusion, Clear Anodized, 90mm $1.50 |
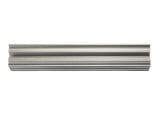 |
OpenBeam Precut Extrusion, Clear Anodized, 120mm $1.80 |
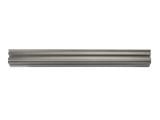 |
OpenBeam Precut Extrusion, Clear Anodized, 150mm $2.10 |
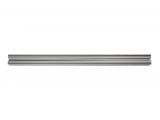 |
OpenBeam Precut Extrusion, Clear Anodized, 210mm $2.75 |
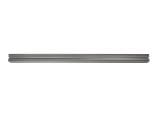 |
OpenBeam Precut Extrusion, Clear Anodized, 270mm $3.30 |
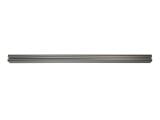 |
OpenBeam Precut Extrusion, Clear Anodized, 300mm $3.65 |
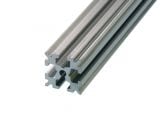 |
OpenBeam Extrusion - 1000mm Length $10.00 |
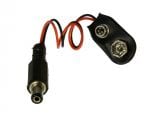 |
9V Snap to 2.1mm Barrel jack Cable $2.95 Well, this one is not OpenBeam, but we were too excited to have them in finally to leave them 'til the next week. Need a battery for your Arduino that is high enough to regulate the voltage to down to a solid 5V? Well here comes the 9V Snap to 2.1mm Barrel Jack Cable to your rescue! It allows you to plug in 9V and 7.2V rechargeable batteries to anything with a 2.1mm Barrel receptacle on it. |
And what would you make out of all these neat little pieces, you will ask? Our latest is the robot chassis that we showed off a couple days ago. This particular revision shows our attempt at mounting laser-cut wheel-legs ("Whegs"?) and having it scramble across a particularly nasty Lego landscape. If you wanna sneak a peek at yet another iteration of the chassis we are working on, visit our Flickr photostream.
In other news, we use lots of ribbon cable and often need it in precision cuts of 8"-lengths. Using OpenBeam parts, an Arduino with CMDR shield, and a stepper motor we created this super handy machine you can see below. You can find a bit of project details in the video description.
We were also getting really tired of endlessly counting screws. So we got an automatic screwdriver feeder, and bent it into our will by hacking it with Arduino that controls the current and reads the sensor input. We also built a rotating carousel for catching the parts using some handy Openbeam components.
And that's it for the OpenBeam issue today. Huge kudos go out to Terence Tam for kickstarting this cool construction material!
PS- Just a quick reminder that you can order your custom Useless Box top. More details in one of the previous posts.
MORE POSTS
Well it looks like that time of year when snow's in the air and we are out of the office for those precious holiday-tastic days. Over the next two weeks(ish) Solarbotics/HVWTech will be closed on the following dates: December 24th (Wednesday) December 25th (Thursday) December 26th (Friday) January 1st (Thursday) January 2nd (Friday) During this […]
David Cook of the Robot Room asked us if we'd carry the partner PCB's for his book 'Robot Building for Beginners'. As we're an enthusiastic fan of this excellent book, we agreed to carry it for him. (even though we don't sell the book...yet!) Please note: You require a copy of this book to successfully […]
We've been busy little elves at Solarbotics. New to our product listing is a fair number of parts and ICs that have been requested of us. Like what? Wellll...: You always need new chips. Especially when somebody on the BEAM list has made something cool: LM324 Op-amp (happy now, Bruce?) LM393 Dual comparator LM386 Audio […]
Solarbotics, Ltd. is not responsible for misprints or errors on product prices or information. For more information, please see our Terms and Conditions.
Warning: This product contains chemicals known to the State of California to cause cancer and birth defects or other reproductive harm.
Please visit www.P65Warnings.ca.gov for more information. This item was manufactured prior to August 31, 2018.

