Well, somebody from Solarbotics will be at the Eastern Canadian Robot Games, namely Dave Hrynkiw, and Grant McKee. If you're going to be out in the Toronto region this weekend (October 26 and 27), come by and see the games at the Ontario Science Center!

DIY LED Fosshape Horns
Solar botics
November 17, 2016
A handy tutorial explaining how to put together the RGB LED Horns. Make your own, or get a kit with everything included (except for the paint).
Supplies:
Fosshape 300
2 x slow scroll RGB LED
2 x coin cell batteries
conductive thread
2 x coin cell battery holder - sewable
2 x pieces of velcro (hook side)
dimensional fabric paint (like this) - not included in the kit
Tools:
scissors
needle
heat gun
needlenose pliers
clear nail polish - optional
Step 1. Pattern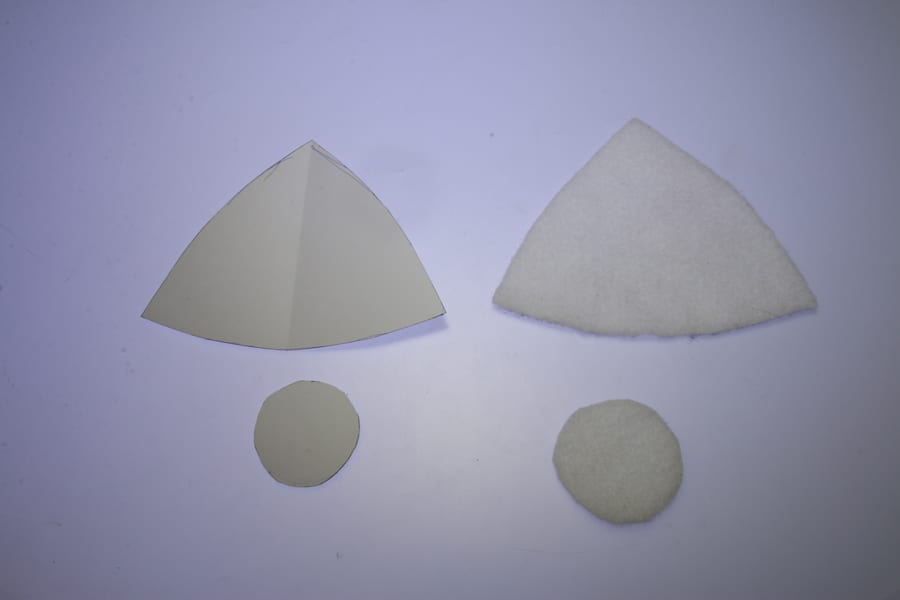 Cut out your own pattern - a simple triangle and a circle for the base.
Step 2. Shape the horn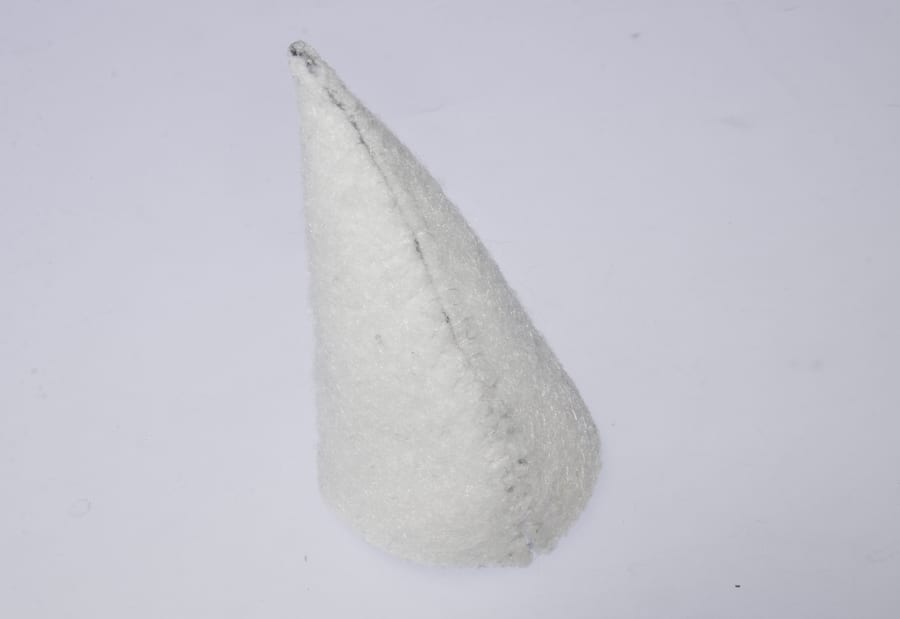 Sew the triangle along the long edge. Shrink and form it over the heat gun - make sure to watch the fabric, when heated too much it will melt and form holes. Instead of trying to form the hot Fosshape with your hands, the best way to harden the shape is to hold it above the heat gun making sure to heat it evenly and let it shrink. Shrink the bases too while keeping them flat, but don't sew them on yet.
Step 3. LEDs preparation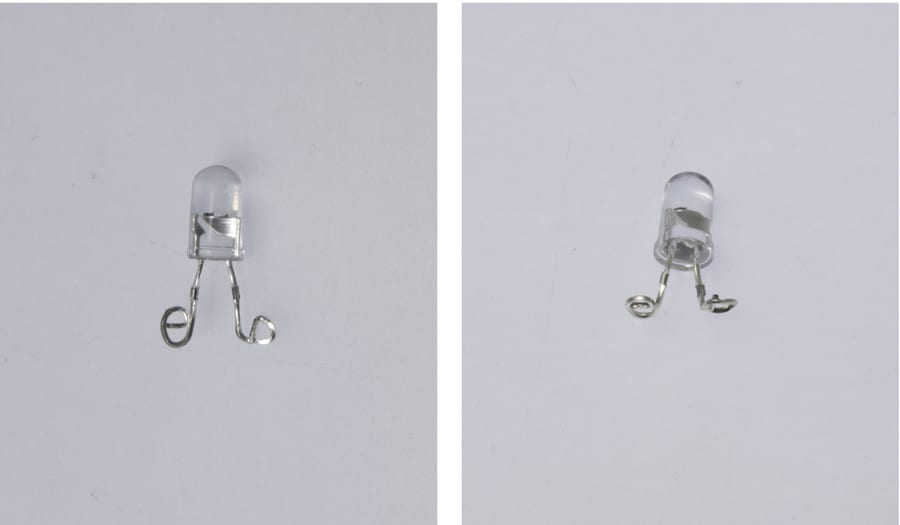 With needlenose pliers curl up the LED legs and bend them 90 degrees so that the loops sit flat when the LED is facing up.
Step 4. Battery holder
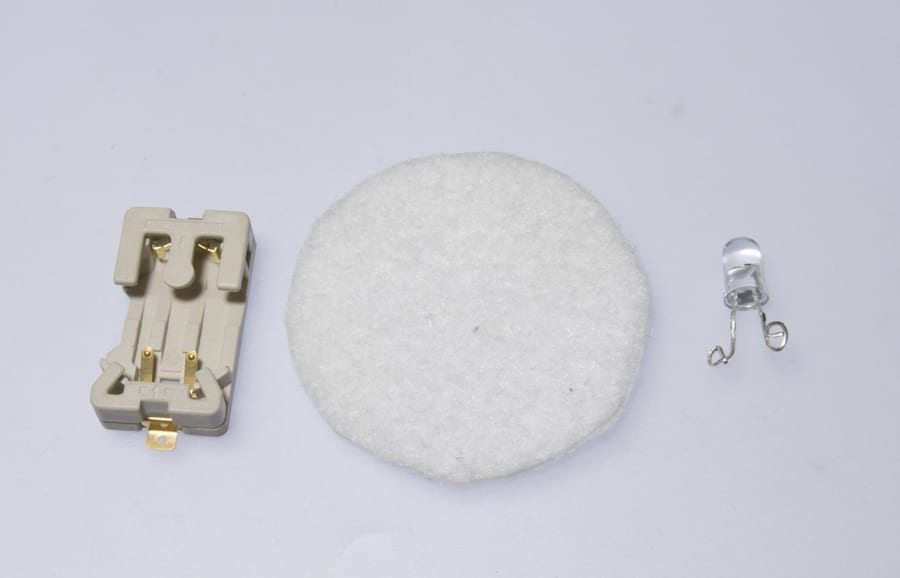
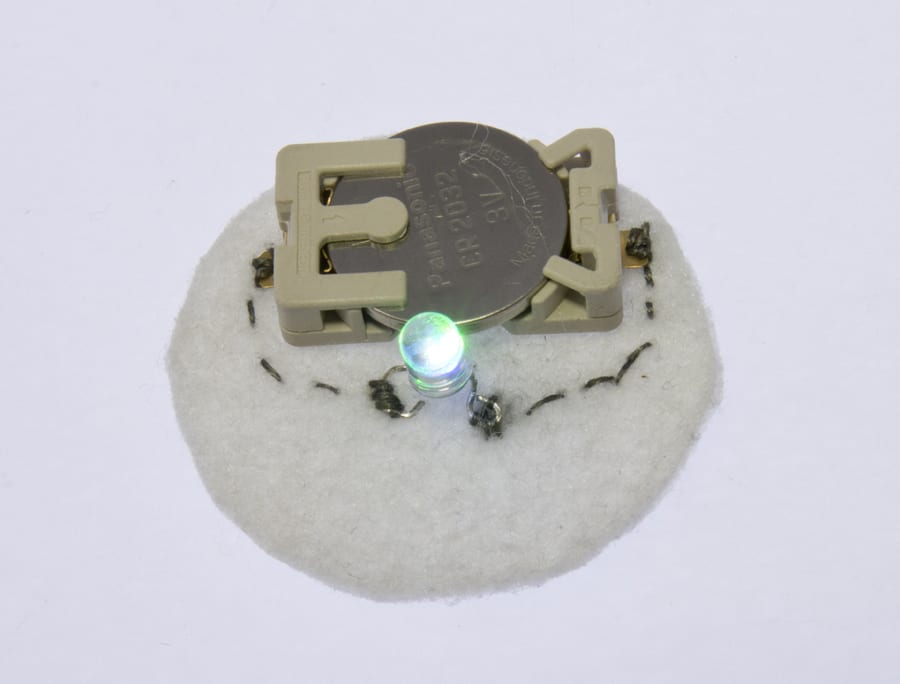 Grab the battery holder, a coin cell and the base and attach the LED using conductive thread. Make sure the polarity of LED and battery are correct. If everything is wired right the LED will light up.
Step 5. Sew the base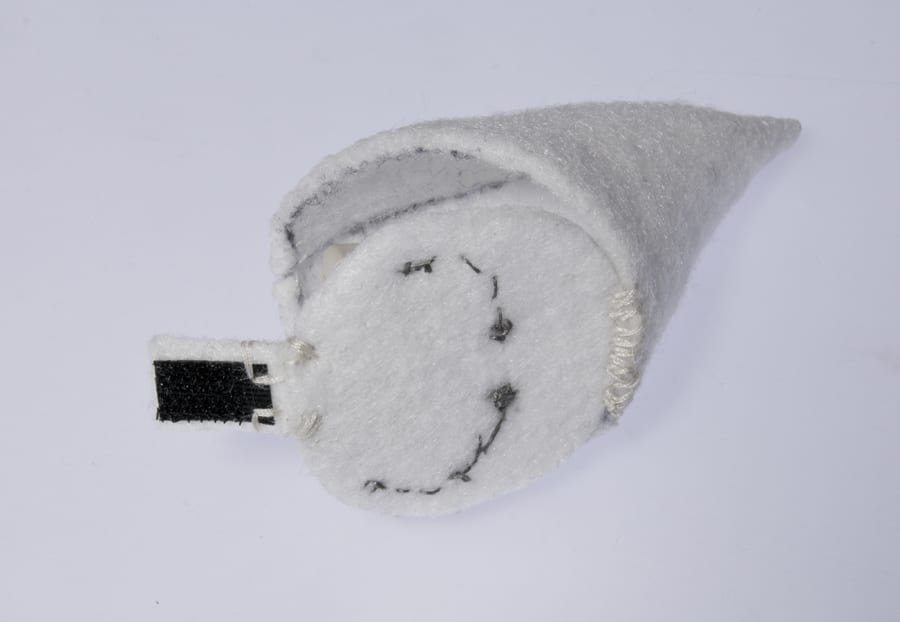 Sew the base to the horn like shown and add a little tab of Fosshape and Velcro to the opposite side in order to keep it in place. Paint some clear nail polish on the bottom of the horns to isolate the conductive thread from touching the metal of the hair clip. Alternatively, you can fluff up the small scraps of Fosshape and fuse them over the stitches to protect the conductive thread.
Step 6. Paint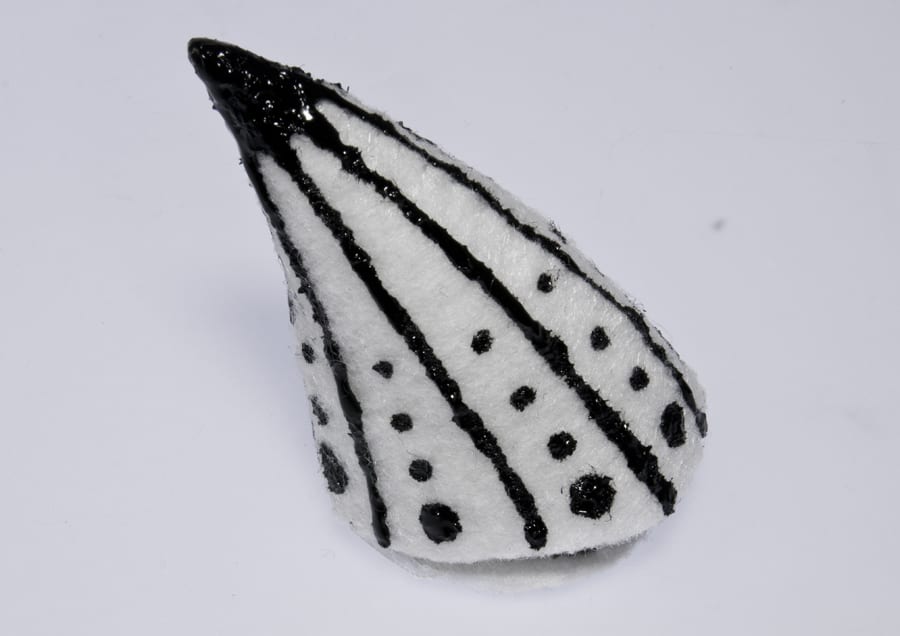 Embellish the horns with a pattern of your choice using the Tulip paint. It will take about 4 hours to dry. The Fosshape disperses the light quite nicely.
Step 7. Hair clip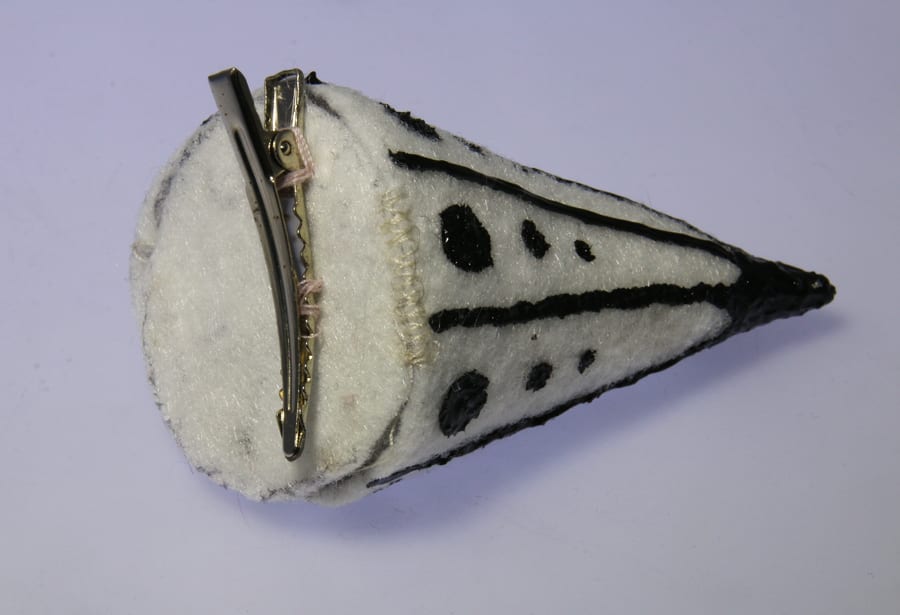 Hot glue the hair clips to the bottom of each horn. Alternatively, you can sew the finished horns to hair clips or a head band.
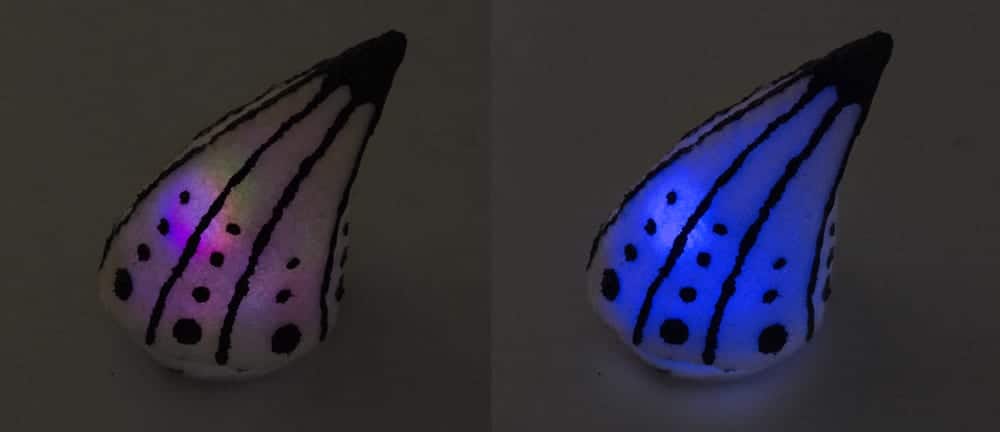
MORE POSTS
Robots using GM15s
Sorry for the lack of posts lately. If you didn't already know, Solarbotics has been moving offices, and it's taken a surprising amount of effort to get everbody/thing moved and settled. Beyond that, I've found some time to websurf...just a bit! A GM15 linefollower? Neat!(Update!:)He's just posted a video of it going ~40cm/s (although he's […]
Friday New Product: eSun Filament, Push ...
Today we have a rainbow of colorful stuff, which apparently doesn't look anything like it at the moment, but believe me, it is. eSun 1.75mm PLA filament - 1kg Spool $30.00 1.75mm PLA filament for 3D printing. PLA is an excellent general purpose filament with a great finish, very rigid and biodegradable. eSun 1.75mm ABS […]
New Solarbotics Website
Welcome to the new Solarbotics Website! You'll notice some substantial upgrades. We're on our own server, which means very quick and speedy surfing. The website is also totally re-written from scratch. This is a double-edge sword, as this means we're still working on re-porting over older documents, like the BEP applications. Look! A search button! […]
Solarbotics has been operating for more than 25 years, bringing electronics know-how and supplies to both the electronics professional and hobbyist. We'll be happy to help you too!
Solarbotics, Ltd. is not responsible for misprints or errors on product prices or information. For more information, please see our Terms and Conditions.
Warning: This product contains chemicals known to the State of California to cause cancer and birth defects or other reproductive harm.
Please visit www.P65Warnings.ca.gov for more information. This item was manufactured prior to August 31, 2018.