Remember that time when I was all like "This is totally the last post for the summer"? Well, I was just foolin'. Oh, those whimsical summer musings. No, instead we have another post for you. Today. Right now, in fact. This very post, even. It'll go something like this: Are near to London, Ontario? Do […]

DIY Halloween RGB LED Kitty Ears
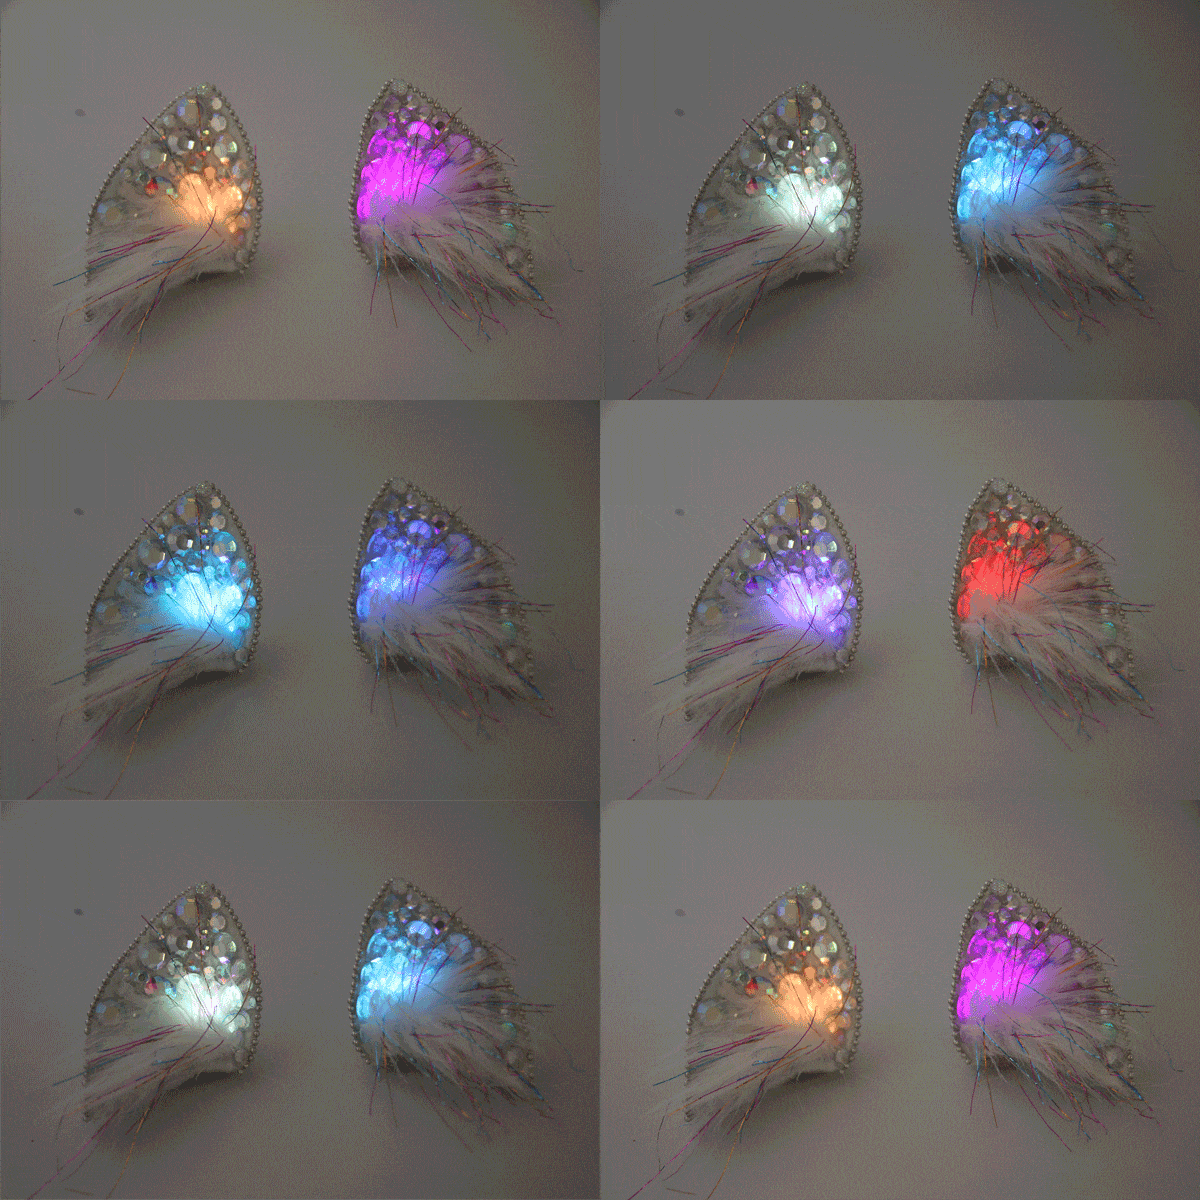
 Simple cosplay cat ears made out of Fosshape, decorated with rhinestones and complete with RGB LEDs for color changing effect.
Materials:
- Fosshape 300
- 2 x slow scroll RGB LEDs
- 2 x CR2032 coin cell batteries
- 2 x coin cell battery holders
- 100 flatback rhinestones
- 2 x hairclips
- fake fur
- steel ball chain
Tools:
- scissors
- heat gun/steamer
- glue gun
- needle and thread
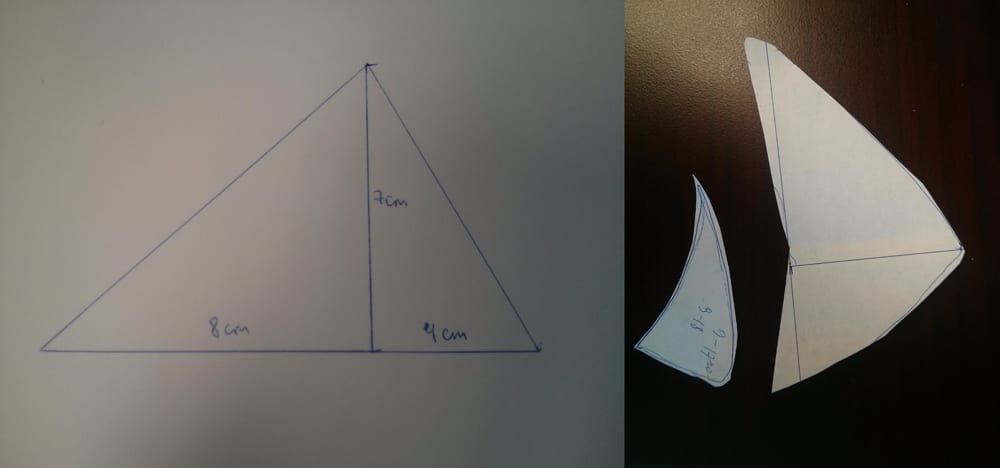
Step 1: Cut out the paper template
Define the height you want the ear to be - by holding a ruler up to you head (highly scientific approach) - and build a triangle similar to shown. You can use these shown measurements as a guidelines - but your proportions might be a little different.
Adjust the shape to have the curves following a more natural outline of the ear. Cut out the paper triangles..
Step 2: Cut out Fosshape
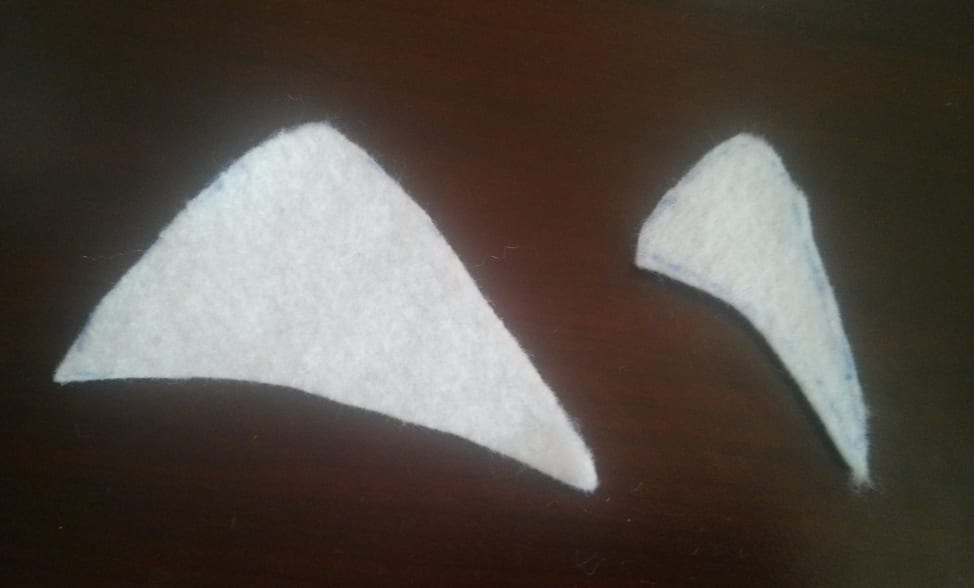
Trace the template onto the Fosshape. Cut out 2 large shapes and 4 smaller shapes for the base of the ear (two bases per ear).
Step 3: Sew the ear parts together
Sew each ear shape to one base:

Step 4: Harden the Fosshape
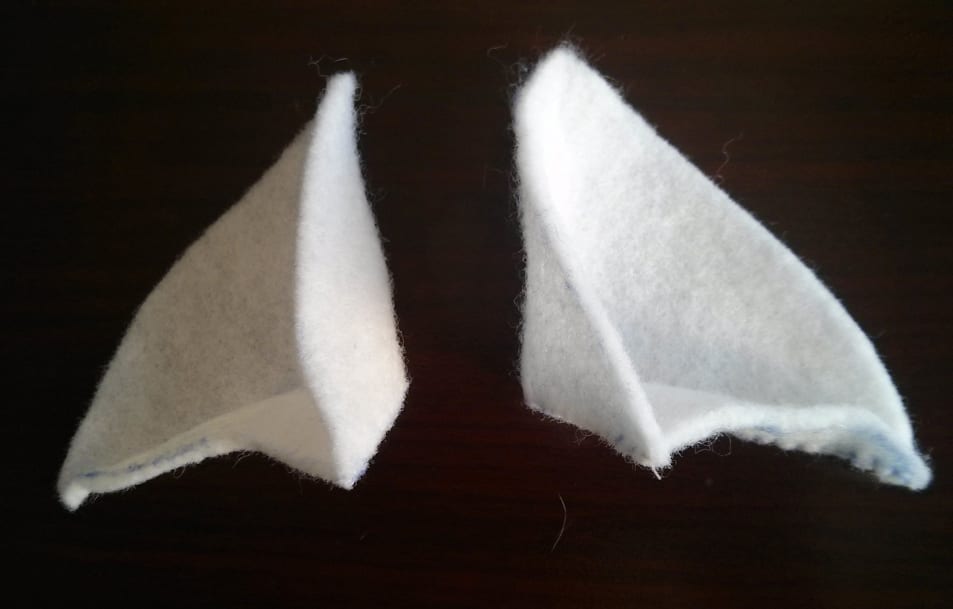
Now shape and harden the ears using a steamer or heat gun. They will shrink about 1.5 times (left ear treated with heat and right one not yet shown for comparison), so take that into consideration when choosing the final product size.
Step 5: Attach the hair clip
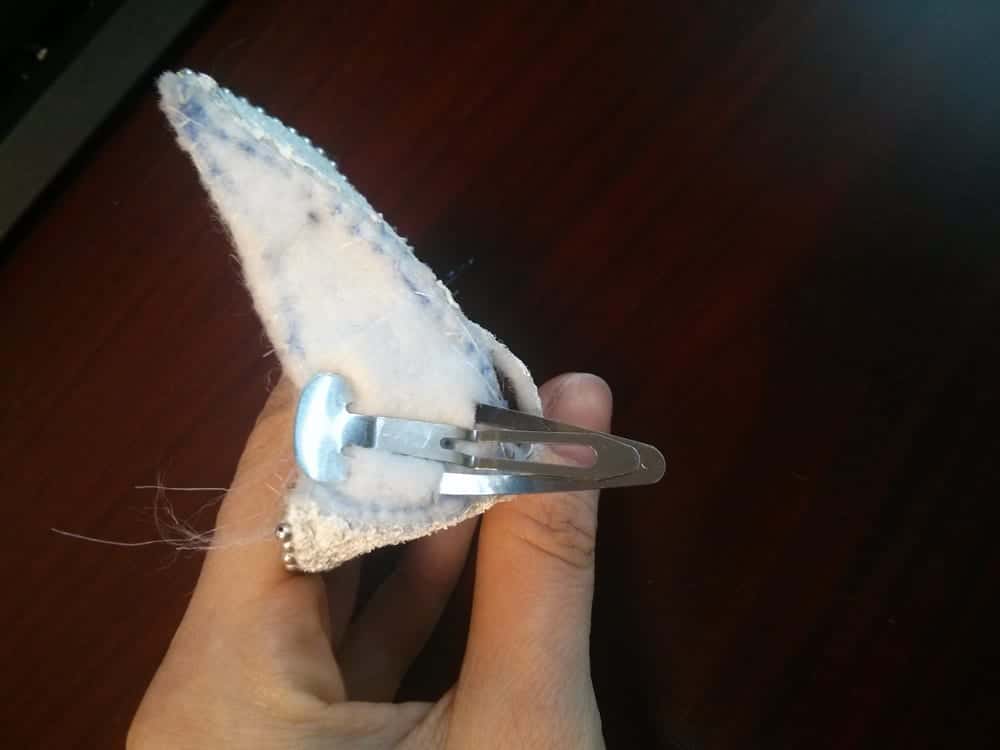
Sew the second bottom to the ear and insert the hair clip. Heat shrink the bottom layer.
Step 6: LED
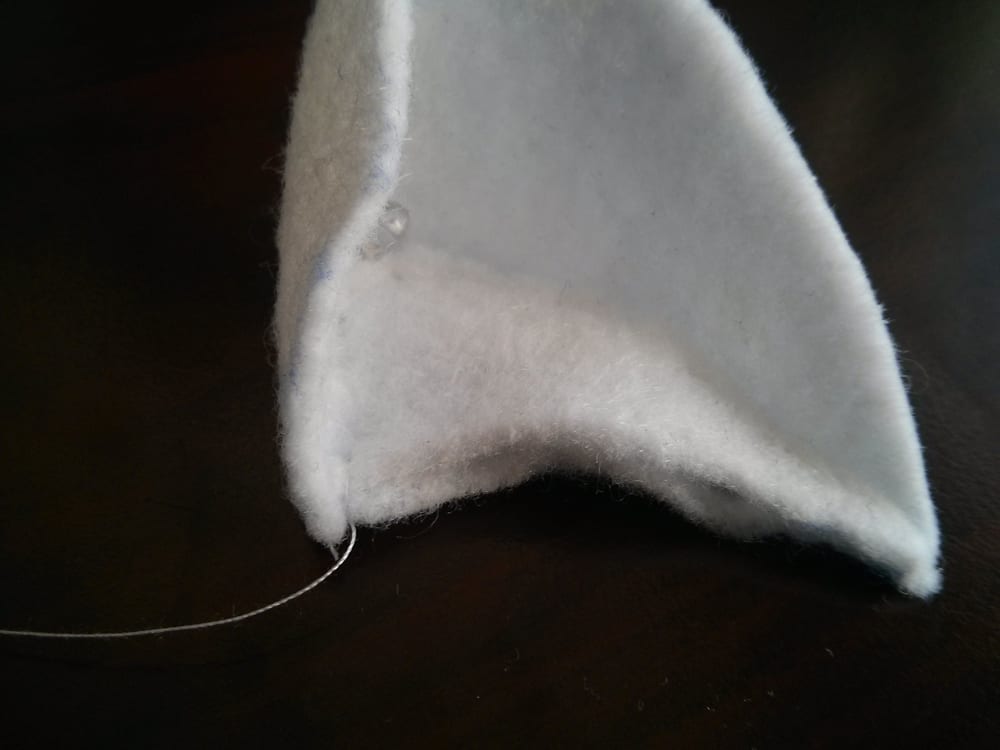
Insert the LED into the inside of the ear with legs poking out from the other side.
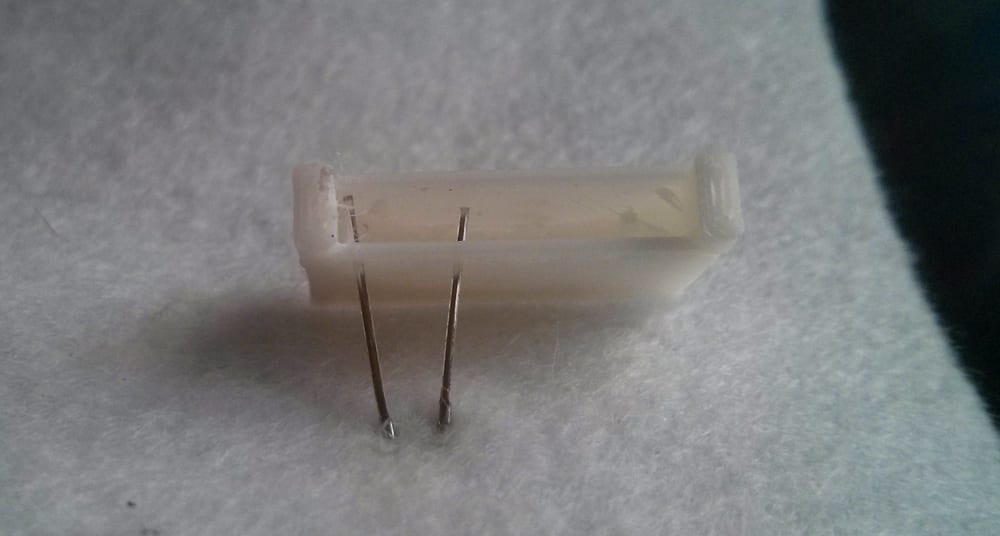
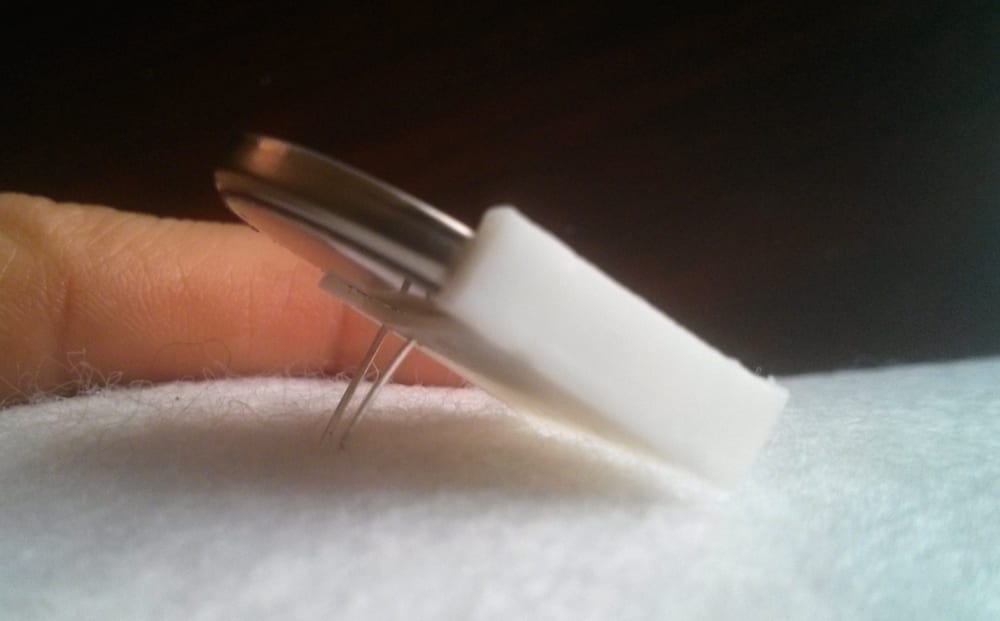

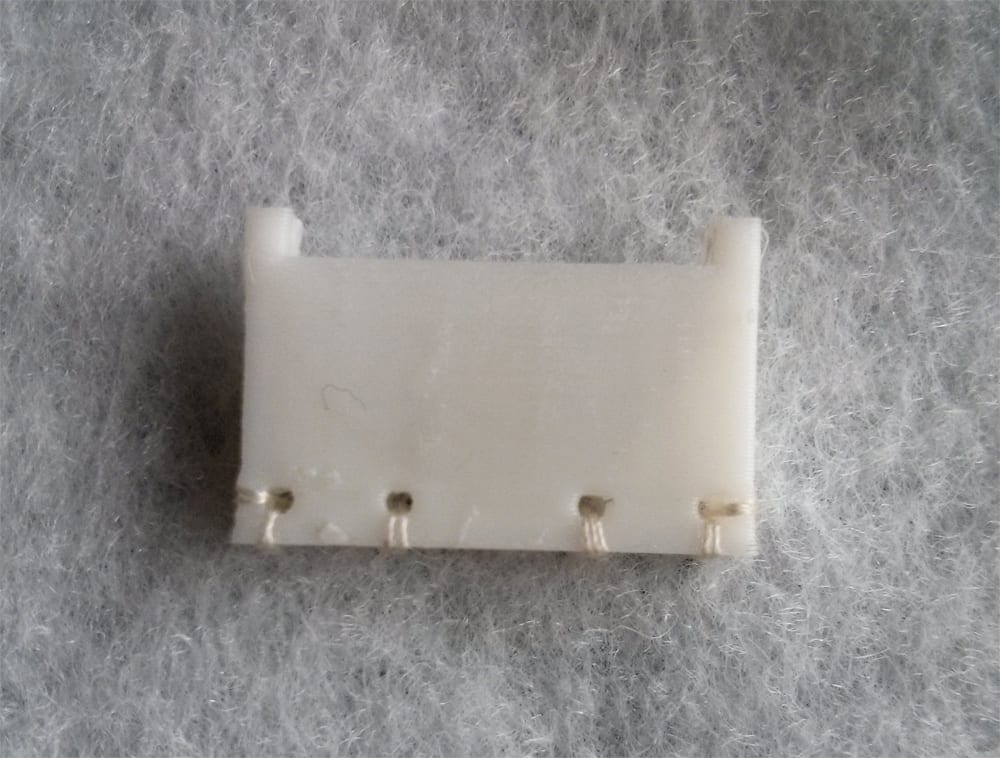
Step 8: Rhinestones
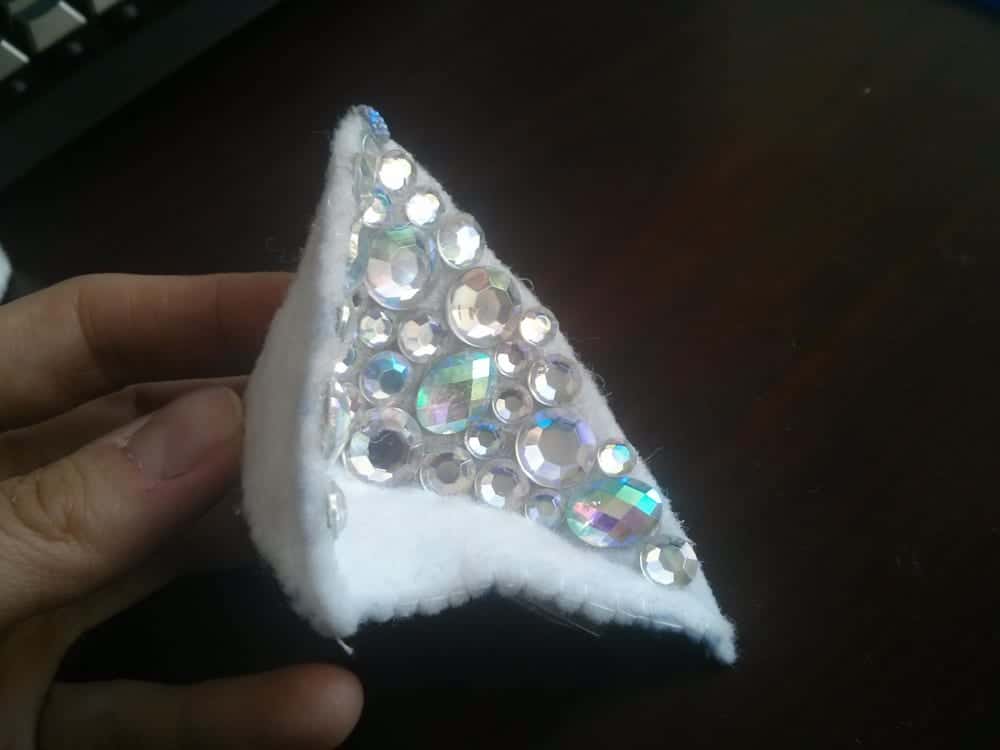
Now the fun part - use hot glue to attach the flatback rhinestones to the inside of the ear.
Step 9: Fur
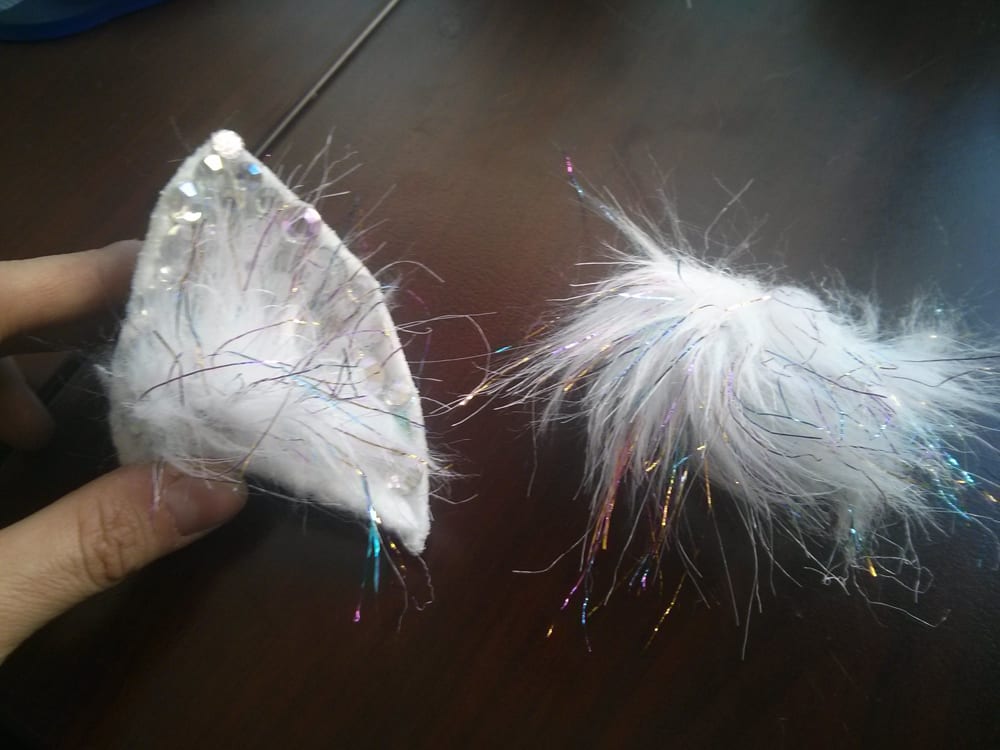
Use small tufts of fake fur to disguise the bottom of the ear. Sew them in place.
Step 10: Finishing
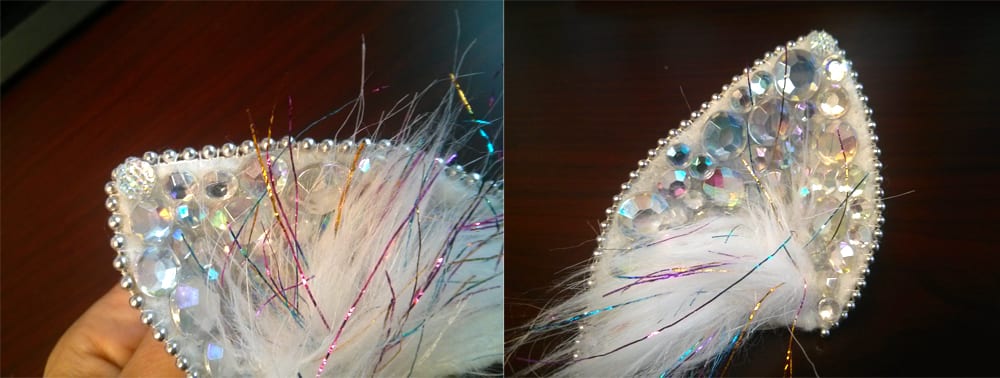
Optional - use some cord/ribbon (in this case a ball chain) to finish the ear edges!
MORE POSTS
Instructables is an ever-expanding documentation platform for sharing DIY projects of all kinds, from pancakes to electronics to making anything fly. Since 2005 when it became what it is now, Instructables grew from hundreds to more than a hundred thousand projects. It's a great community of fellow makers from around the world fueled by curiosity […]
We always enjoy seeing our products being modified, revamped and DIY-ed, as well as the results of these transformations. Our customer Vera Kark provided us with some thoughtful feedback on adding mechanical tweaks to improve our Solar GraviTrack build and documentation. She also painted the brown MDF of the machine. She used tempera paint on the wood components still in panelized […]
Well, it's the end of another week, and - Hey! I have something that you might actually be interested in. We've just received some PICAXE inventory, particularly the PICAXE-28 Project Board. So that's now available and ready for us to throw into a box (not literally, of course) and send in your direction. And now that […]
Solarbotics, Ltd. is not responsible for misprints or errors on product prices or information. For more information, please see our Terms and Conditions.
Warning: This product contains chemicals known to the State of California to cause cancer and birth defects or other reproductive harm.
Please visit www.P65Warnings.ca.gov for more information. This item was manufactured prior to August 31, 2018.

