Liquid Metal to Make Stretchable Electronics The elastic tech has huge potential for wearable tech, mobile devices, and even electronic "smart clothing." New Material Inspired by Geometric Patterns Inspired by the intricate geometries and repetitive patterns found in Islamic art, researchers at McGill University developed a material with new properties. (Via ZME Science) Kinematic Petals […]

DIY Halloween RGB LED Kitty Ears
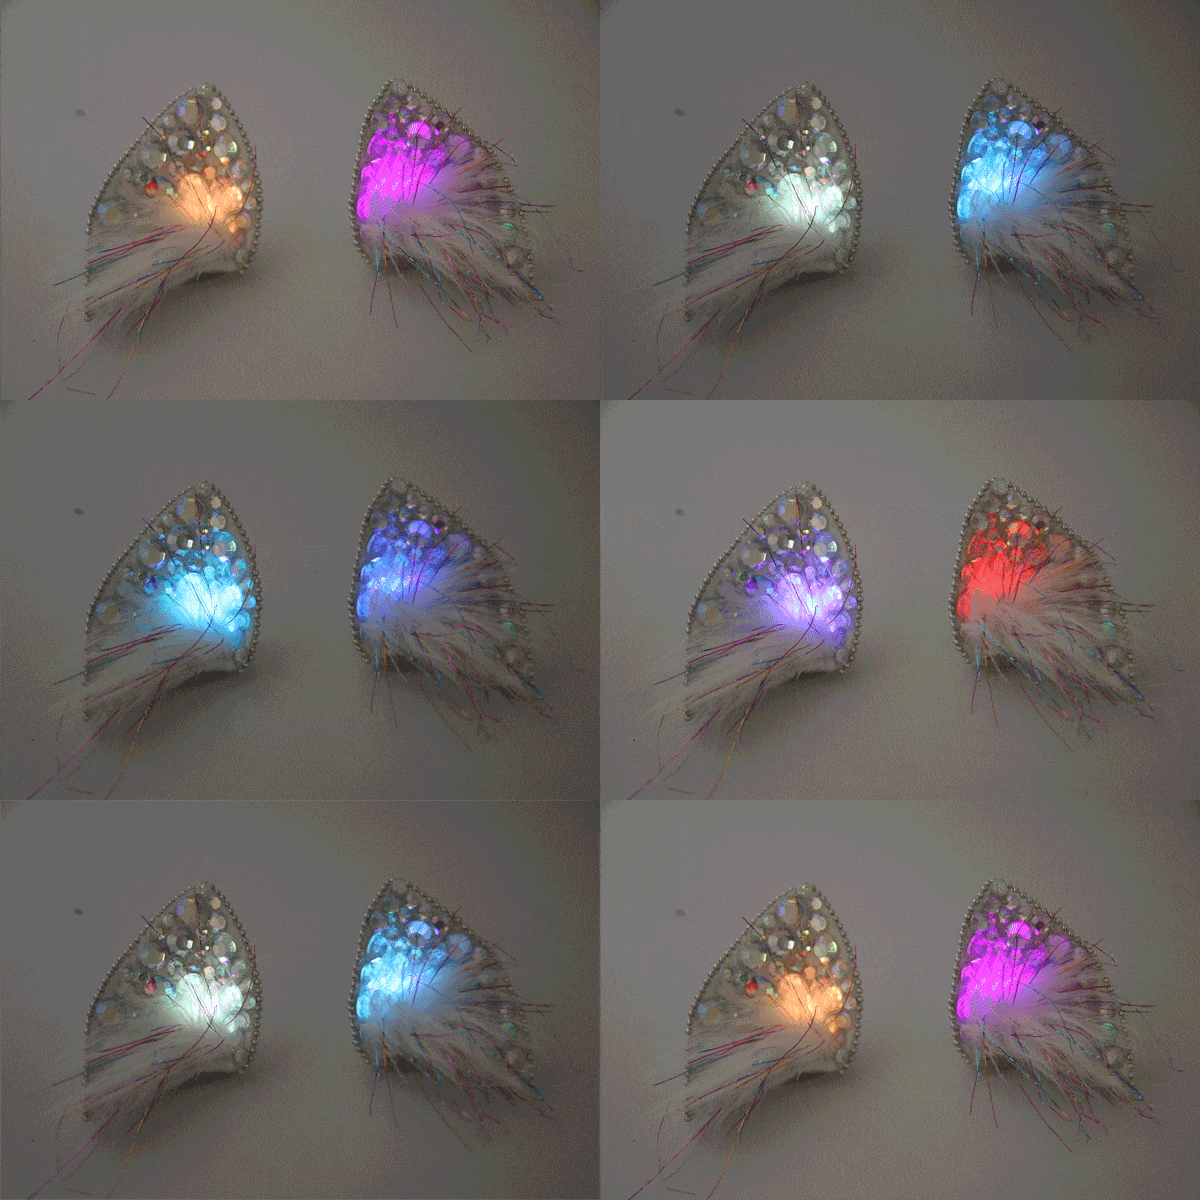
 Simple cosplay cat ears made out of Fosshape, decorated with rhinestones and complete with RGB LEDs for color changing effect.
Materials:
- Fosshape 300
- 2 x slow scroll RGB LEDs
- 2 x CR2032 coin cell batteries
- 2 x coin cell battery holders
- 100 flatback rhinestones
- 2 x hairclips
- fake fur
- steel ball chain
Tools:
- scissors
- heat gun/steamer
- glue gun
- needle and thread
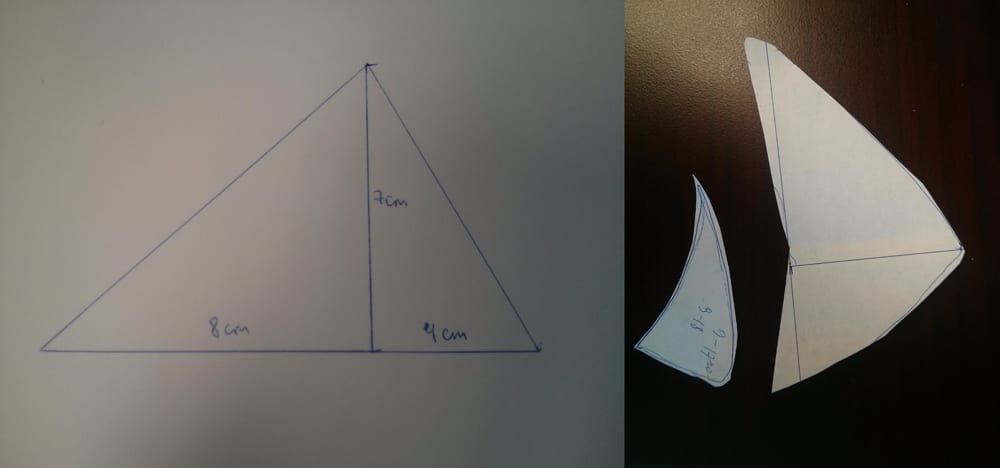
Step 1: Cut out the paper template
Define the height you want the ear to be - by holding a ruler up to you head (highly scientific approach) - and build a triangle similar to shown. You can use these shown measurements as a guidelines - but your proportions might be a little different.
Adjust the shape to have the curves following a more natural outline of the ear. Cut out the paper triangles..
Step 2: Cut out Fosshape
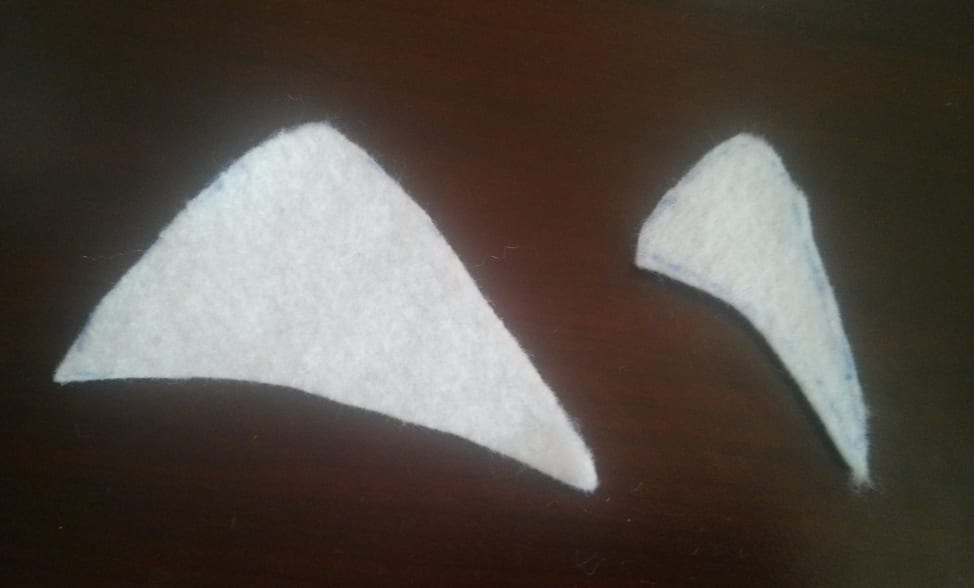
Trace the template onto the Fosshape. Cut out 2 large shapes and 4 smaller shapes for the base of the ear (two bases per ear).
Step 3: Sew the ear parts together
Sew each ear shape to one base:

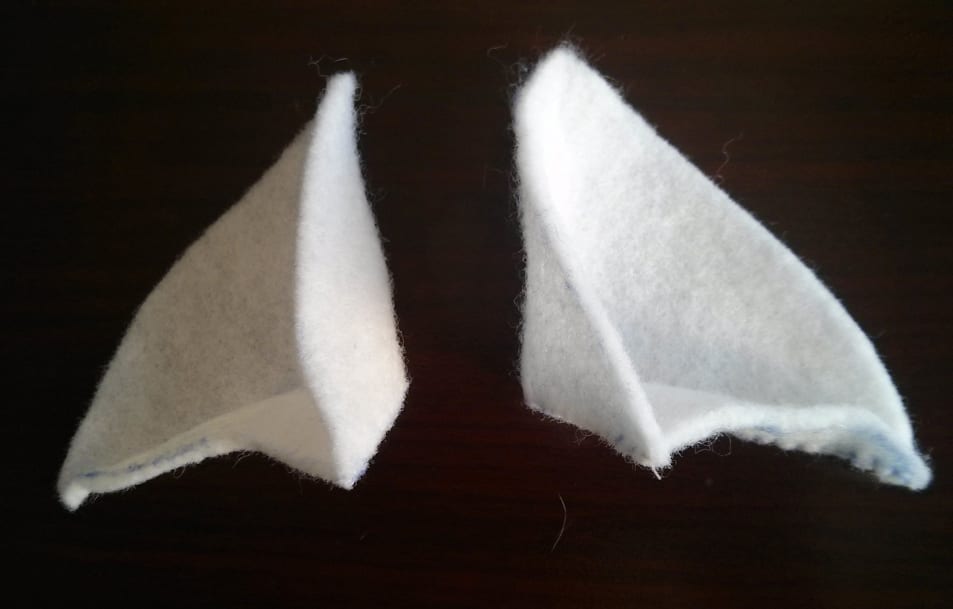
Step 4: Harden the Fosshape
Now shape and harden the ears using a steamer or heat gun. They will shrink about 1.5 times (left ear treated with heat and right one not yet shown for comparison), so take that into consideration when choosing the final product size.
Step 5: Attach the hair clip
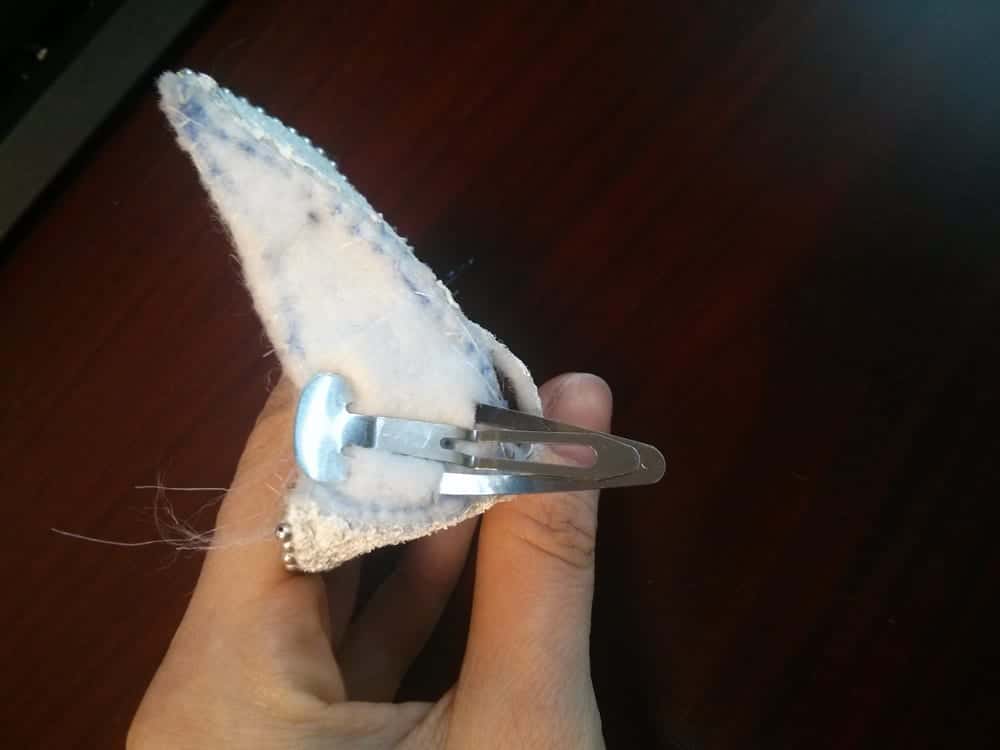
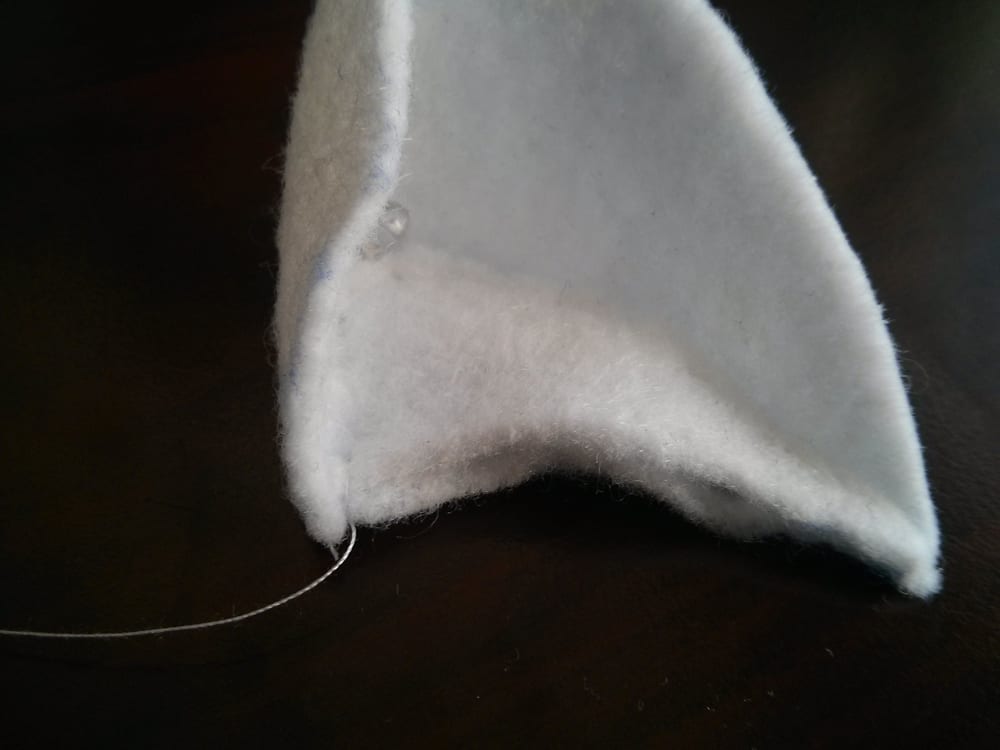
Sew the second bottom to the ear and insert the hair clip. Heat shrink the bottom layer.
Step 6: LED
Insert the LED into the inside of the ear with legs poking out from the other side.
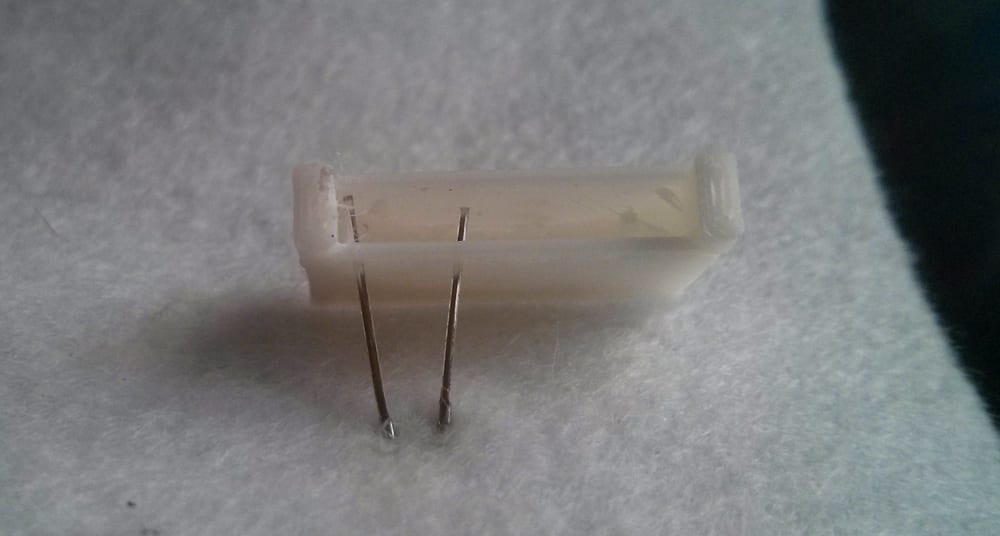
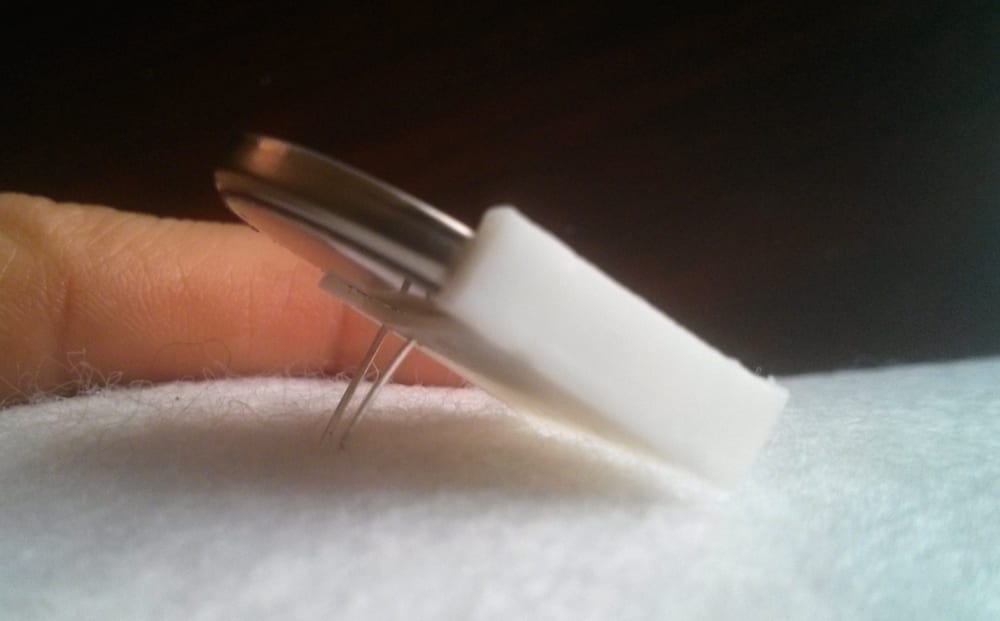

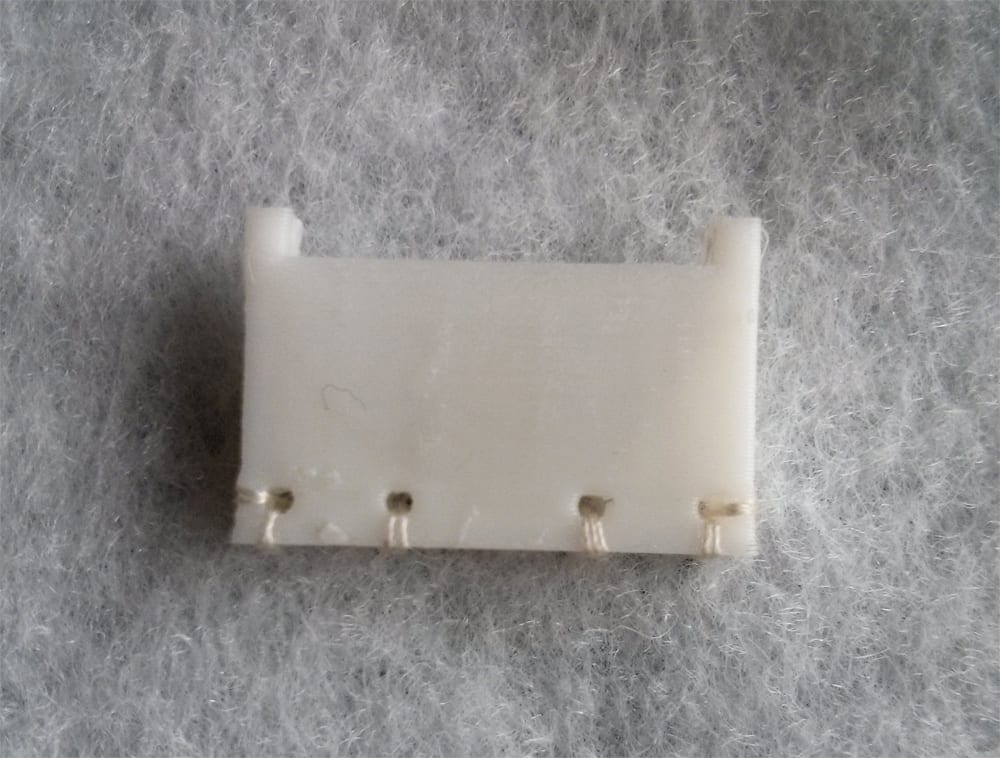
Step 8: Rhinestones
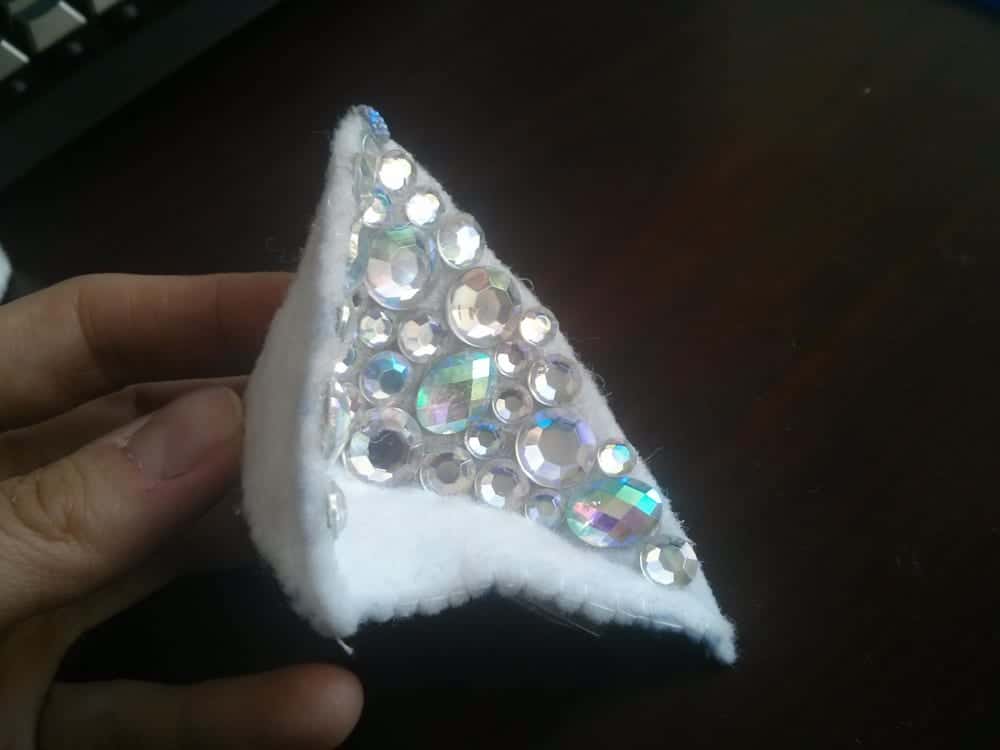
Now the fun part - use hot glue to attach the flatback rhinestones to the inside of the ear.
Step 9: Fur
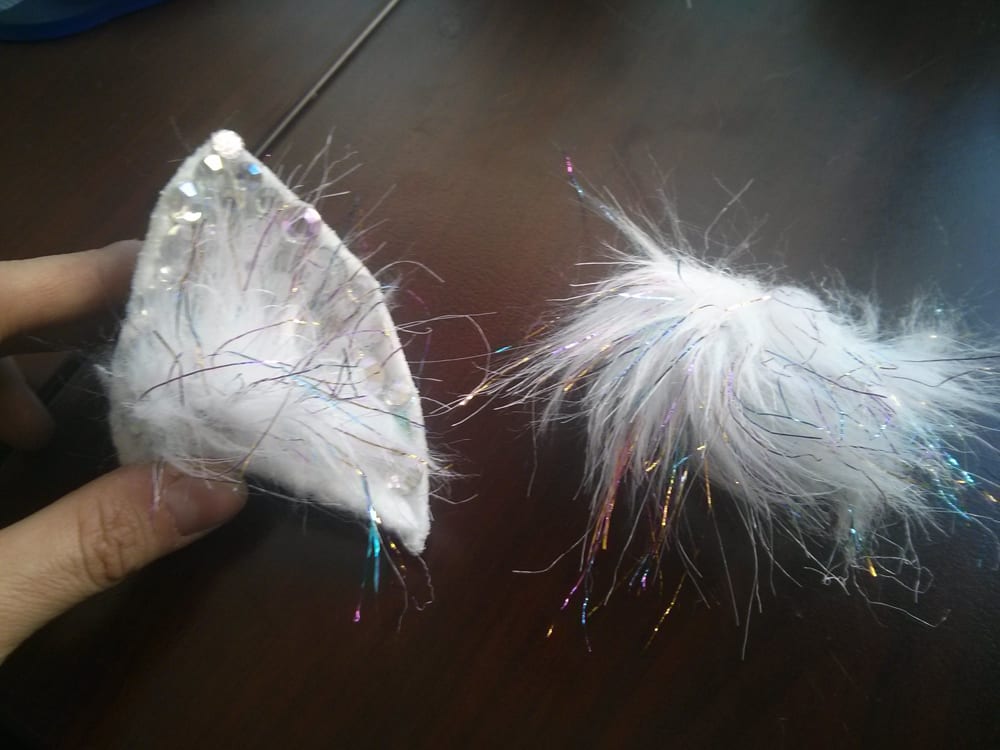
Use small tufts of fake fur to disguise the bottom of the ear. Sew them in place.
Step 10: Finishing
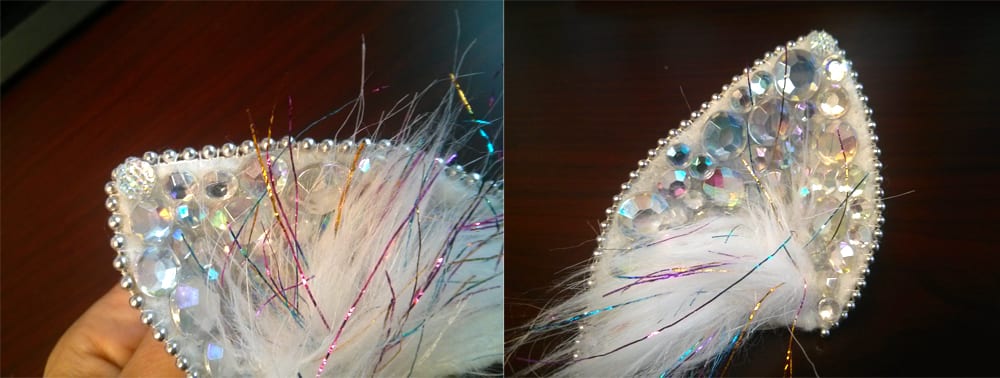
Optional - use some cord/ribbon (in this case a ball chain) to finish the ear edges!
MORE POSTS
Well, it's been one of those weeks where we don't have anything to post, so... HEY LOOK! THE ARDY IS BACK! From now until the end of March, the ARDY bundle gets you the Arduino Experimenter's Kit with a free Ardweeny. Oh, and did we mention that we just took a picture of (almost) all […]
Grant McKee has been working hard using BEPs in a good many applications around the office, so we've got him to put together a simple application of the BEP - the Pummer nocturnal Strobe. We'll be posting other BEP applications under the 'Special Projects' gallery, so check back once in a while!
We've been having lots of fun with Openbeam, building all kinds of handy contraptions out of it. Today's issue of Hey Look It's New Stuff covers a big chunk of our stock. OpenBeam Extrusion - 1000mm Length $175.00 If you find it annoying to cut the 1m open beam extrusions down to size - you […]
Solarbotics, Ltd. is not responsible for misprints or errors on product prices or information. For more information, please see our Terms and Conditions.
Warning: This product contains chemicals known to the State of California to cause cancer and birth defects or other reproductive harm.
Please visit www.P65Warnings.ca.gov for more information. This item was manufactured prior to August 31, 2018.

