With the holidays fast approaching we would like to announce our holiday schedule which is outlined below: At Solarbotics: Monday, December 24th to Wednesday, December 26th - Offices Closed December 27th, 28th, 31st - Open, regular hours Tuesday, January 1 - Offices Closed Wednesday, January 2 - Open, back to regular hours At ActiveTech Calgary:

APA102-2020 MicroNova Custom LED Choker
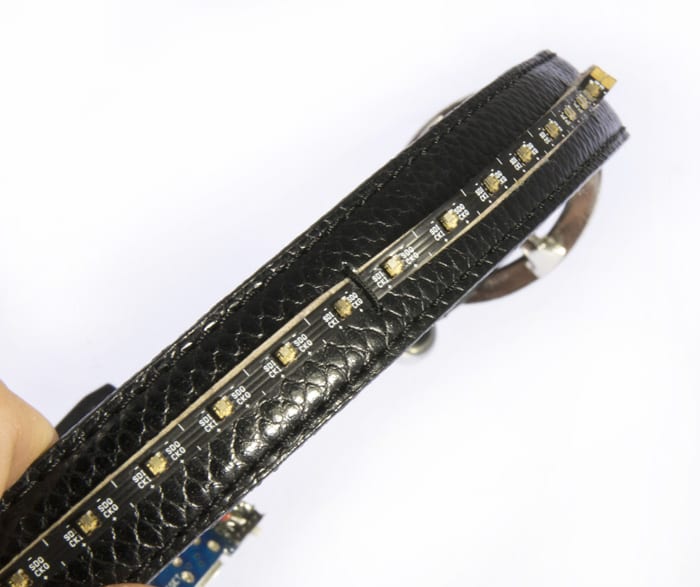
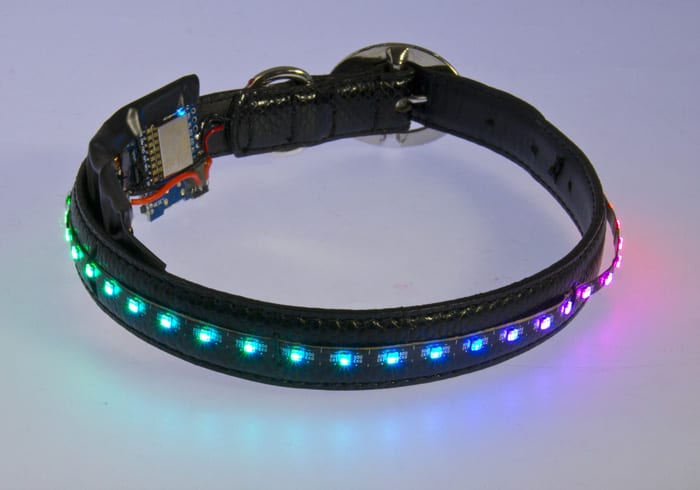
I created this choker as a project to demonstrate the new MicroNova APA102-2020 LED strips.

Photo by Yeti, edited by Batgirl
These addressable LEDs are extremely small, less than 1/4 the size of a standard 5050 LED.
This project was built using engineering sample standard MicroNova 99 LED / meter strips . The MicroNova strips we are selling have 198/meter - twice the density!
Reason for a Choker necklace:
Hats have been done, shoes have been done, pendants have been done. This is something new for a Valentine’s dance costume, so I decided to go with a choker design. I also wanted something that was interactive, something that would add another layer of WOW to just lighting.
The Build:
I used a Wemos D1 Mini development board along with a boost-converting battery shield for the Wemos D1.

The battery shield was a particularly good choice here because the MicroNova LEDs should be supplied a solid 5VDC. This board boosts the battery voltage to 5V, and then the Wemos D1 Mini bucks it down to 3V3 for it's own operation.
A mini SPDT Slide switch toggles the power from the battery shield to the D1. This allows charging the battery using the battery shield USB connector while not powering the D1.
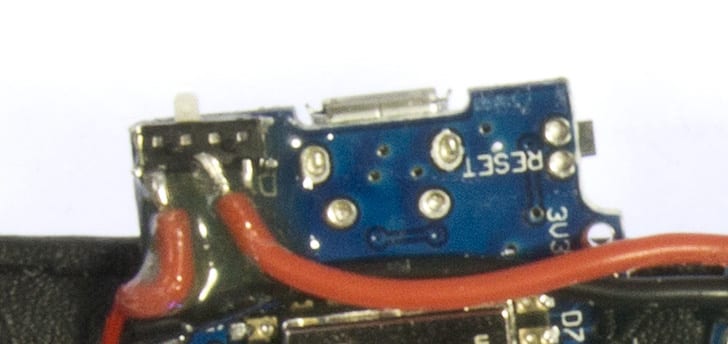
Epoxy locks the switch and wires in place.
The battery used is a conveniently handy older 450mAh Lithium Polymer. Depending on the lighting mode, this battery can power the necklace for a couple of hours.
I used elastic thread to attach the LED strip and components to the necklace. A heavy duty needle was all that was needed to punch through the (imitation) leather belt. Because the thread was elastic and tied under tension, it held the MicroNova strip well in place.
Operation:

When the choker powers up, it creates a WiFi Access Point called "HeartBurnChoker1".
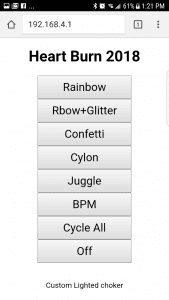
Once I connected to this WiFi, I opened a browser and went to 192.168.4.1. The control interface is simple, but effective. The D1 Mini has more than ample power and speed to effectively drive these LEDs. The MicroNova features separate clock & data lines, so even relatively slow I/O (like Raspberry Pi) can still make it work.
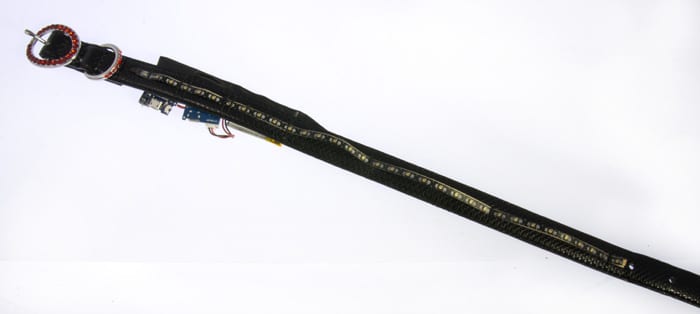
Video of the Collar in Action
MORE POSTS
So here's a late but tenacious Friday post with only 3 but mighty (brand new shiny) products. Not just some… random unrelated strange small bits… But much better! They are all kits. So they have more than one thing in them. Which is better than one thing... How about I stop mumbling the obvious and […]
We're pretty proud of our book, "Junkbots, Bugbots, and Bots on Wheels", especially with reviews like this!
Our offices are closed on Monday, October 12th, 2015, and back to regular duties on Tuesday October 13th.
Solarbotics, Ltd. is not responsible for misprints or errors on product prices or information. For more information, please see our Terms and Conditions.
Warning: This product contains chemicals known to the State of California to cause cancer and birth defects or other reproductive harm.
Please visit www.P65Warnings.ca.gov for more information. This item was manufactured prior to August 31, 2018.

